

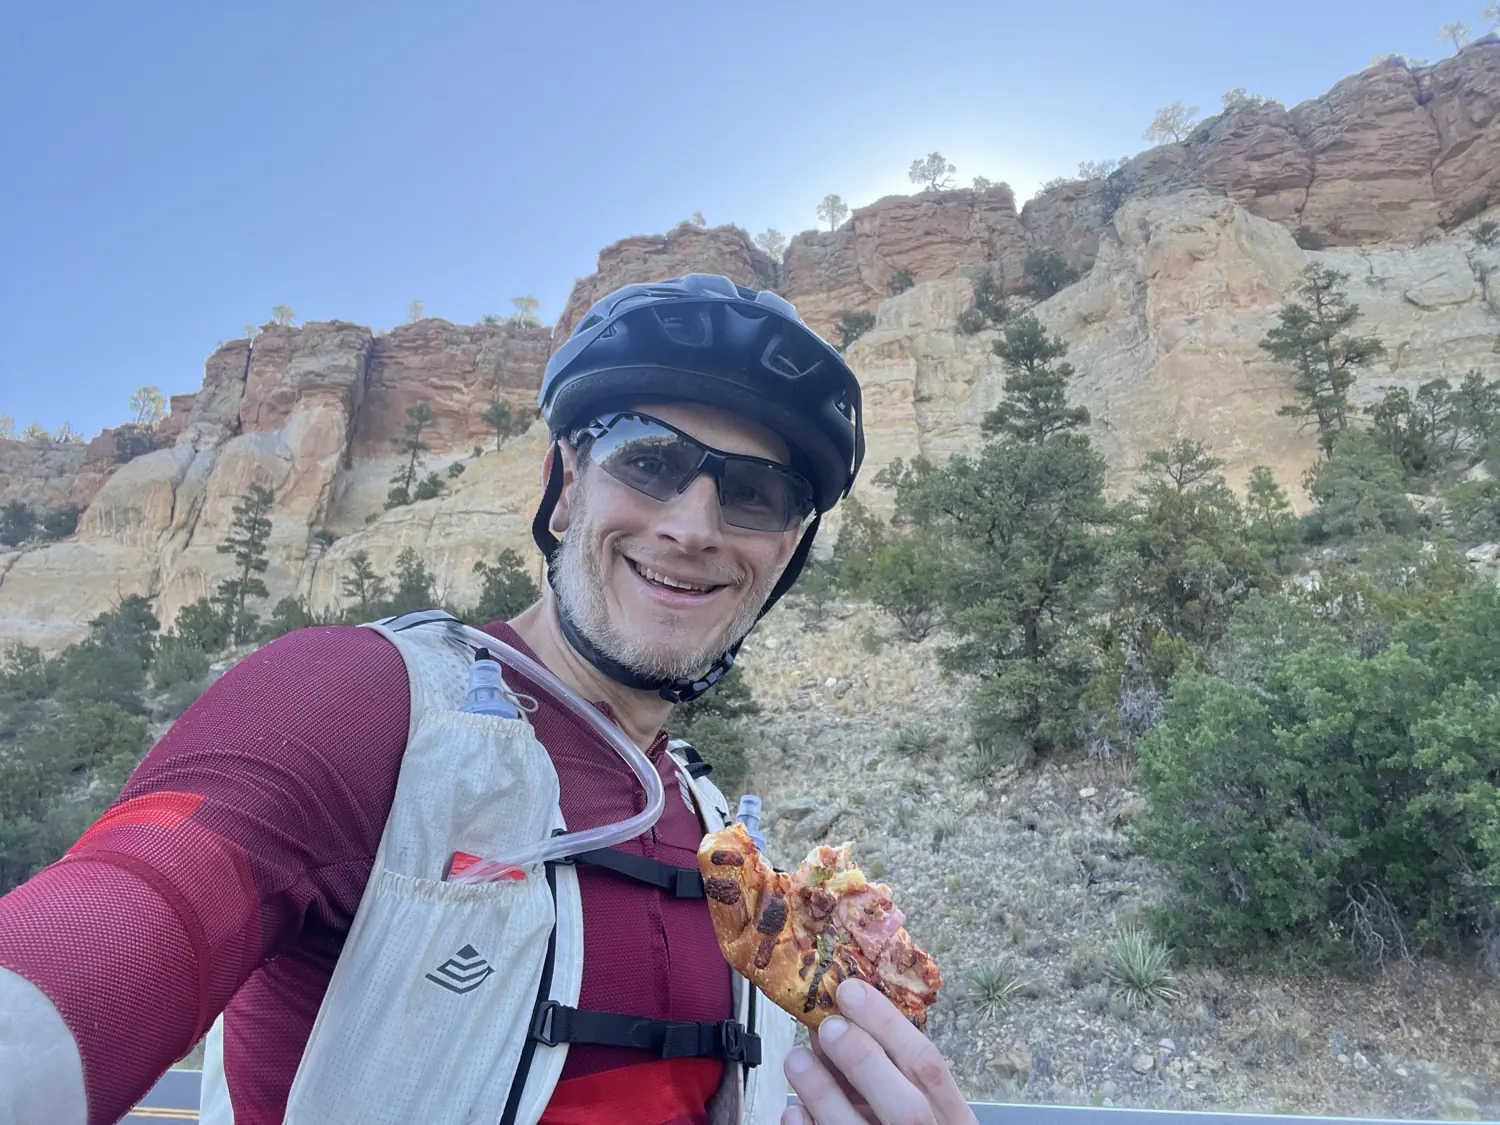
2025 Tour Divide: My Bikepacking Gear and Race Plan
- Written by Keith Huster
- 19 min read
- Last updated a few seconds ago
The Tour Divide is an unsupported bikepacking race, which means I had to carry ALL of the gear, food, water, etc. that I would need/obtain along the route. 🧳 🚵♂️ This post covers my bikepacking setup as well as the gear that I carried for the 2,745-mile (4,418-kilometer) ride.
• Next Post: Racing (Day 1) - Banff, Alberta 🇨🇦 to Koko Claims, British Columbia 🇨🇦 [coming soon]
• Previous Post: My Journey to the Starting Line
My Bike: 2021 Intense Sniper T 🚲 ⛰️
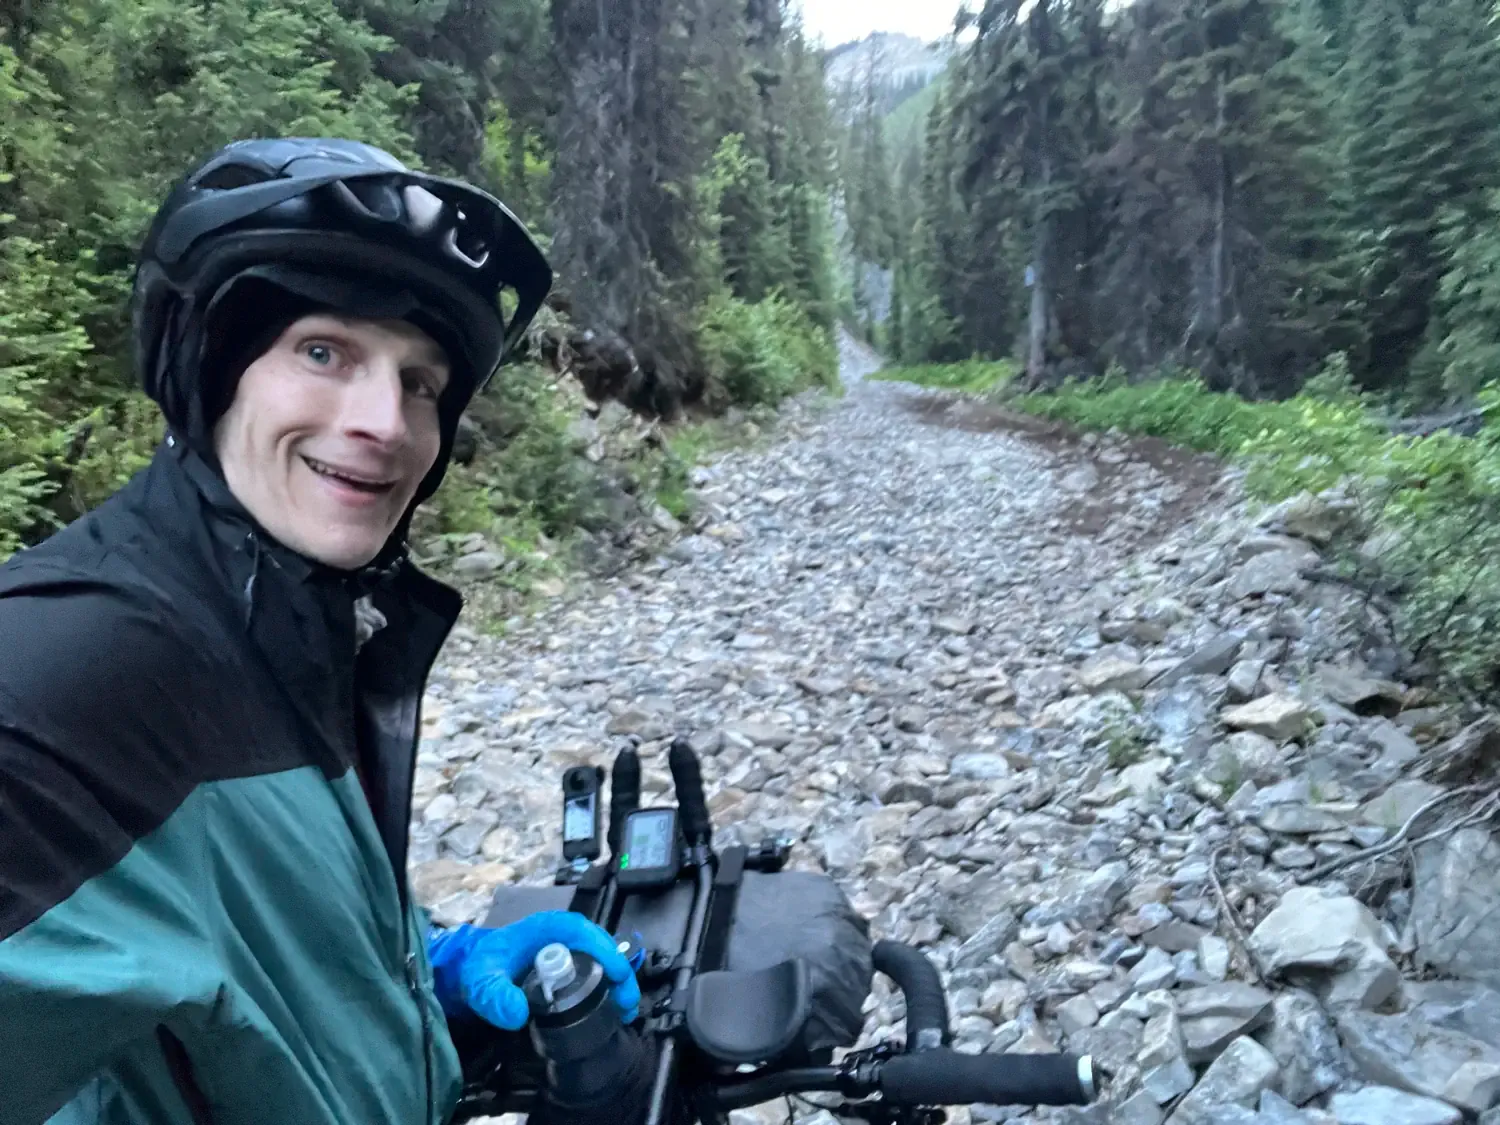
The first of a million decisions... what bike should I use? 🤔 Well, for me that was an easy decision, since I only have one bike! 🤣 I chose to ride my 2021 Intense Sniper T, a full-suspension cross-country/trail-oriented mountain bike.
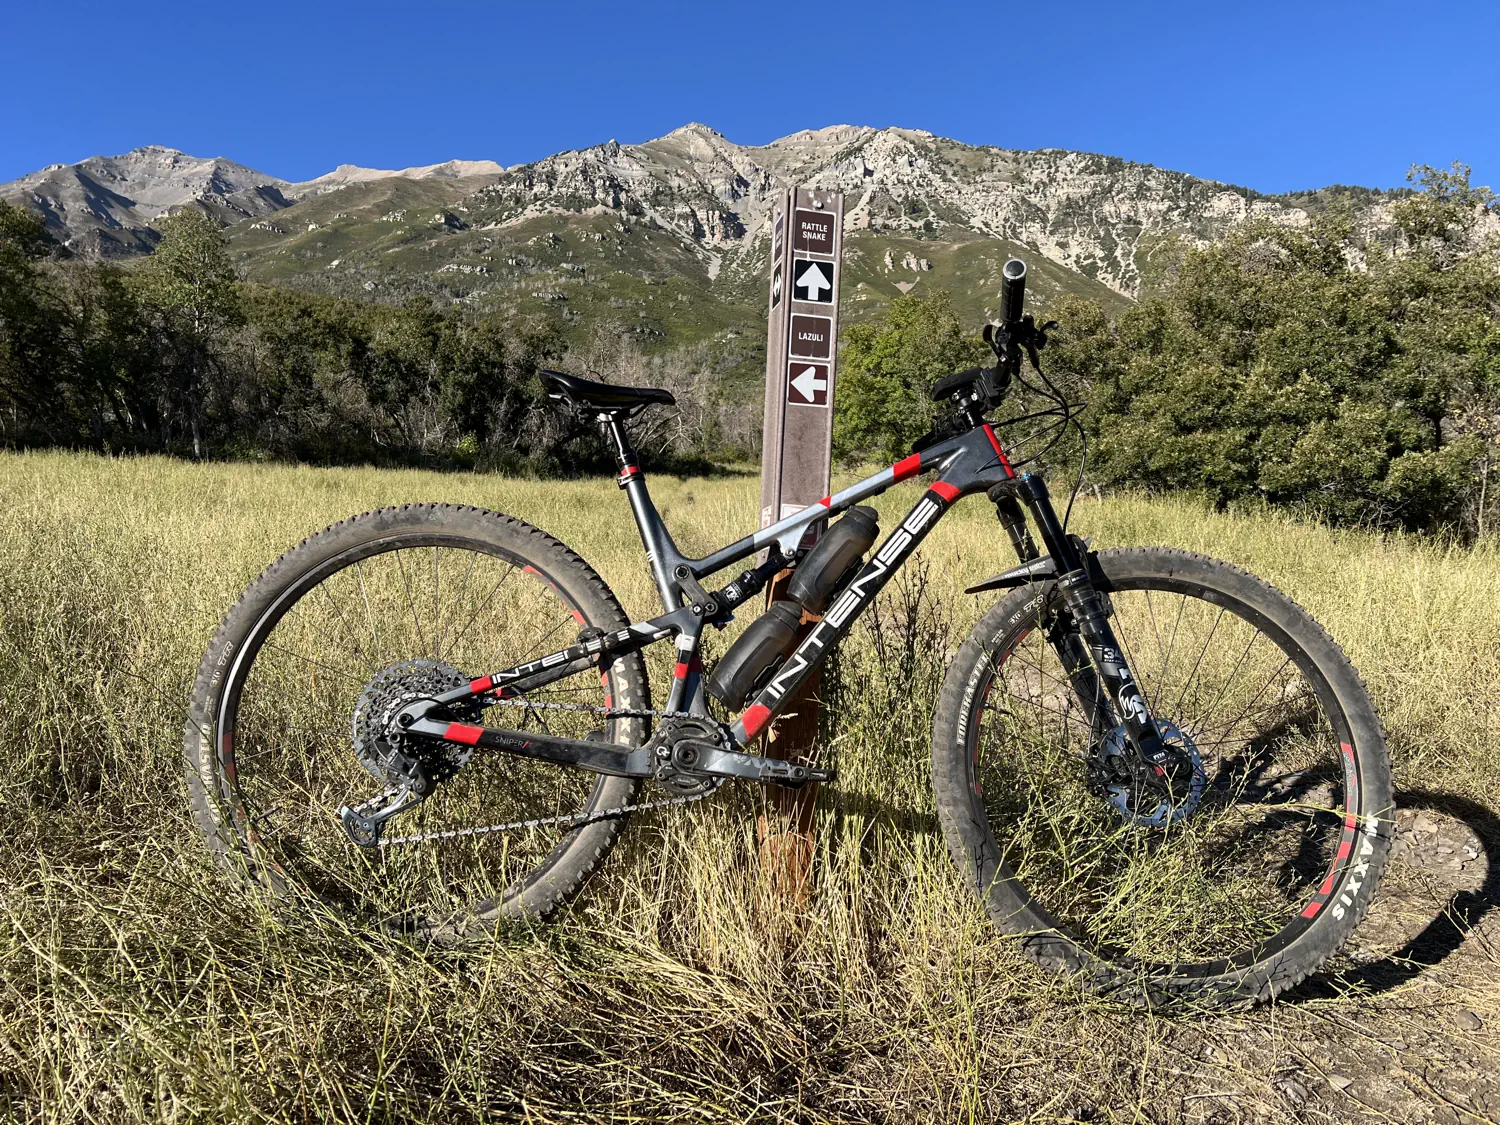
Bike choice for a ultra-endurance mountain bike race such as the Tour Divide really comes down to personal preference. Some racers choose to ride faster, rigid gravel bikes, with no suspension. Others, such as myself, prioritize the comfort of a full suspension mountain bike to help soak up the roughness of the trail. Still others split the difference by choosing to ride hardtail mountain bikes that have front suspension only.
Each type of bike has its own sets of tradeoffs. For me, the added comfort from the front and rear suspension meant that I had to sacrifice storage capacity within the confines of the frame (i.e., no large frame bag for me!). Having rear suspension also meant that I had to carefully consider my rear cargo carrying system since the rear of the bike is allowed to move up and down. So, most standard, fixed rear rack systems could not be used.
Speaking of comfort, I had learned that it is not uncommon for ultra-endurance mountain bike racers to experience temporary, and sometimes permanent, nerve damage to their hands and wrists. This type of injury occurs due to the constant pounding their hands take over countless hours of riding on rough terrain. 😨

Gallery of the inner bar ends and aero bars that Keith added for additional hand positions and comfort
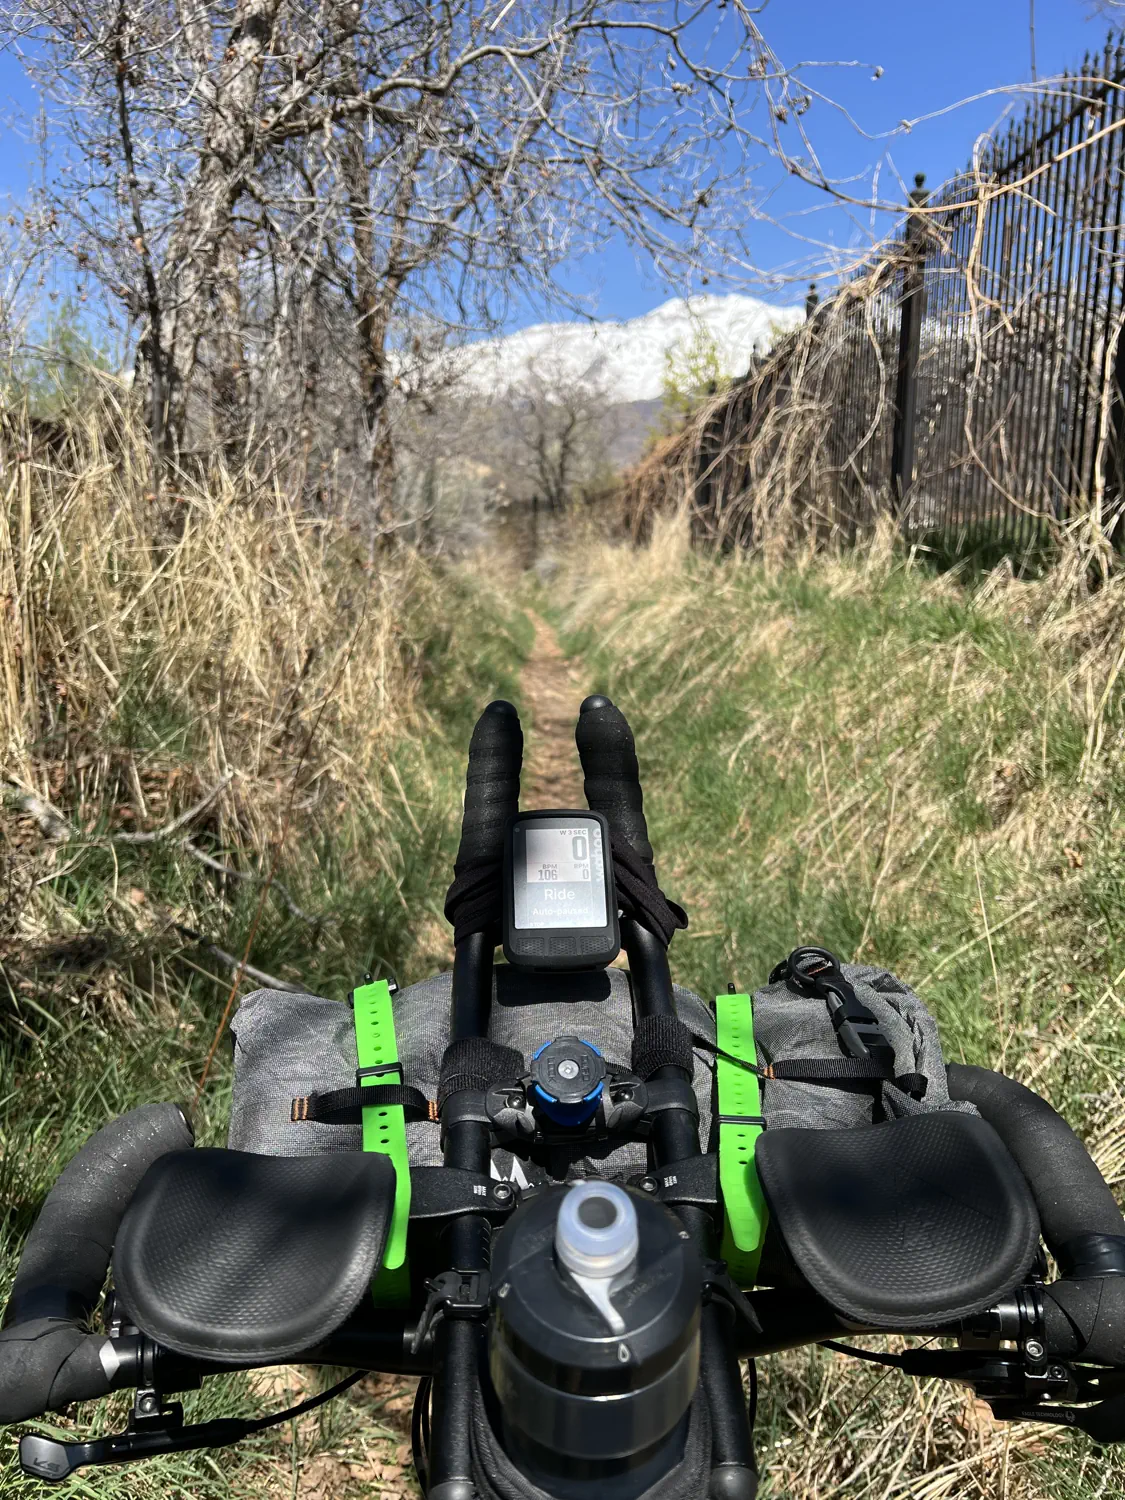
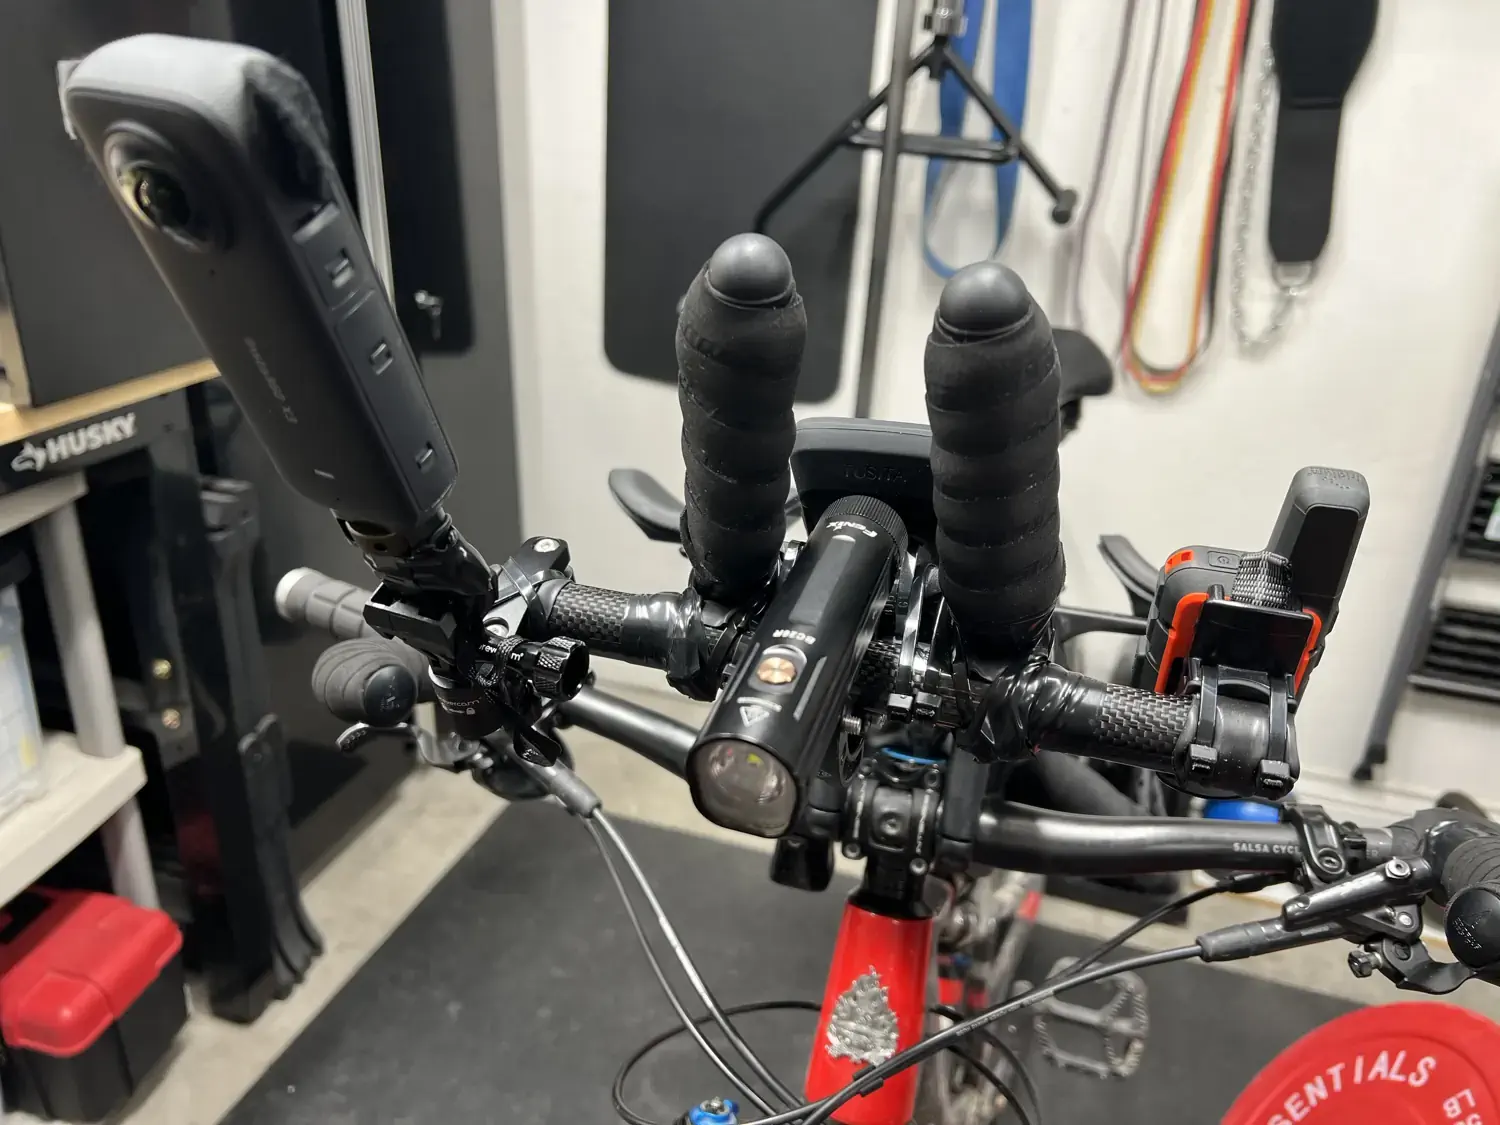
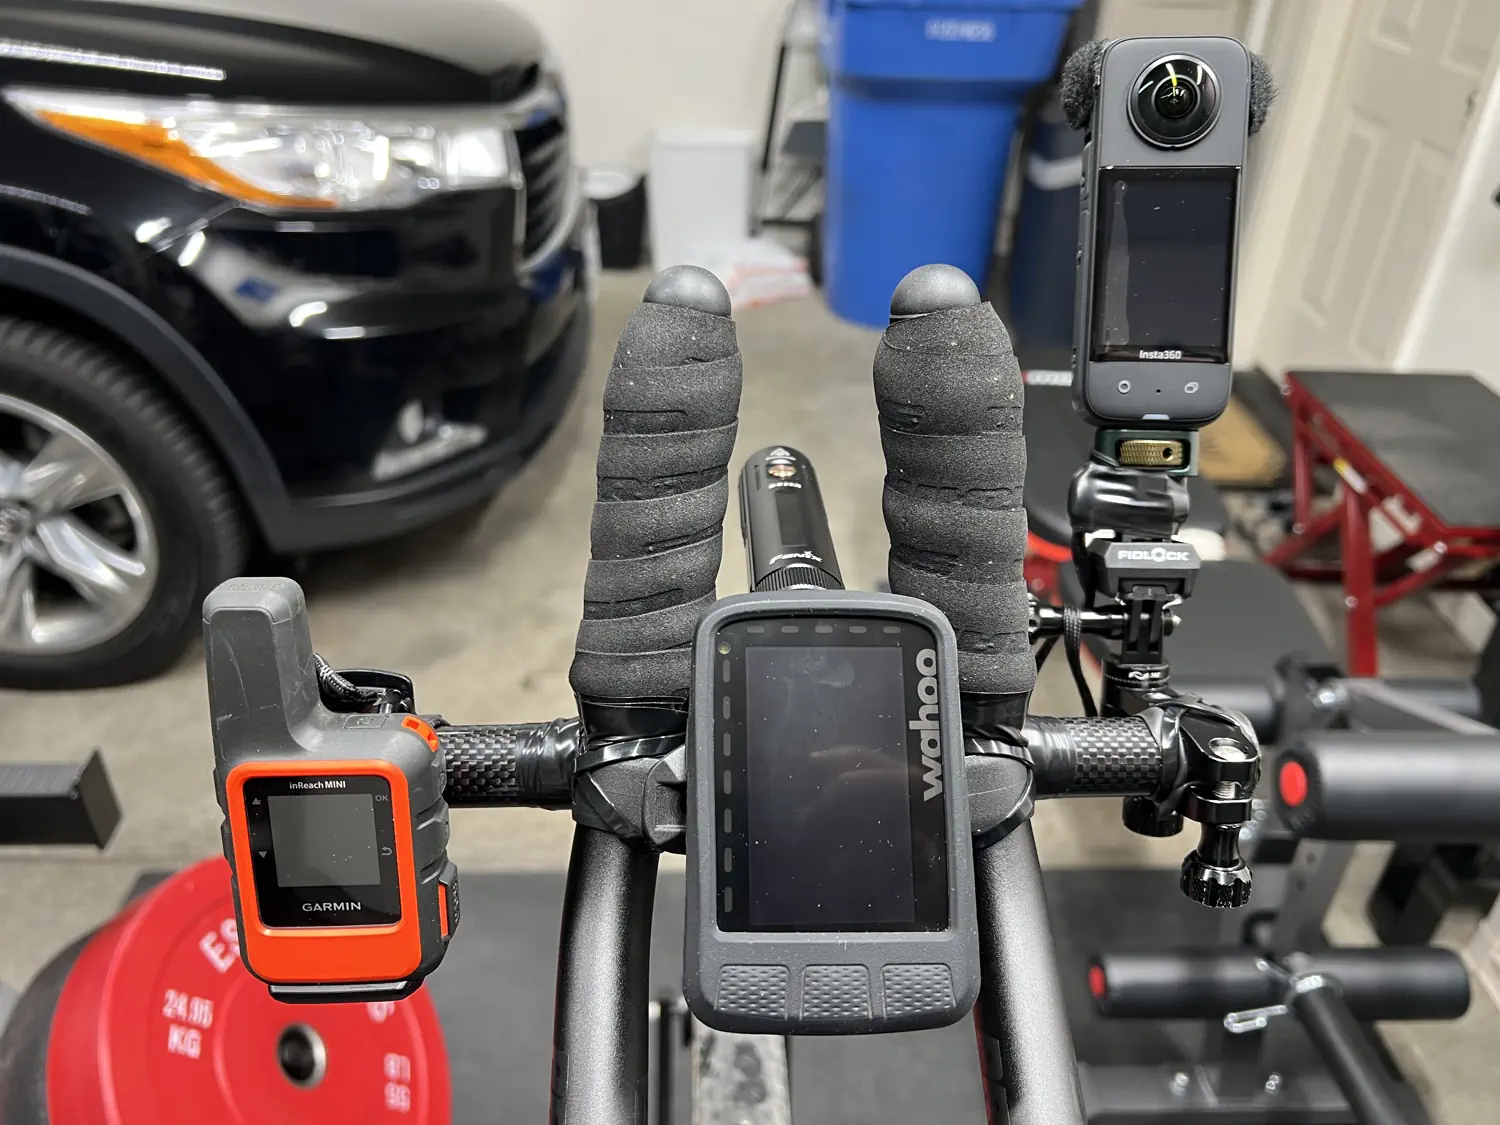
In order to prevent this sort of injury, I added a set of Profile Design Brief inner bar ends and a set of Profile Design Sonic/Ergo 50A aero bars to allow me to move my hands around throughout the day. I also wrapped all hand grips in several layers of comfort-focused SRAM Super Cork bar tape to further reduce the shock and vibrations that my hands would be exposed to on a daily basis. These extra hand positions also allowed for me to shift my entire body position around thus helping to minimize back, chest, and arm muscle fatigue throughout the day.
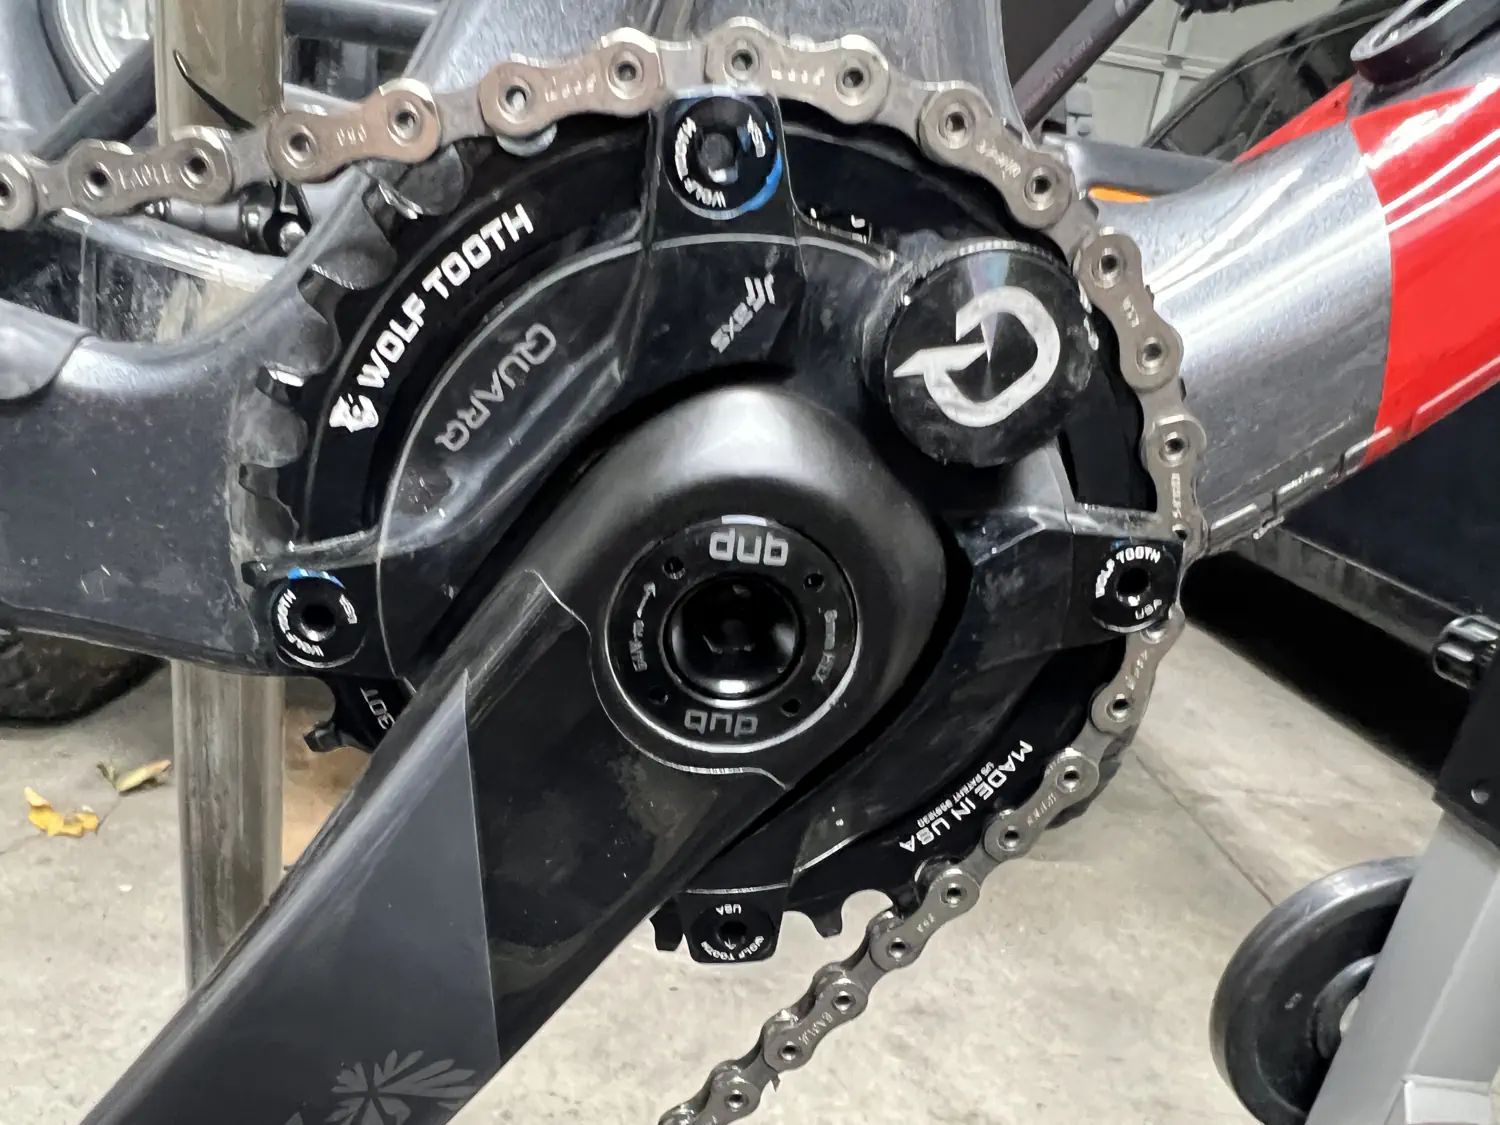

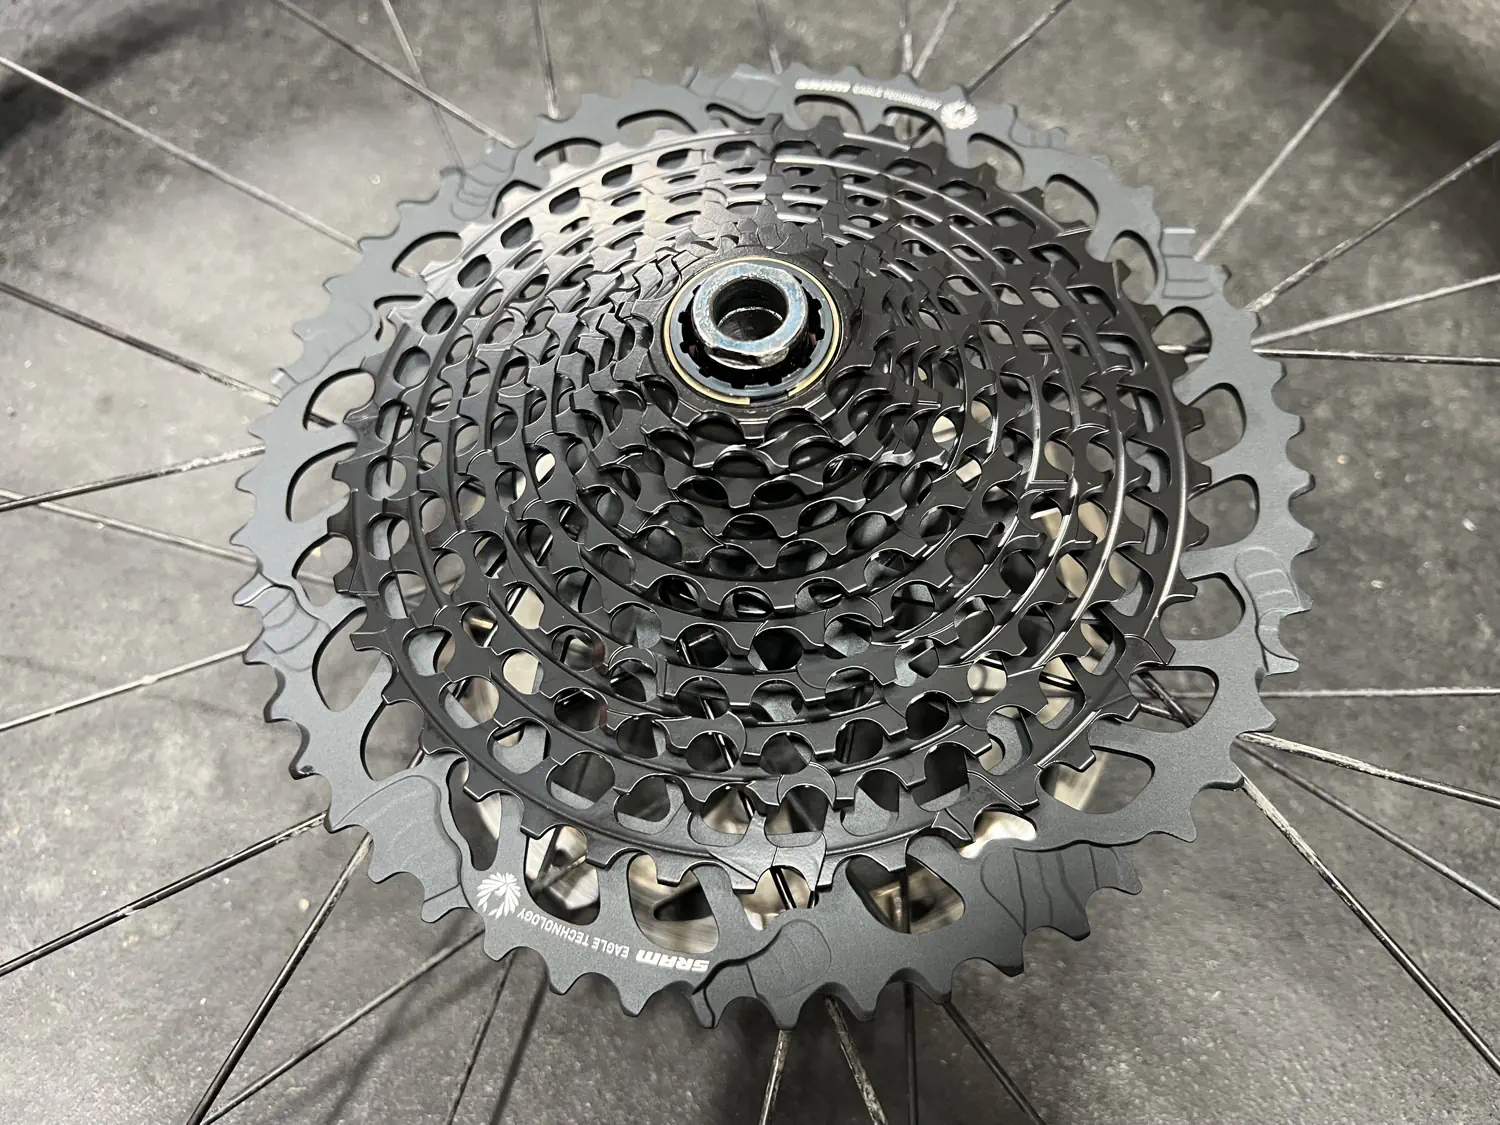
Gallery of Keith's bike drivetrain, including a 30-tooth chainring, 10-52 tooth cassette, and power meter
For gearing, I went for the "low and slow" approach. I chose to run a 1x, Wolf Tooth 104 BCD 30-tooth chainring on SRAM/Quarq 165mm XX1 cranks with a SRAM/Quarq DZero Dub power meter up front. This was paired with a SRAM Eagle X01 10-52 tooth, 12-speed cassette out back. This setup gave me the low gearing that I needed to pedal up the incredibly long and steep mountain passes throughout the Tour Divide route. This approach also helped to guard my knees from injury as I was able to spin at a low-torque, higher cadence rather than grind, and place a lot of torque, on my knees.
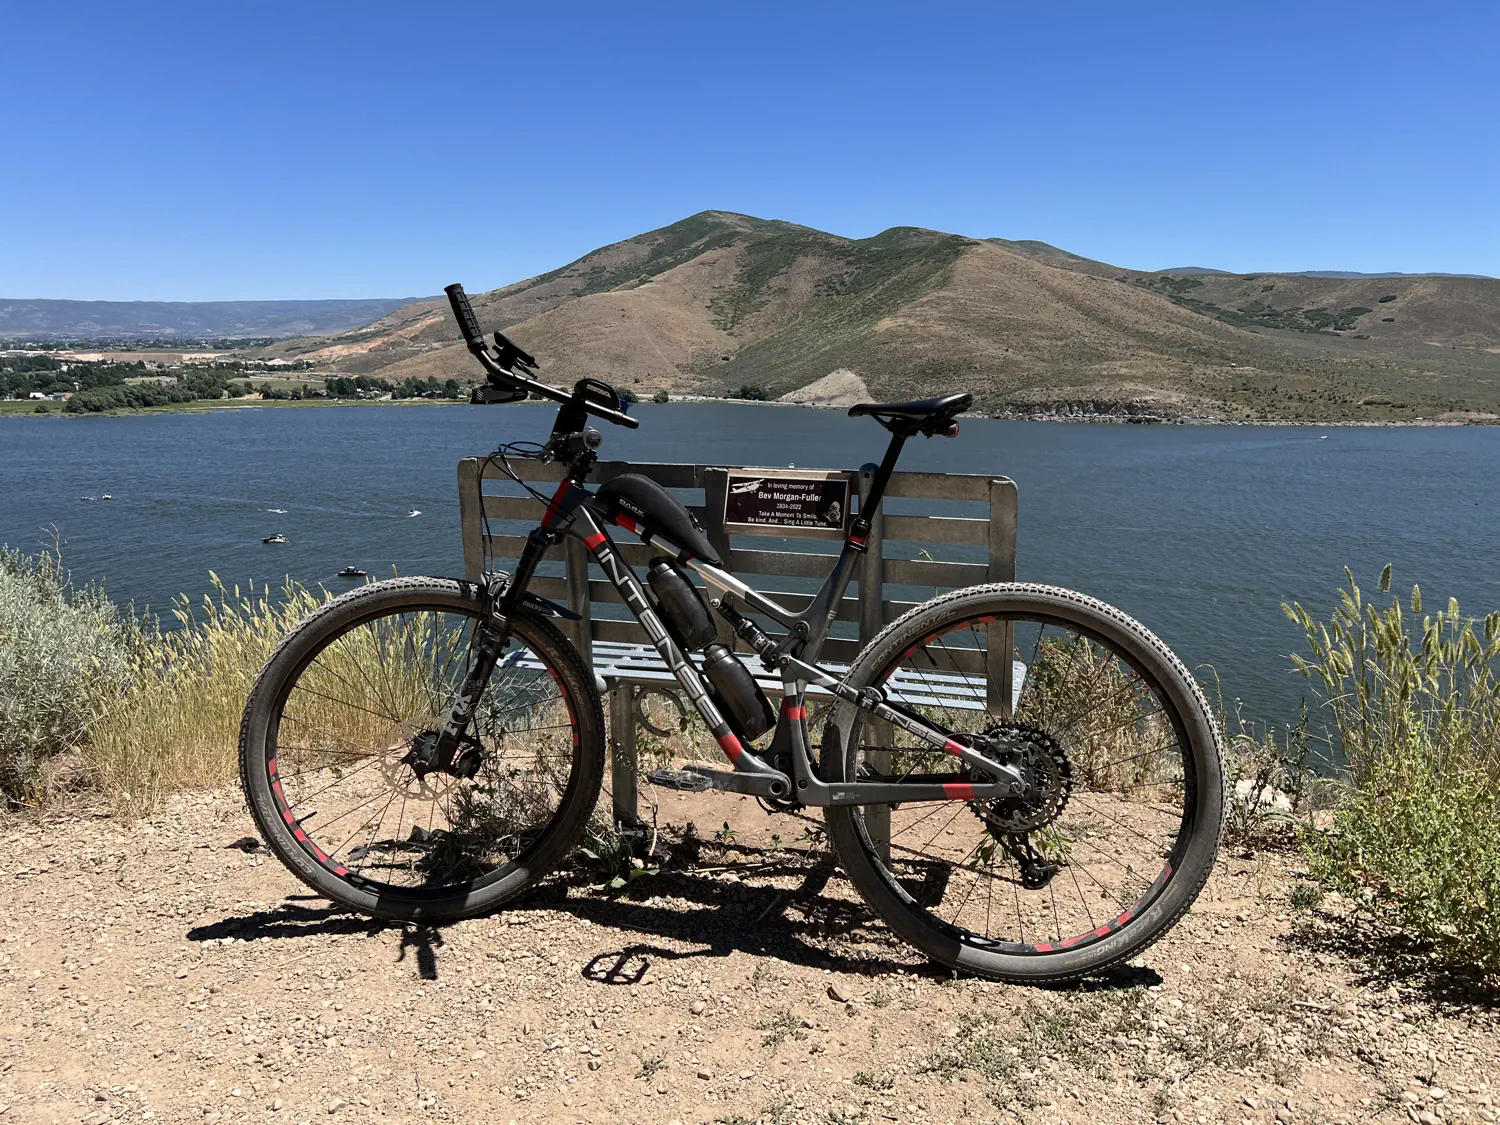
Bikepacking racks and bags 🚲 🧳
In my opinion, bikepacking racks and bags were the most important equipment that I had to select for the Tour Divide. If I chose wrong, I could end up not having enough carrying capacity, not being able to distribute weight properly, or worse, the equipment could break mid-race...
I spent countless hours researching various bikepacking manufacturers and their multitude of product lines. I looked at everything from major manufacturers (e.g., Ortlieb) down to small, bikepacking-focused, boutique vendors (e.g., Tailfin). Eventually, after much back and forth, I settled on a variety of products from Old Man Mountain (OMM) and Mountain Laurel Designs (MLD).
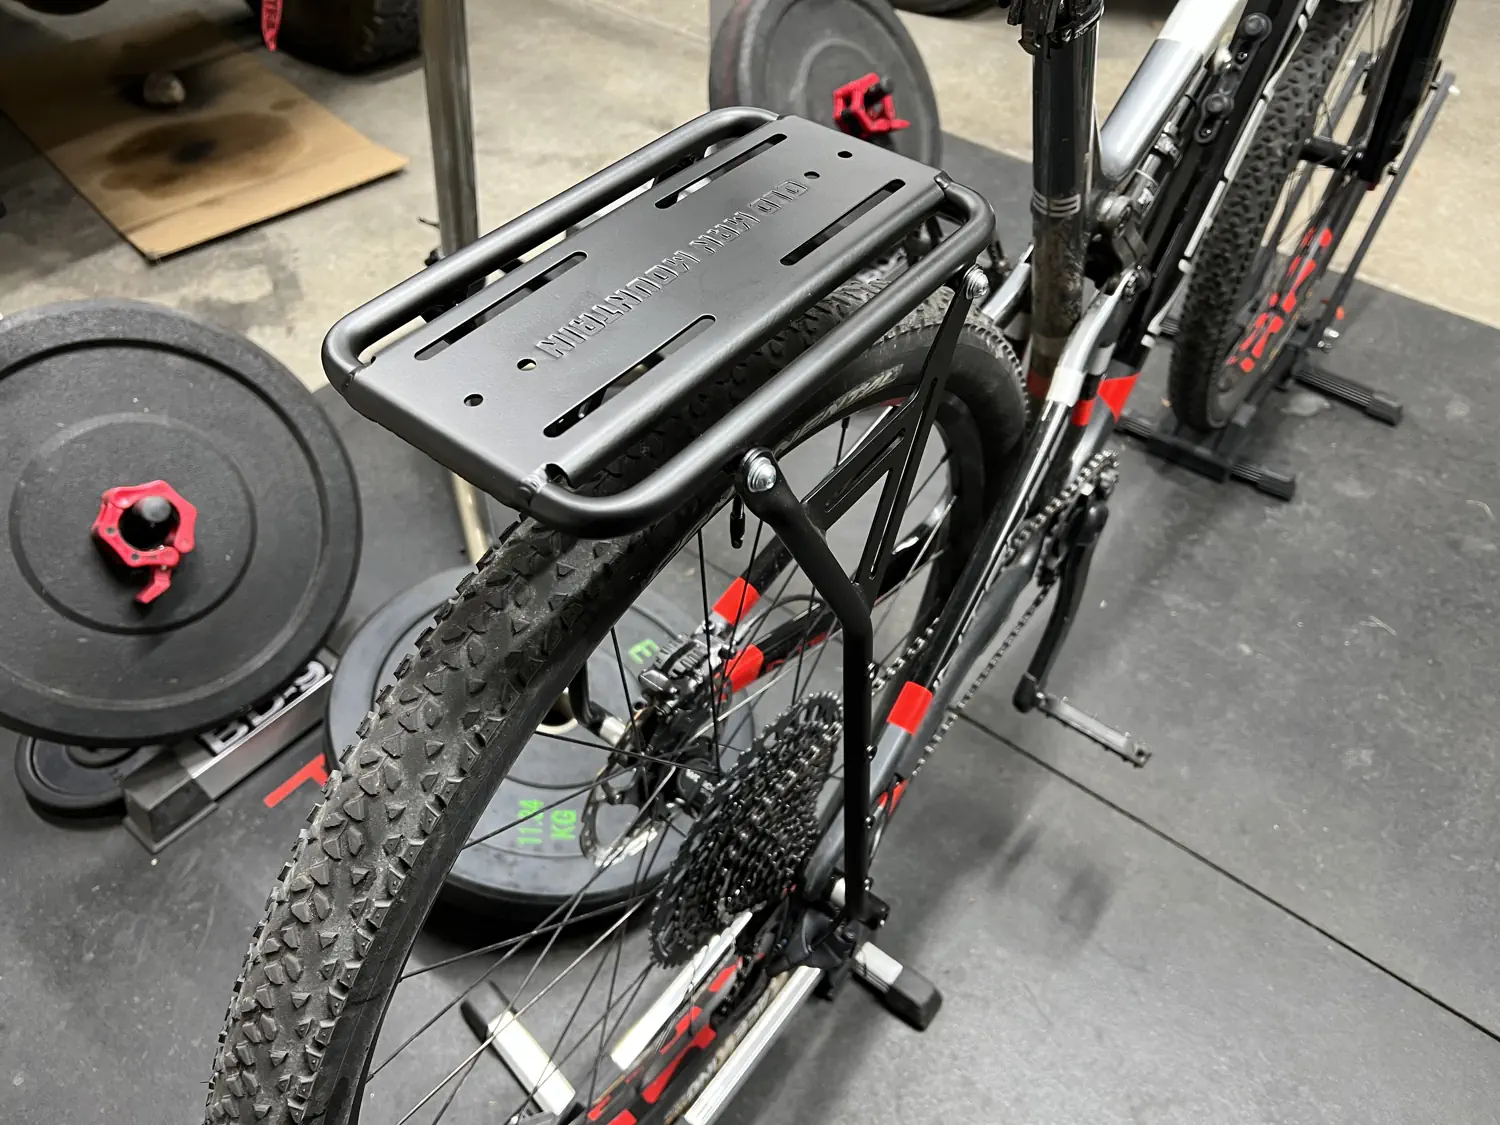
Gallery of Keith's rear rack system consisting of an Old Man Mountain Divide XL rack and Mountain Laurel Designs bikepacking dry bags
My primary, rear storage system was built around an OMM Divide XL Rack which was matched to a pair of MLD 12-liter Poco Panniers and an MLD 12-liter dry bag. This gave me ample storage room for all of my larger items and any items that I would need quick access to, such as food, sunscreen, etc.
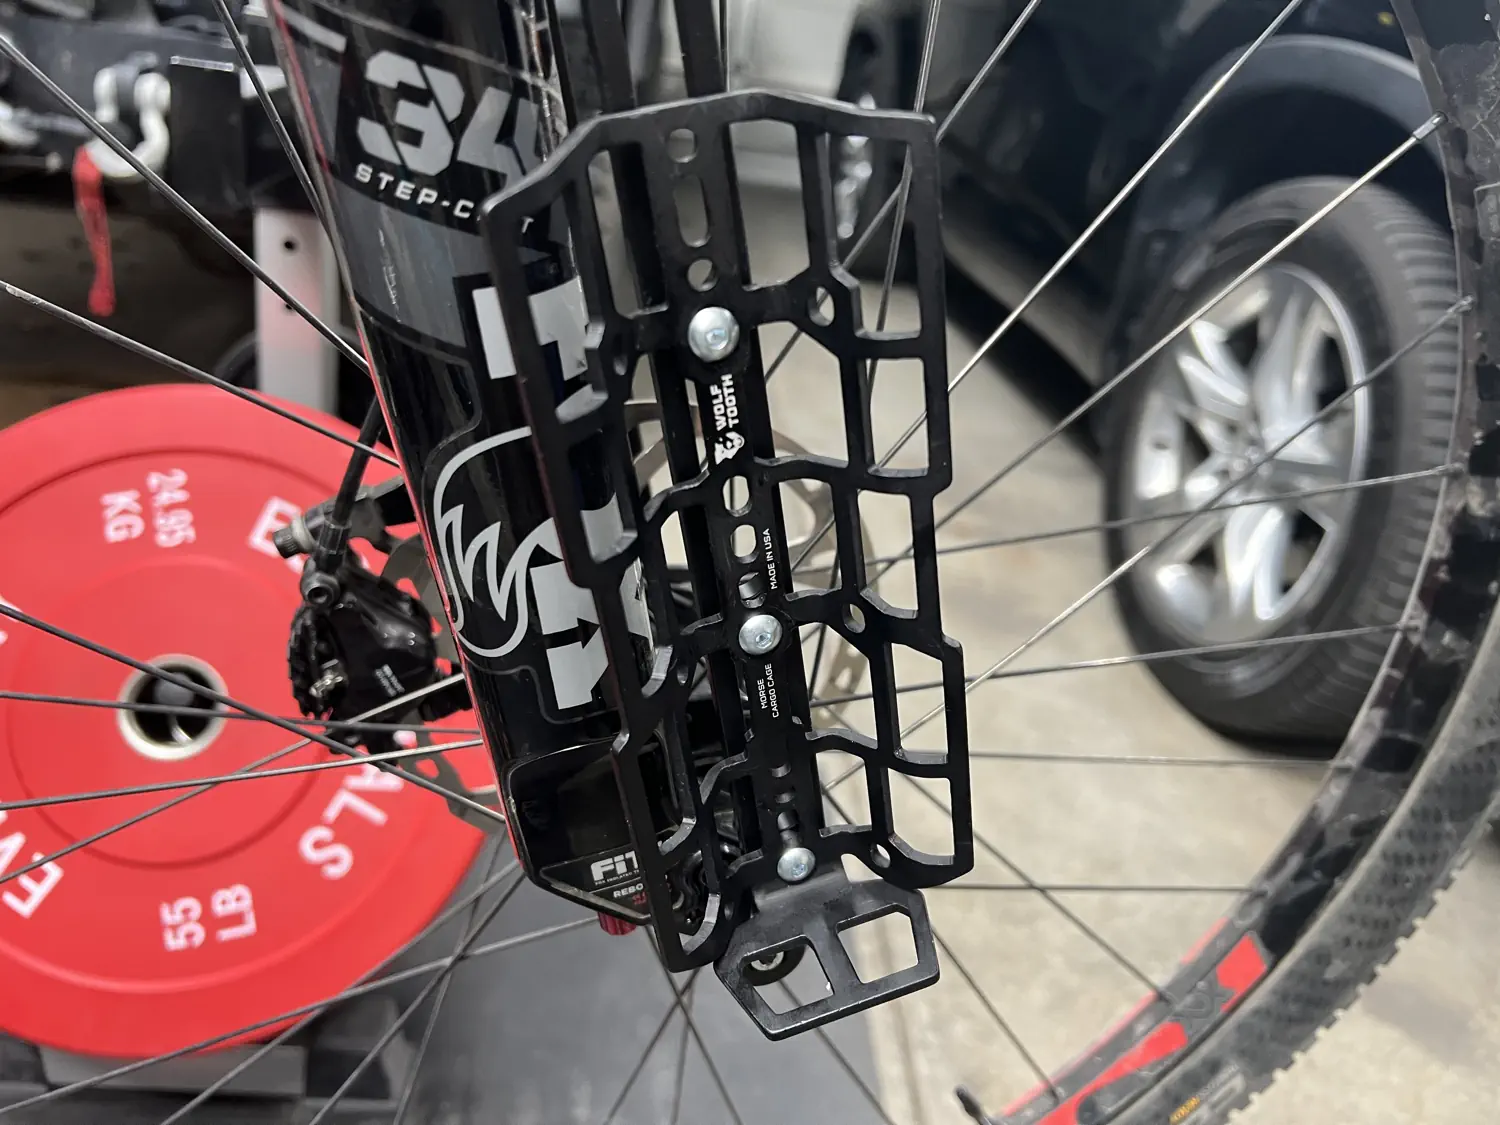
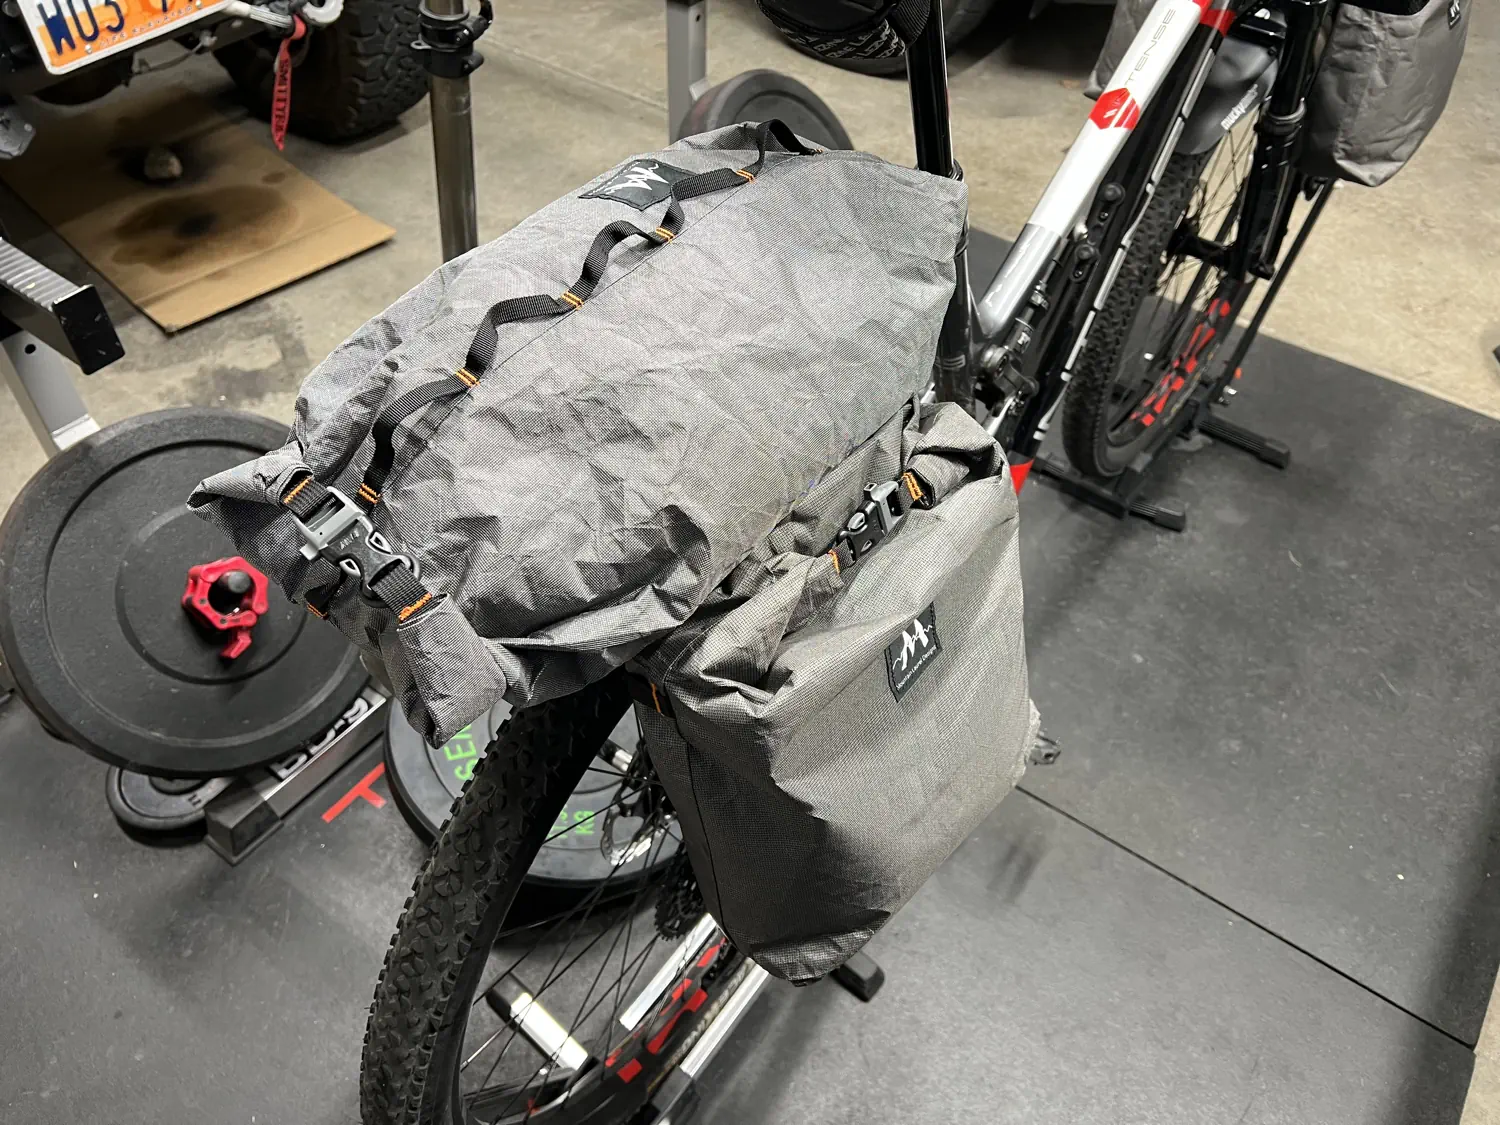
Gallery of the fork-mounted cargo carrying system based on the Old Man Mountain Axle Pack system
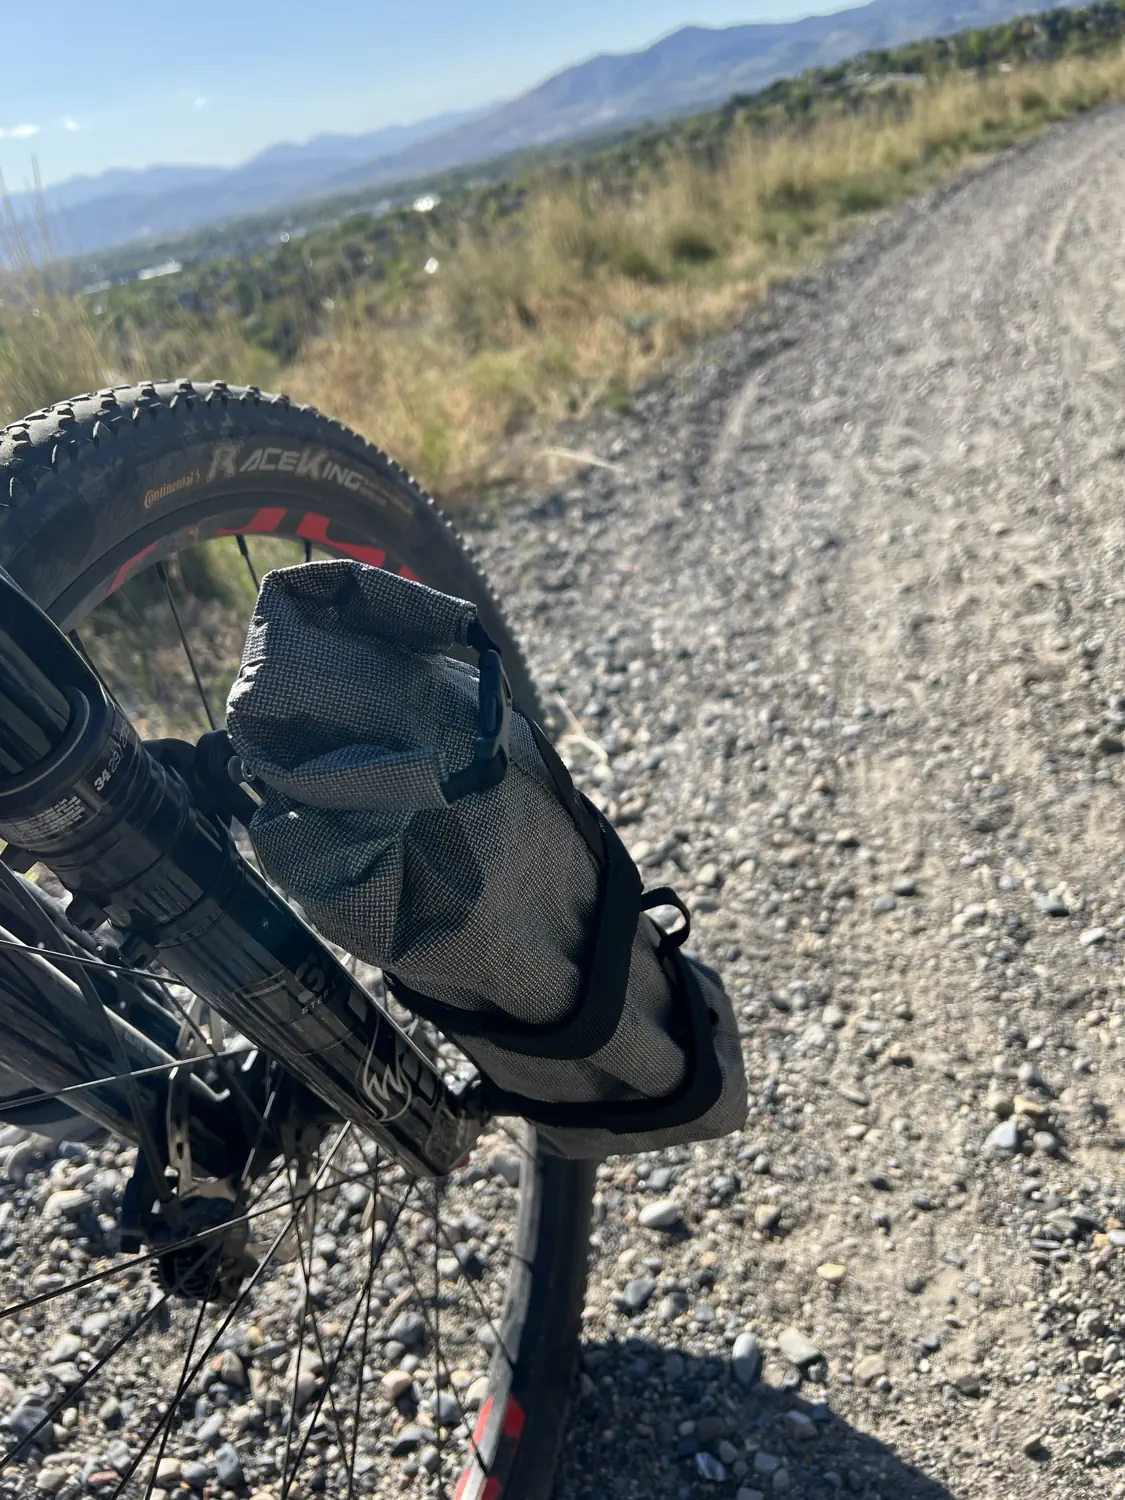
For additional storage up front, I added a set of Wolf Tooth Components Morse Cargo Cages which were mated to a pair of OMM Axle Packs. This fork-based storage system held a pair 2.5-liter MLD dry bags. I also created a custom handlebar bag mount using my aero bars, a carbon fiber cross-member, and some cargo straps. This system held a 7-liter MLD dry bag.
For items that I needed access to while riding, I added a 1.5-liter Tailfin top-tube bag. This bag has a large, flip-top lid with a magnetic closure that allowed for easy access to snacks, lip balm, and other essentials that I needed throughout the day. I also kept key trailside essentials in this bag, such as my tubeless repair kit.
All in all, my choices worked out splendidly! I had plenty of cargo room for all of my gear, I could easily access those items that I frequently needed, my bike felt balanced and rode extremely well, and everything survived the journey. 😅
Clothing 👕 🩳
I carried three types of clothing with me during the Tour Divide; Daily riding kit, rain gear, and cold weather gear.
Daily riding kit
My daily riding kit was built around a pair of Pearl Izumi Expedition Cargo Shorts and a Sportful Evo cycling jersey. For added sun protection, I wore a set of Pearl Izumi Sun Sleeves and Pearl Izumi Sun Legs. This kept the vast majority of my skin out of the harsh sun. It also provided a small amount of warmth for those cold mornings and evenings.

For hand protection and comfort, I wore a set of Fox Ranger Gel full-finger gloves. The gloves were super comfortable but the touchscreen functionality was frustrating at best. I chose to ride flat pedals, rather than clipless pedals, so I wore a set of Five Ten Freerider Pro shoes which were paired with Swiftwick Aspire Seven socks. These socks were fantastic as they provided light compression and dried extremely quickly.
I also included a Giro Fixture helmet, with MIPS protection, in my kit. In my opinion, a helmet should be mandatory for any sort of biking adventure. This specific helmet is lightweight, relatively inexpensive, and provides the added protection of the MIPS system.
Rain gear
Rain was almost a certainty at some point during my 27-day journey along the Continental Divide. I packed an Eddie Bauer RIPPAC waterproof rain jacket. While not the lightest or most packable jacket, it was highly waterproof, very comfortable, had large pit zips, and was affordable. I also packed a pair of Gorewear C5 Gore-Tex® PacLite® Trail Cycling Pants. These pants were amazing! They are highly waterproof, pack down to nothing, extremely lightweight, and easy to put on and take off without removing your shoes.
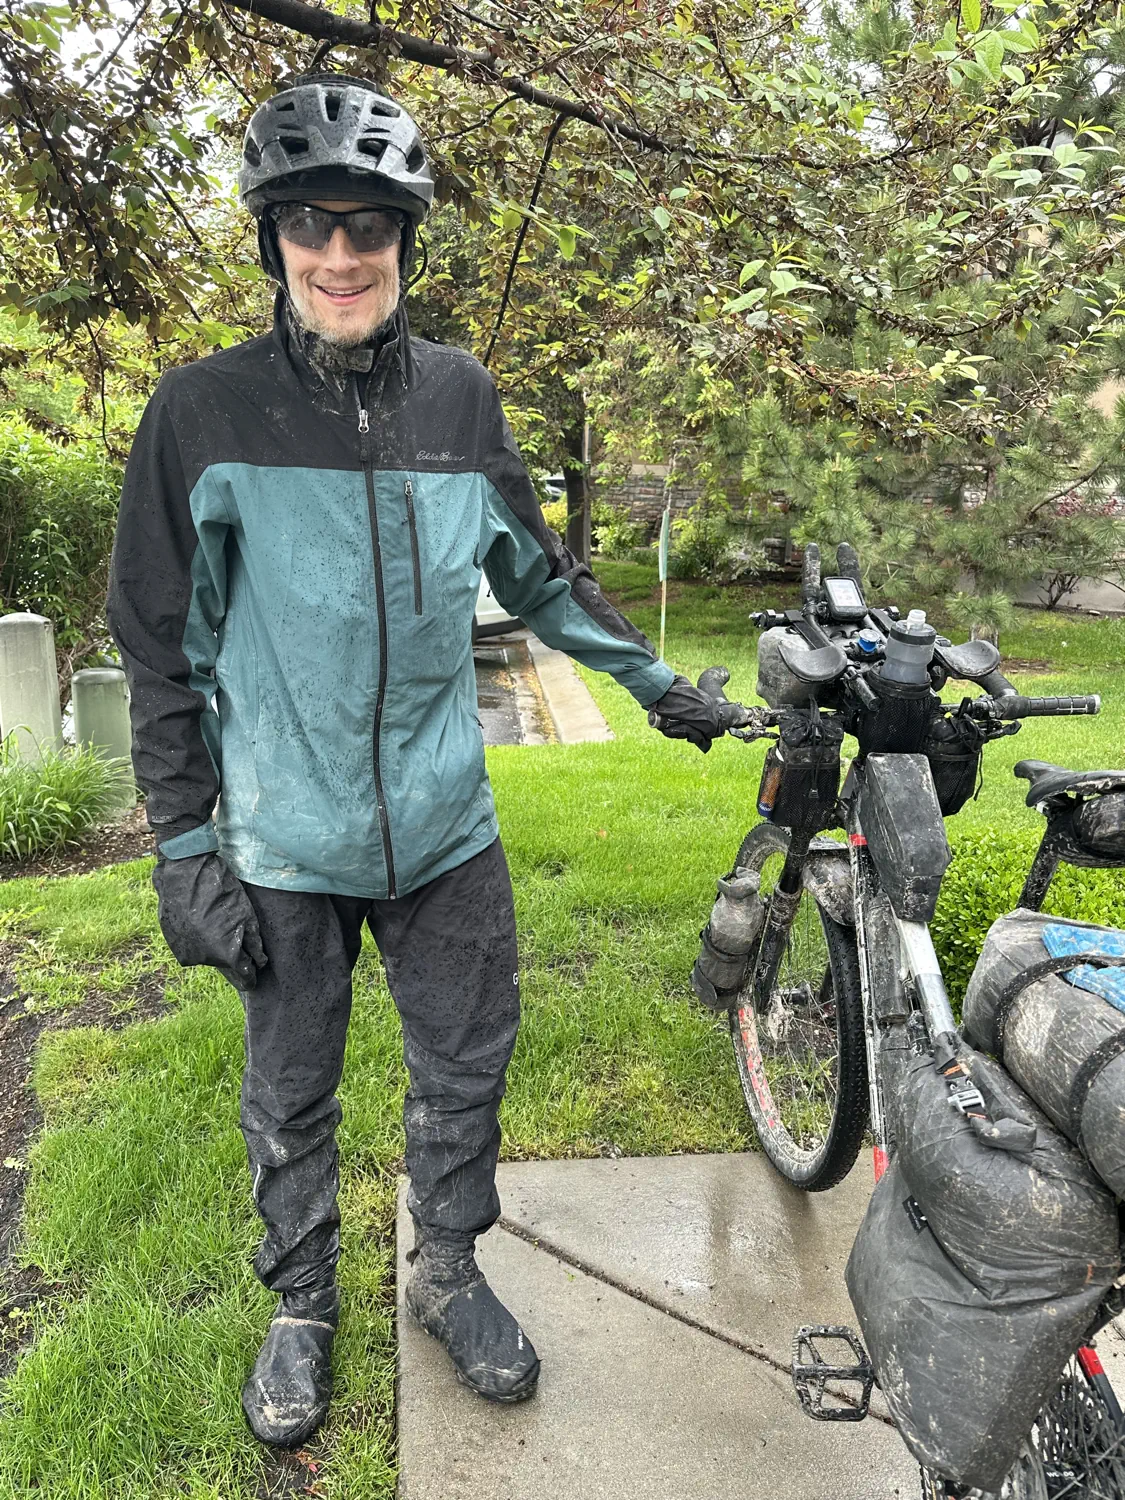
For rain accessories, I carried a set of Randy Sun waterproof socks, Showa Temres 281 waterproof gloves, and Pearl Izumi WRX shoe covers. During the early stages of the race, I used the waterproof gloves almost daily as an added layer of warmth. Thankfully, it didn't rain much during 2025 Tour Divide so I never used the rest of the waterproof accessories that I brought along.
Cold weather gear
I was very nervous about the potential for hypothermia since I would be spending a significant amount of time at high elevation in the mountains. It's not uncommon for temperatures to dip below freezing overnight, even during the summer. To calm my nerves, I brought plenty of warm weather gear to ensure that I could endure anything that nature threw at me.
I brought an Eddie Bauer packable puffer jacket as my mainline of defense against the cold. This jacket could be worn by itself or layered underneath my waterproof jacket to provide additional warmth. I brought a pair of MoreOK waterproof/windproof winter cycling gloves to protect my hands and fingers from frostbite. The Pearl Izumi WRX shoe covers also doubled as a windproof layer for my feet to help protect against frostbite. Finally, I included a standard winter beanie cap and a spare set of thin winter gloves in case things really got cold.
Thankfully, I never had to use most of my winter gear. There were a few nights that I probably should have pulled out my puffer jacket while I was sleeping in my tent, but I chose to sleep a little colder to force me to wake up early in the morning. This prevented me from sleeping in too late but I did wake up physically shivering several times throughout the race. 🥶
Shelter and sleep kit 🏕️ 🛌
Due to the vast distances between towns, it is basically a requirement to have to camp at least a handful of times along the route. Knowing this, and wanting to manage hotel costs, I planned to primarily camp throughout the race.
Shelter system
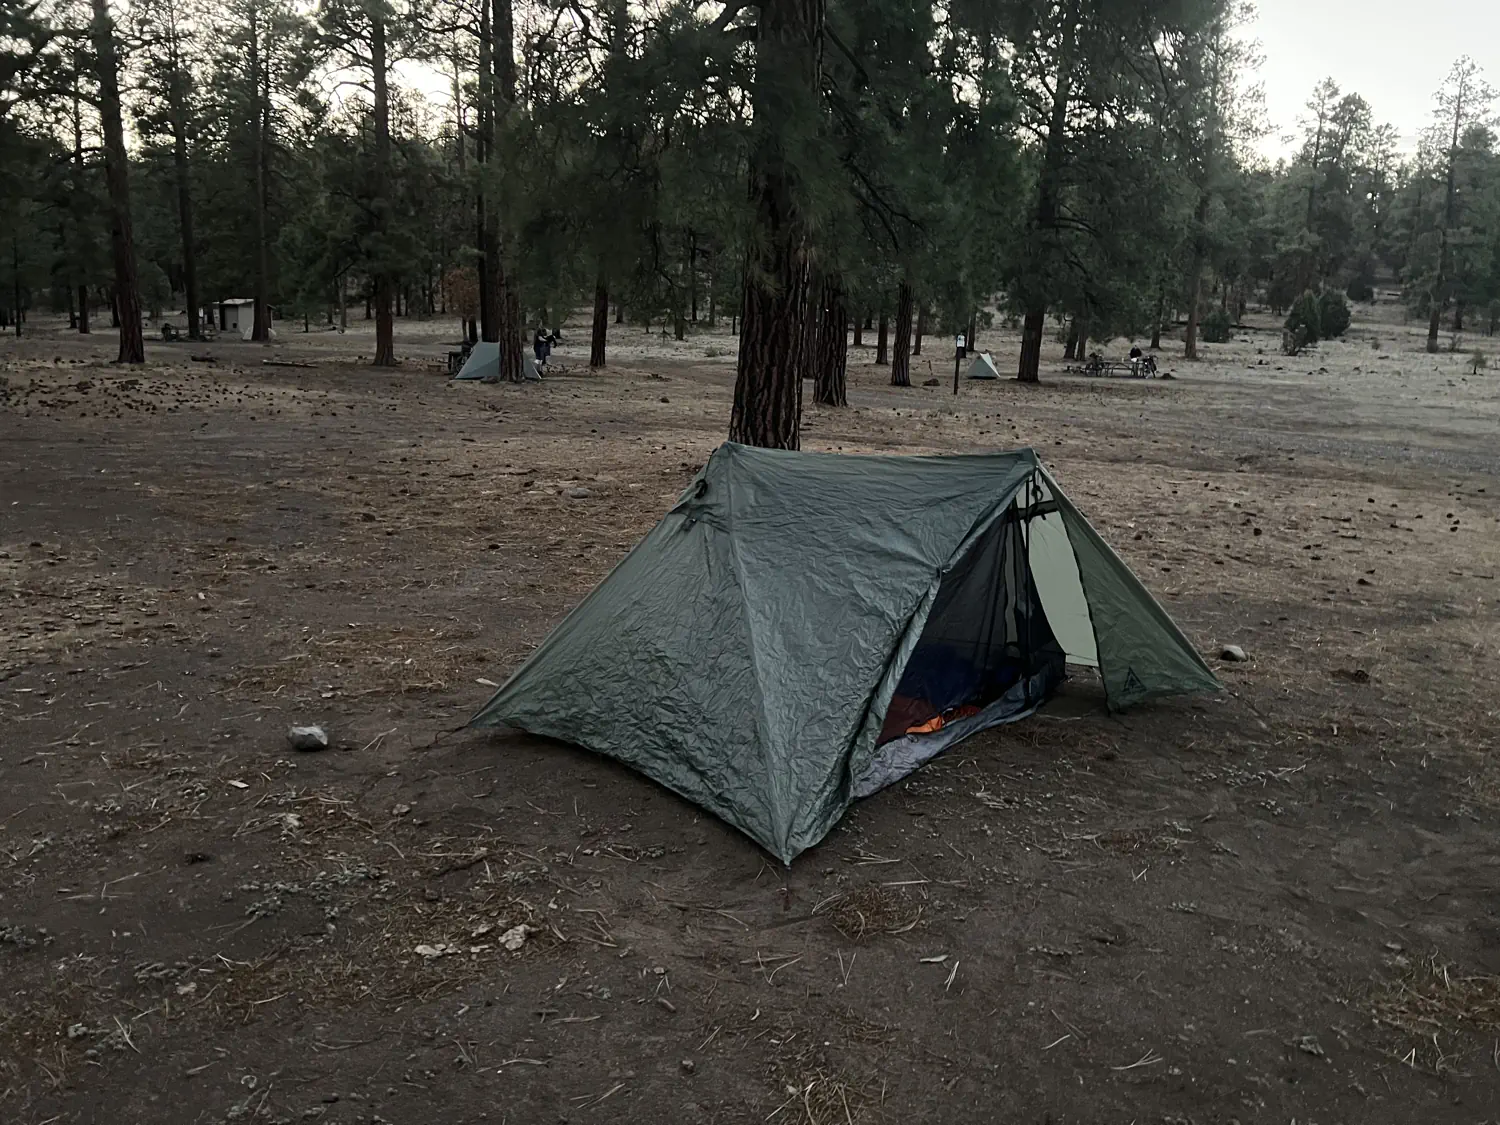
Since I was planning to frequently camp, I once again chose to prioritize comfort, over pure weight and speed, for my shelter and sleep kit. I chose to pack a fully enclosed, Durston X-Mid 1-person, ultralight tent. I used a set a Durston Iceline carbon fiber ultralight poles to pitch the tent. This tent was incredible! It weighs nothing, packs down tiny, and is easy to pitch (even after a long day of riding).
Sleep kit
For my sleep kit, I selected a Nemo Tensor Elite ultralight sleeping pad which I paired with a Peregrine 35°F (1.7°C) ultralight sleeping bag. This setup was excellent for packability but it was a little lacking for comfort. The comfort issue was mainly due to me being a side-sleeper and the sleeping pad not providing enough support for my hips. The sleeping bag however was great! It provided the perfect amount of warmth for the extremely varied temperature conditions along the route.
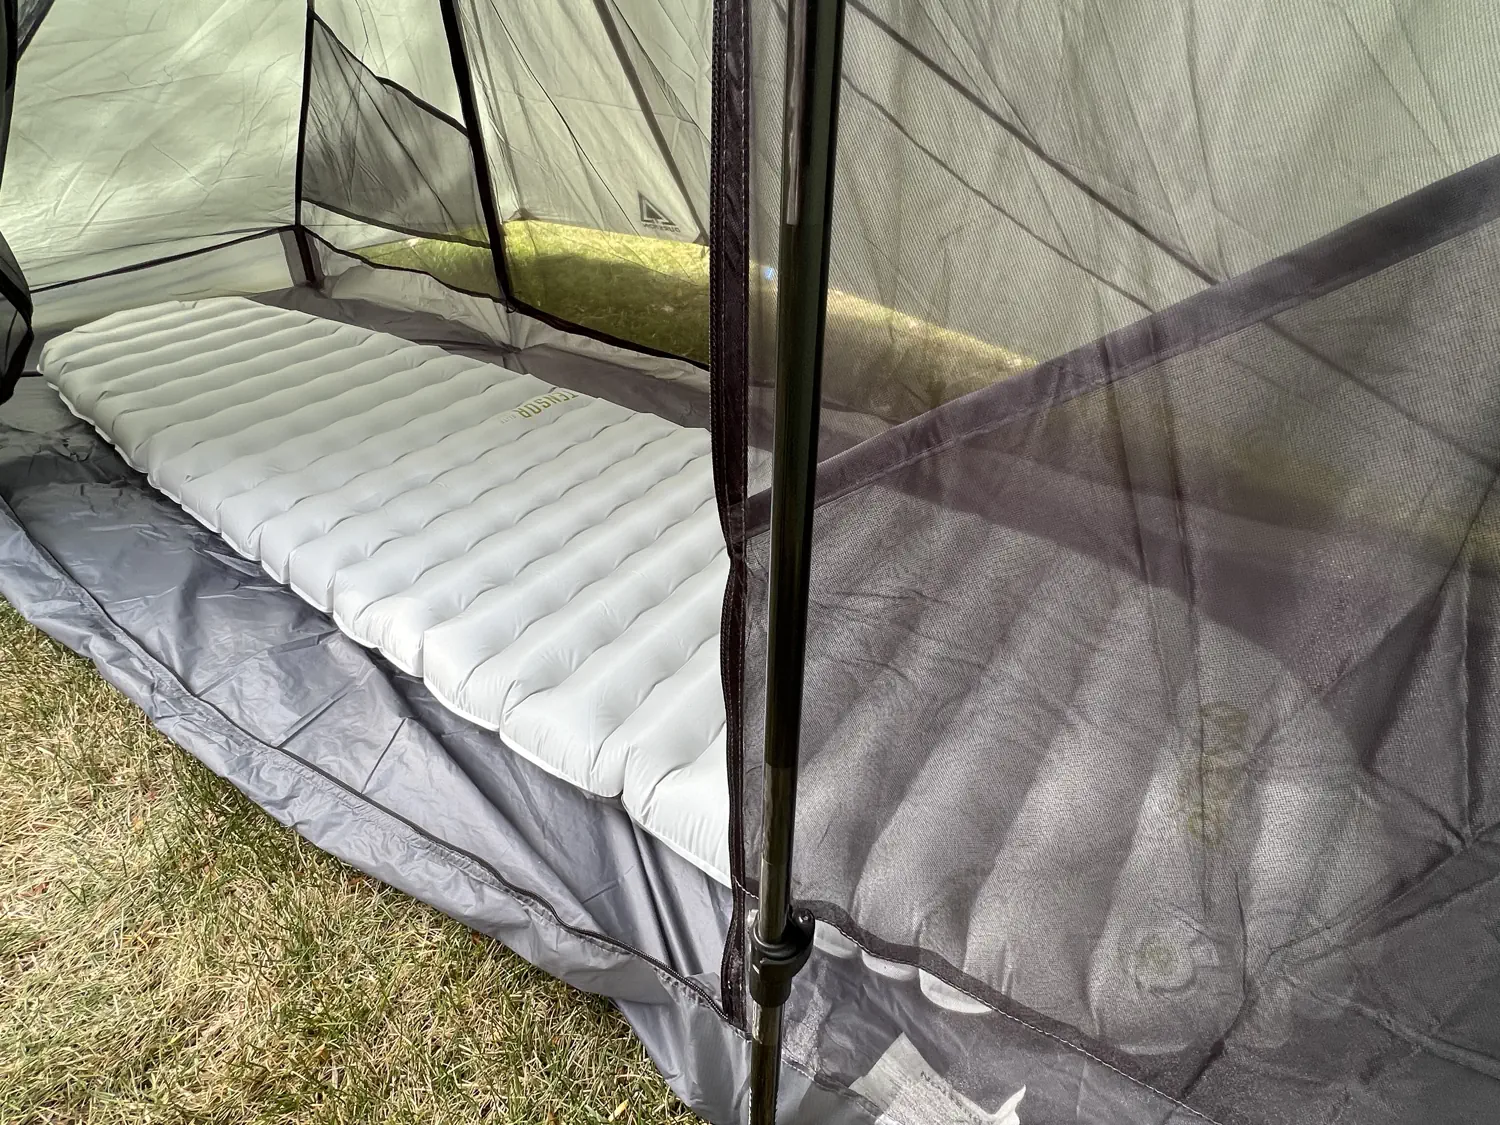

Gallery of Keith's sleeping pad and sleeping bag inside his Durston X-Mid 1 tent
During the race, in Steamboat Springs, Colorado, I ended up purchasing a Nemo Switchback foam sleeping pad. I purchased this additional sleeping pad to help protect my ultralight air pad from the sharp rocks, cacti spines, and other pokey objects that littered the upcoming desert sections. I had to strap this large foam pad to my rear rack, which was a pain, but it was well worth it to ensure that I didn't poke a hole in my air pad.
In hindsight, I should have brought the Tyvek groundsheet that I had from my prior tent. It would have provided similar protection and packed much more easily. 🤦
Food and water kit 🌯 💧
The ability to carry plenty of food and water is essential for ultra-endurance bikepacking racing such as the Tour Divide.
Food kit
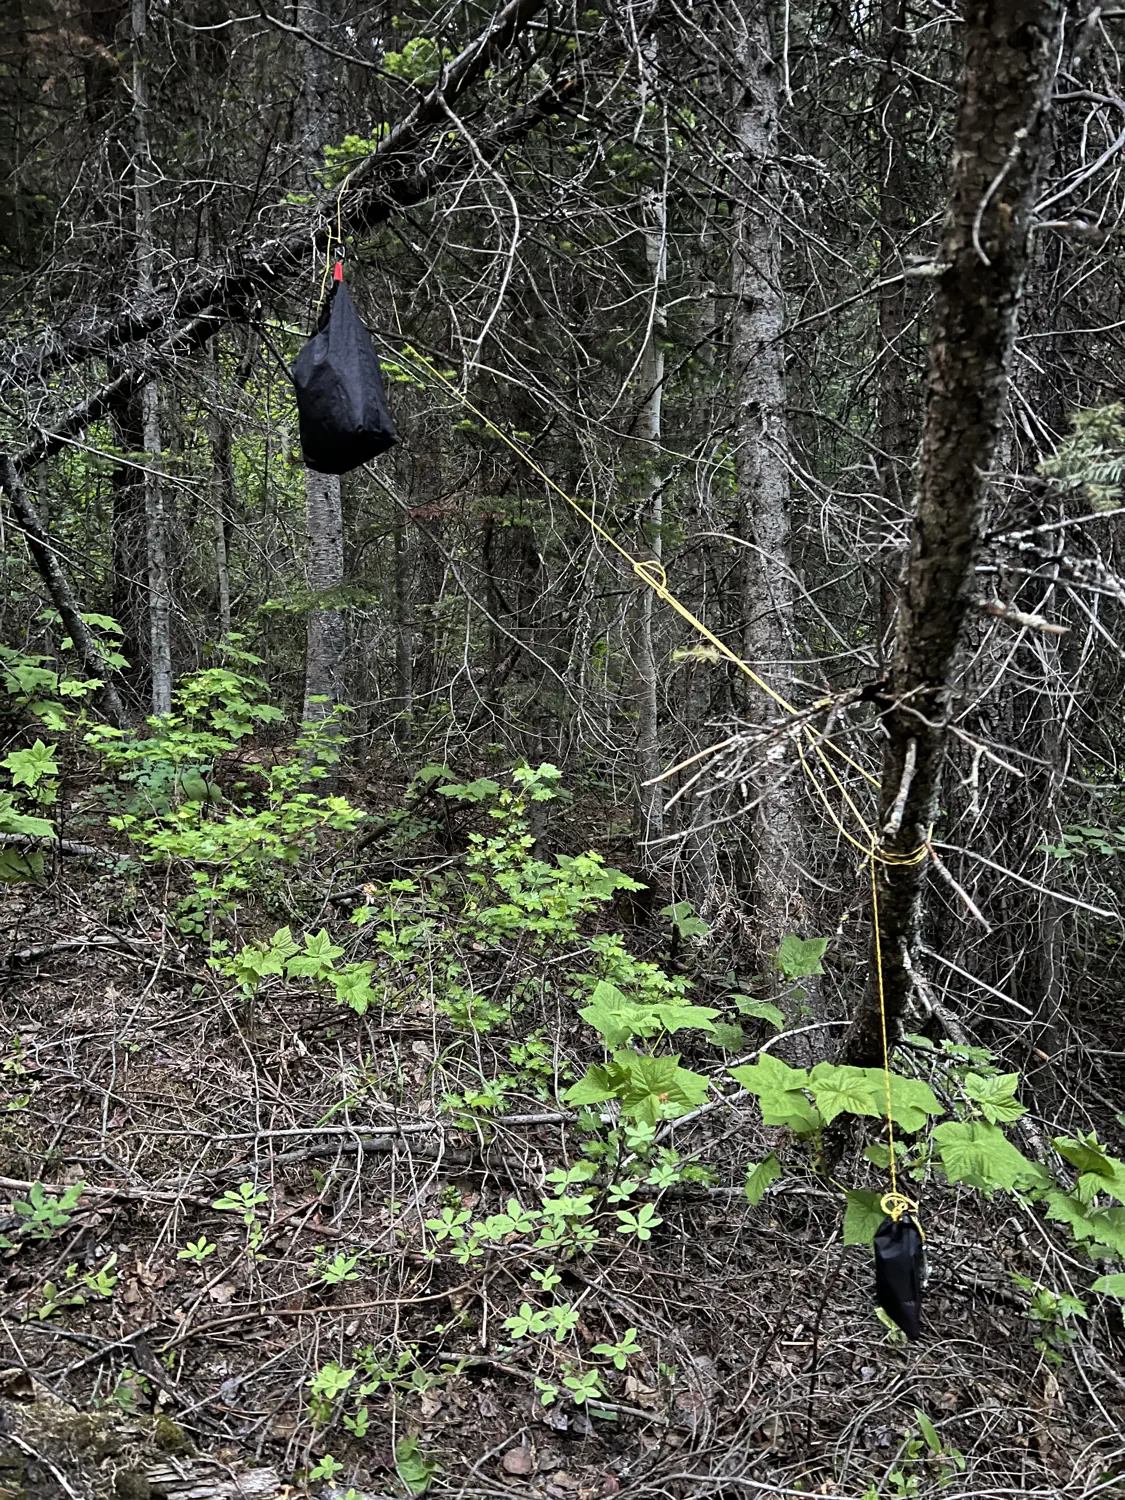
My food carry system was simple. I purchased an 8-liter, roll-top food bag from Hilltop Packs along with a Jetboil utensil kit. This simple bag included a bear hanging kit to keep my food safe while camping. This bag was used to store the vast majority of my food supply during the race. However, for quicker access, I would often shove food anywhere that I could, including my jersey and shorts pockets, top tube bag, and any other nook and cranny that I could find.
I also started the race with a simple cold soaking kit rather than a more traditional camp stove. The idea was that cold soaking would be easier and quicker than actually cooking meals. However, after the first few days, I found that even cold soaking was taking up too much time and water. So, I ditched my cold soaking kit in Butte, Montana and switched to eating mainly sandwiches and prepackaged meals for the remainder of the race.
Water kit
My water carry system was much more thought out... I was deeply concerned about running out of water during the longer, dry sections of the route. So, I planned to carry as much water as possible.
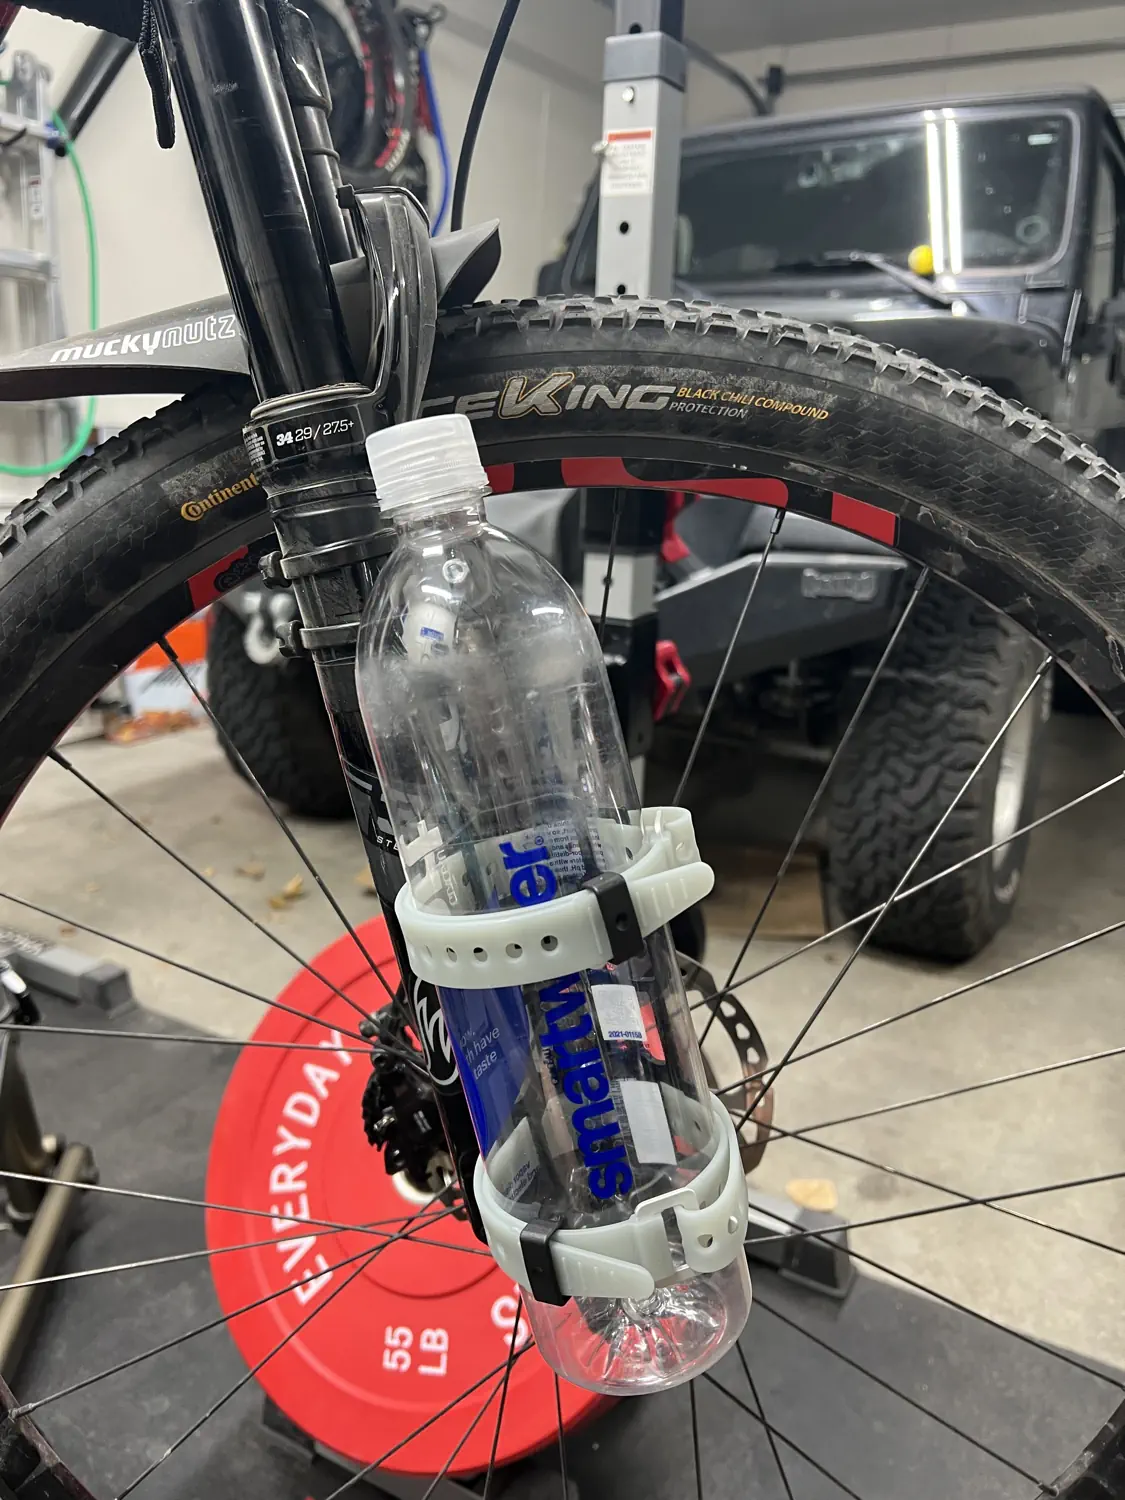
For daily use, I had one primary Camelbak Podium 24 oz (710 ml) water bottle that I always drank from. This bottle was made easily accessible by mounting it between my aero bars in a Rogue Panda Bismarck Bottle Bucket. I also carried two additional Fidlock 590 ml (20 oz) bike water bottles that were mounted within bike's main frame.
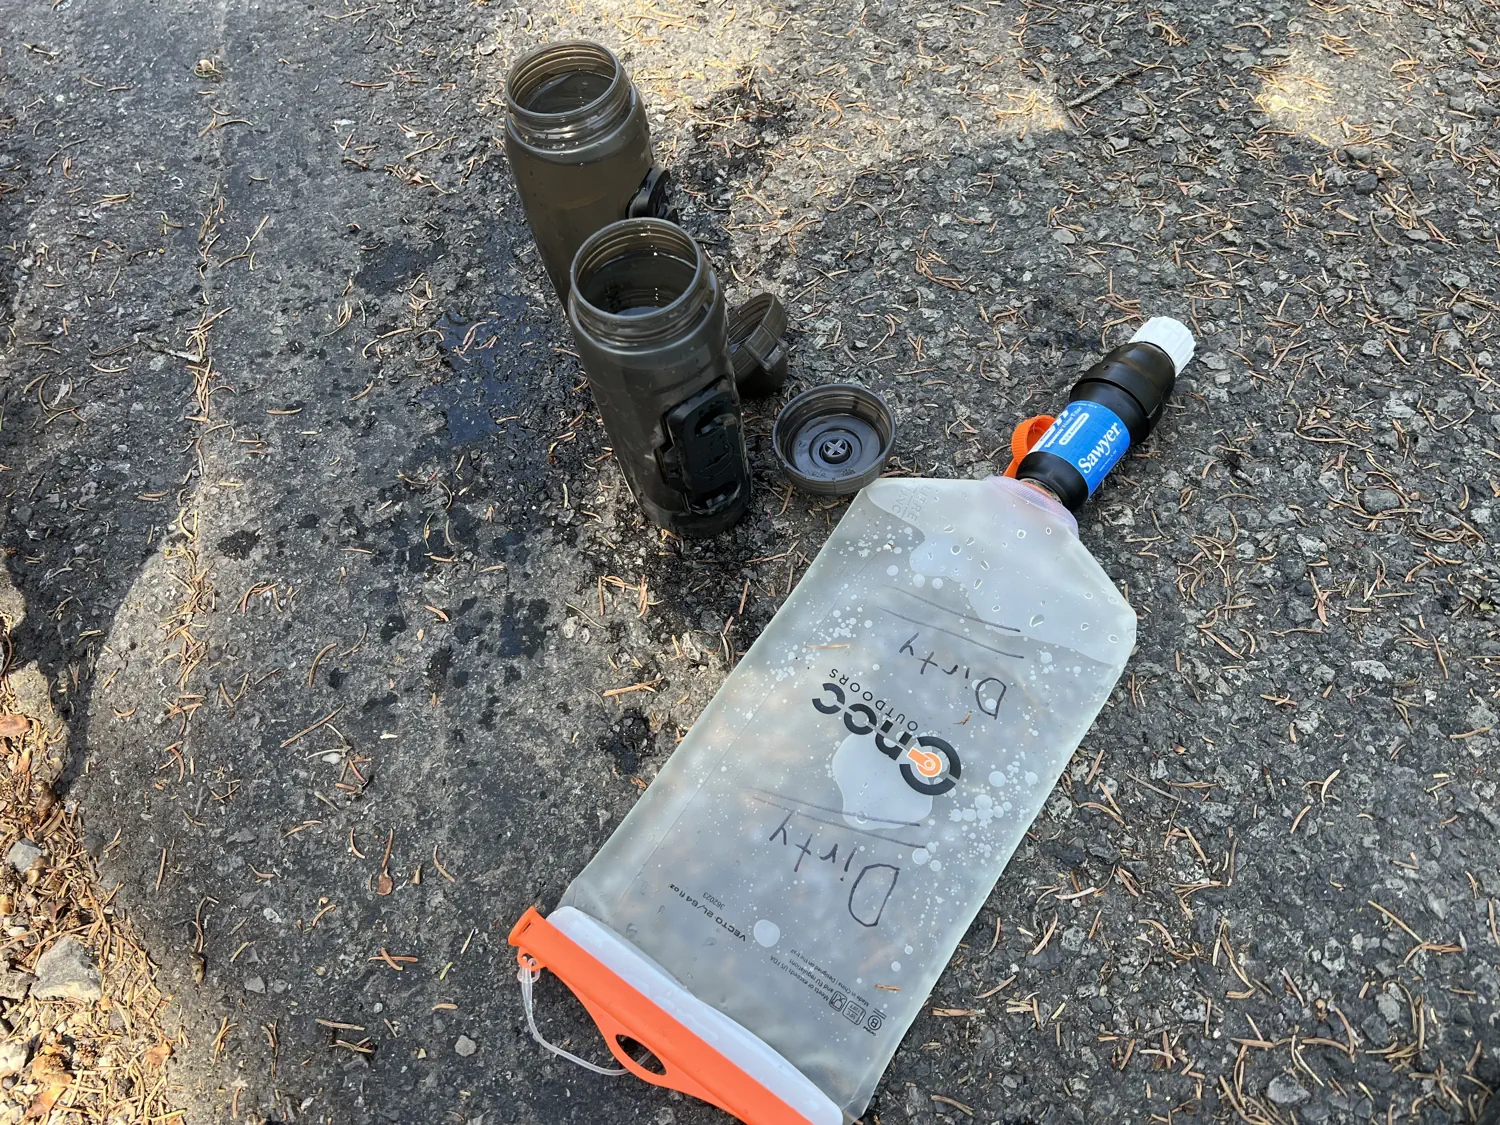
Most of the water that I drank during the Tour Divide was gathered from streams, rivers, lakes, ponds, puddles, and any other water source that I could find. That meant that I needed to filter the water in order to prevent potential waterborne illness such as Giardia. 🤮 My primary filter system consisted of a Cnoc Vecto 2-liter bladder that I could easily fill from any water source. I labeled this bag as "DIRTY" with a Sharpie marker to remind myself not to drink directly from it! I then connected a Sawyer Squeeze water filter to the "DIRTY" bag so that I could refill my bike bottles with purified water. As an emergency backup, I also carried a supply of Aquatabs which could allow me to make potable water should my primary water filter fail. Thankfully, I never had to resort to the Aquatabs.
Additional food and water carry
Several sections of the Tour Divide route are extremely remote and require carrying multiple days worth of food and water. For those sections, I wore a Semsty Running Hydration Vest. This vest included a 1.5 liter water bladder. I also added a pair of Lermx Quick Grip Chill 500ml Soft Flasks which I carried in the front pockets of the vest. This gave me a total extra water capacity of 2.5 liters, which was very much needed in the hot, dry, desert sections.
I was also able to carry a significant amount of food in this running vest. At one point, I had 5 bear claws, 6 Pop-Tarts, 4 Payday candy bars, several Gu energy gels, and two bags of Haribo gummy worms. 🍬
All in all, the Semsty Running Hydration Vest is an incredible piece of kit! It cost less than $30 USD and held up extremely well. It is also incredibly lightweight and comfortable to wear for extended periods of time.
Hygiene essentials kit 🪥 🧼
Personal hygiene is incredibly important on multi-day, outdoor adventures such as the Tour Divide. Yet, this is often an overlooked area that could potentially end your race. For me, I was primarily concerned about the big four: 1) saddle sore prevention, 2) sun protection, 3) oral hygiene, and 4) poop kit.
Saddle sore prevention
Saddle sores can, and will, quickly ruin any ride. On shorter rides, this can often be combated by simply wearing a chamois liner, using Body Glide, and/or applying a small amount of chamois cream to sensitive areas. However, riding 10+ hours each day, for 27 consecutive days, requires much more attention to your undercarriage.
During my pre-race training rides, I had always relied on, and had success with, simply using Body Glide and reapplying mid-ride as needed. So, I started the race with this same approach. However, I quickly found that Body Glide wasn't enough for me as I was started to develop saddle sores by day 3. Thankfully, I had brought along two small packets of Chamois Butter, which I was able to ration until I reached Helena, MT. I then bought the mega-sized tube of Euro-style Chamois Butter, which got me through the rest of the race. The cooling effect of the euro-style was wonderful for my irritated skin! 😌
At night, I spent extra time ensuring that I washed and cleaned as much of my body and chamois as possible. I applied A&D Ointment to any areas that were showing signs of irritation. I also carried a small amount of acne cream which I applied to any active saddle sores. This nightly ritual helped to keep saddle sores at bay!
Sun protection
I burn very easily in the sun! ☀️ I didn't want to have to coat my entire body in sun screen multiple times a day as this would be bothersome and time consuming. So, I chose to wear clothing with UPF50 sun protection including my jersey and shorts. I also wore a pair of white Pearl Izumi Sun Sleeves and Pearl Izumi Sun Legs. The clothing choice kept the vast majority of my body protected from the sun. For the remainder of my body, I used Banana Boat Sport SP50 sunscreen. I reapplied sunscreen multiple times per day, as needed.
Oral hygiene
I consumed an unbelievable amount of sugary snacks and drinks over the course of the 27 day race. It wasn't uncommon for me to eat 5 or 6 bear claws, half a dozen pop tarts, a full box of cookies, and a pint of ice cream in a single day!
With this amount of sugar intake, it was extremely important to brush my teeth as often as possible. I chose to bring a simple collapsible travel toothbrush along with a travel-sized toothpaste tube (which I had to replace half-way through the race). My daily goal was to brush my teeth at least twice a day. I can only imagine the damage all of that sugar would have done to my teeth and gums if I wouldn't have taken such good care of them.
Poop kit
Yep, everybody poops 💩, even Tour Divide racers! 🤣 I kept my poop kit relatively simple as I chose to use a Pact Lite Trowel that has in-built storage for biodegradable, compressed wipes. This made for convenient and easy to use system. I also kept a small bottle of hand sanitizer and additional wipes handy at all times.
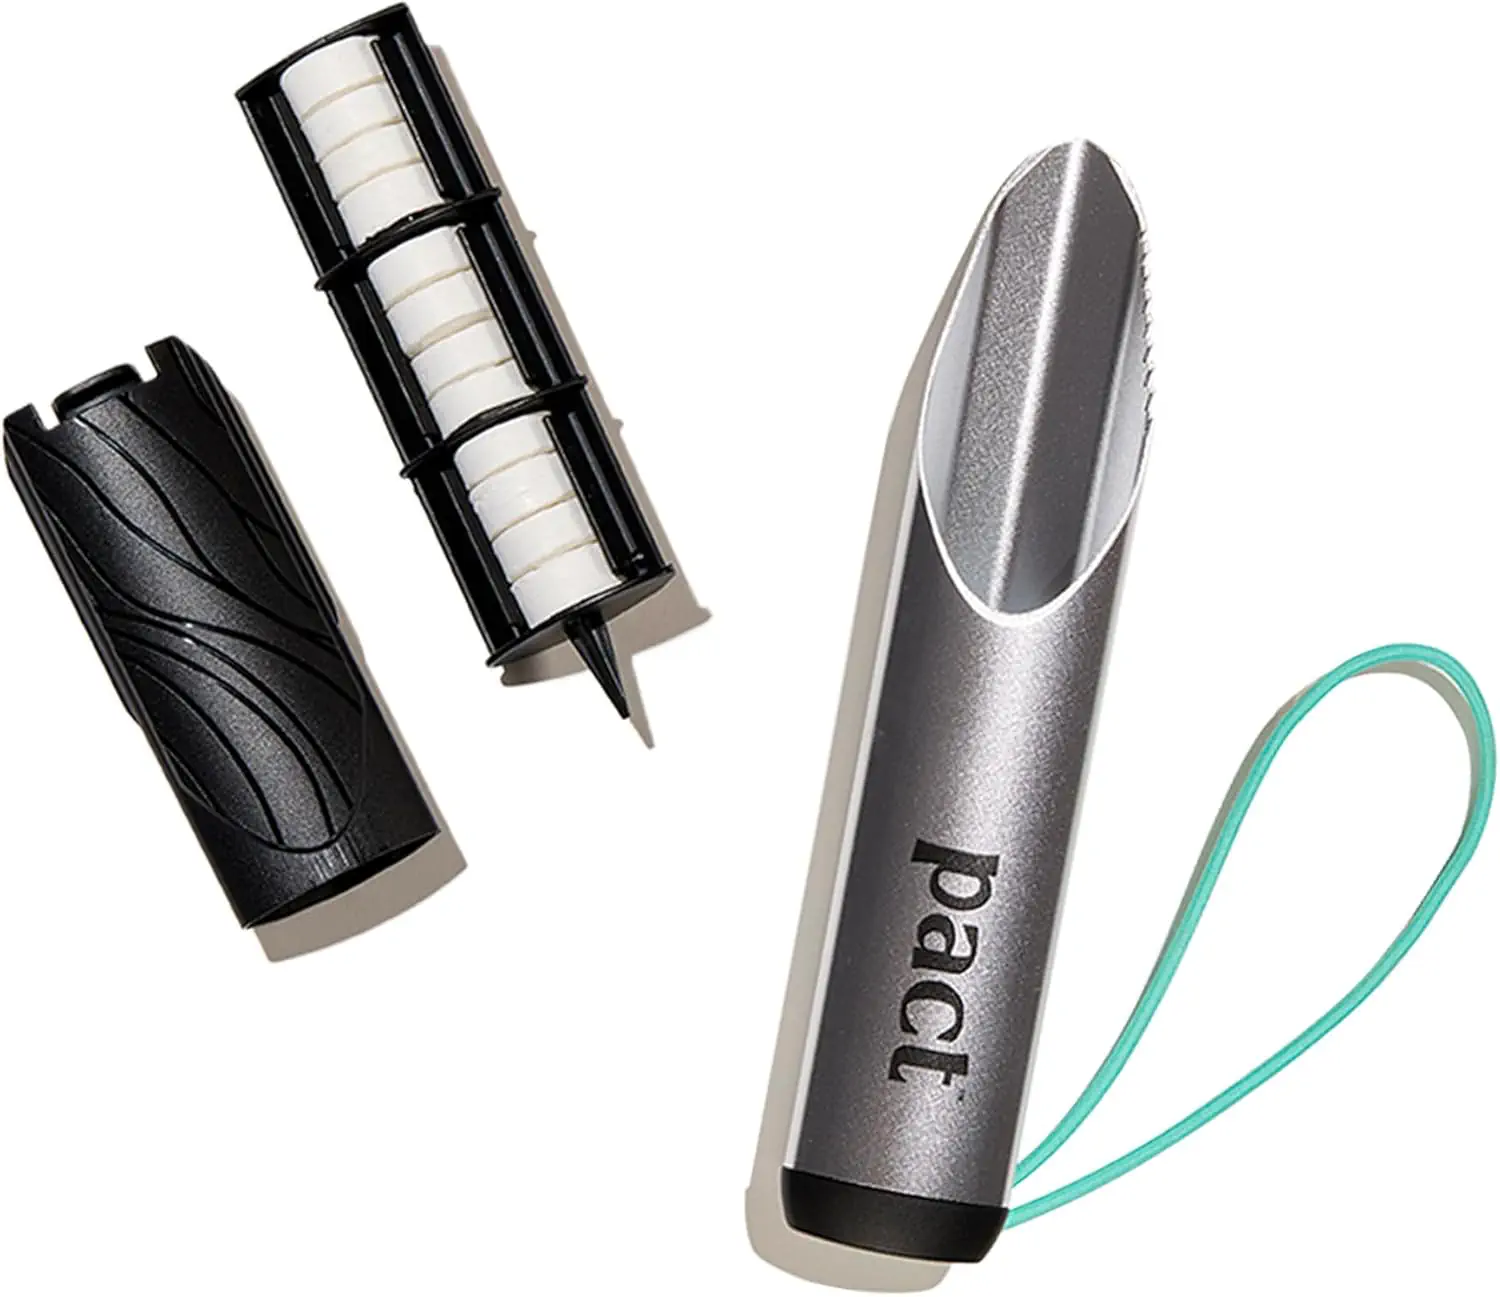
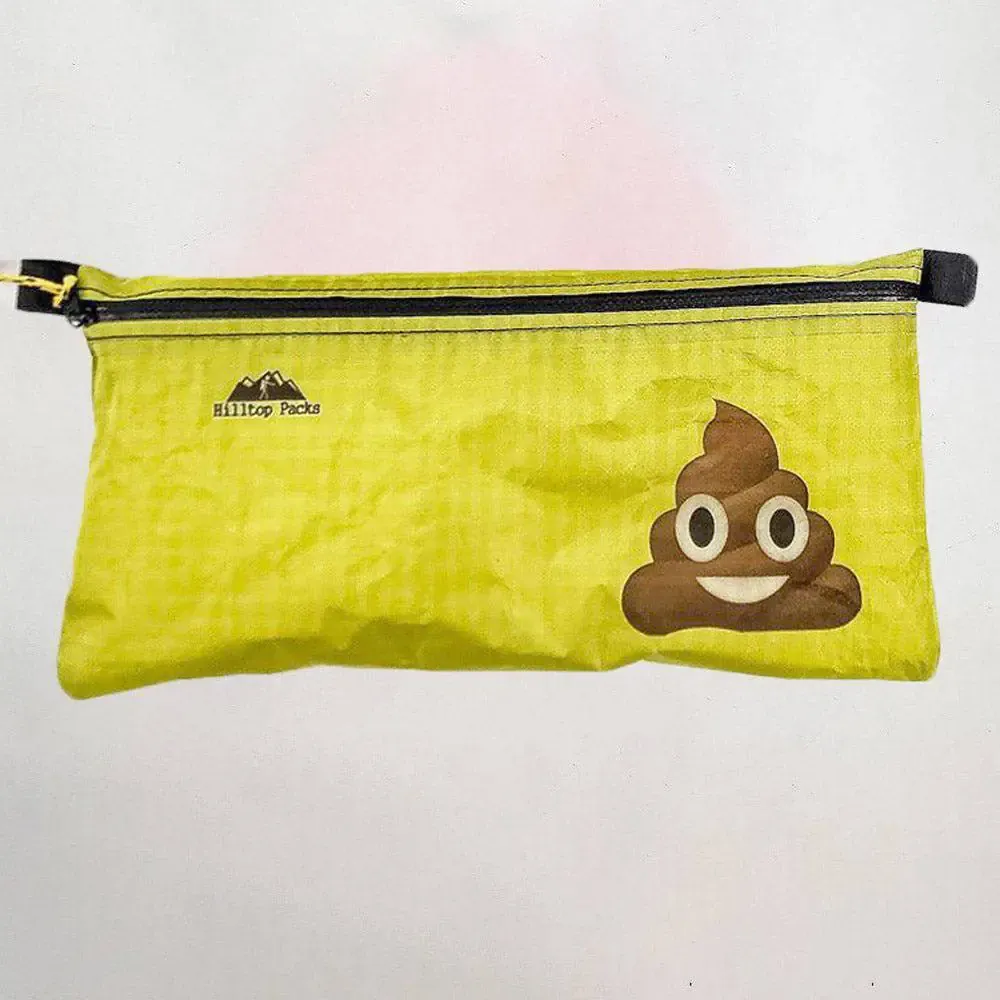
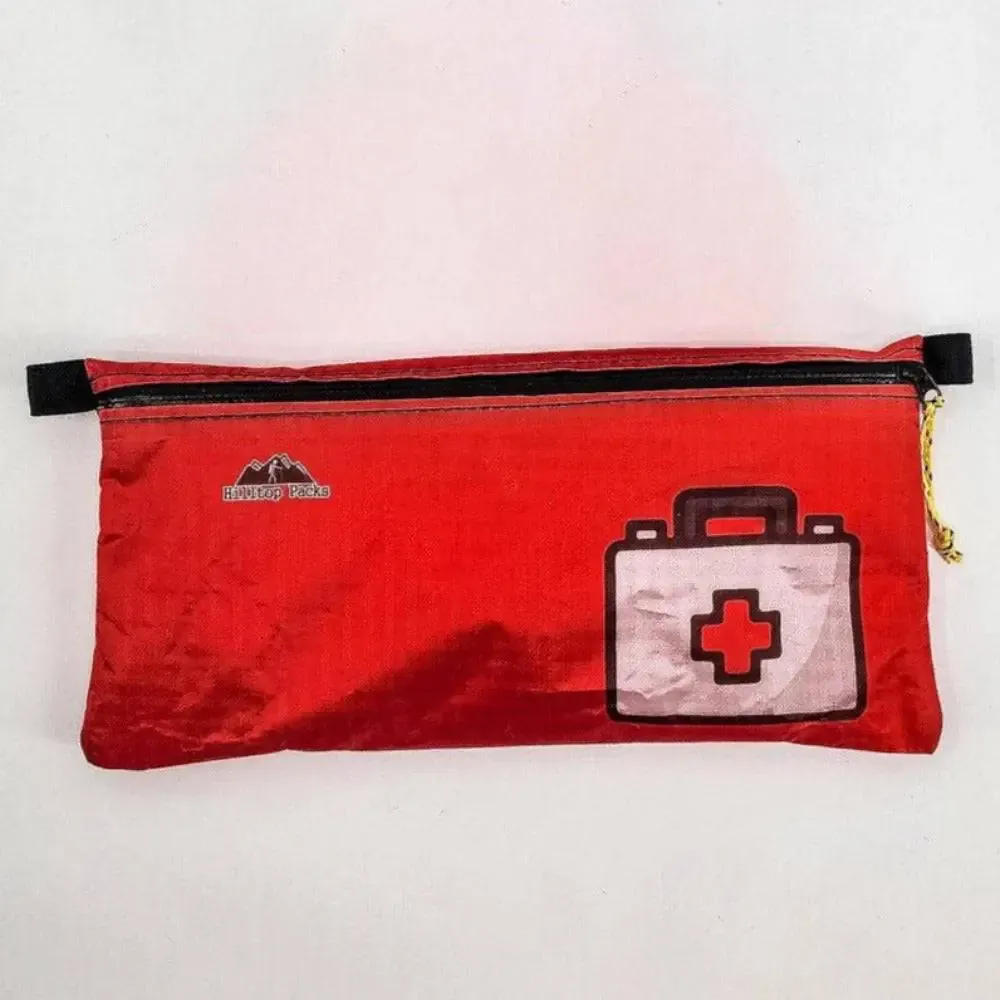
Stock photos of the Pact Lite trowel and Hilltop Packs toiletry bag
Surprisingly, I only had to use this poop kit one time during the entire 27 day race. 😲 I was able to use indoor facilities for the remainder of the race. There was, however, one day that I came dangerously close to needing it again, but that's a story for another day...
Navigation, lighting, and electronics 🗺️ 🔦 📸
In this modern day and age, its nearly impossible to not carry a collection of electronics on an adventure such as this.
Navigation
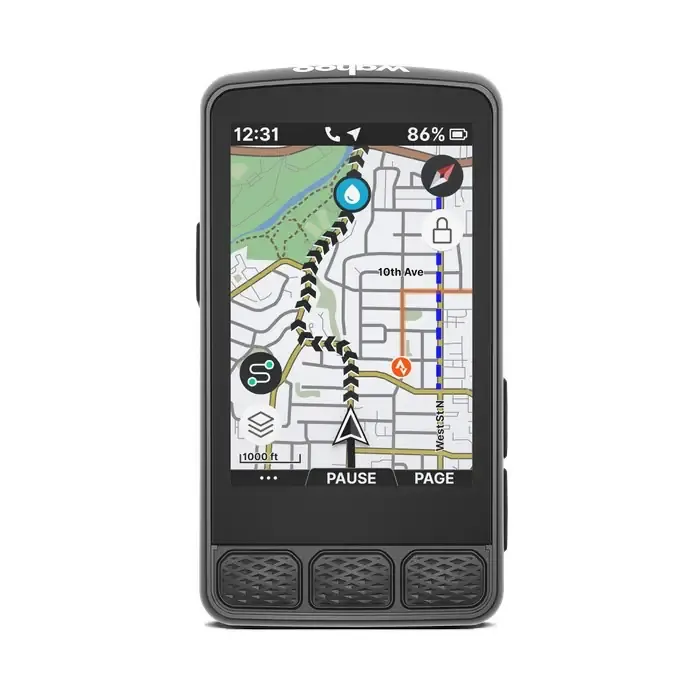
My primary navigation source was a Wahoo Elemnt Roam v2 GPS bike computer. I loaded the entire GPX route onto the computer, broken into 120-mile (193-kilometer) sections, which gave me turn-by-turn directions for the vast majority of the route. I can't even begin to imagine trying to navigate a route this long with a paper map! 🤯
As a backup, I had the entire GPX route available on my phone via two sources. First, the GPX route was available in the Ride With GPS app. This was almost as good as using the Wahoo Roam since I was still able to see my current position in relation to the planned route. However, Ride With GPS quickly drained my phone battery, so using it on a daily basis was not preferred. Second, I had the GPX route loaded into a custom Google Map. Thankfully, I never had to resort to using this backup of a backup approach.
However, I did have to rely on the Ride With GPS app for an entire day of the race. One of the 120-mile (193-kilometer) sections that I had created would not load on the Wahoo Roam, no matter what I tried. I eventually gave up and resorted to using the Ride With GPS app for that entire section. I also resorted to using the Ride With GPS app due to a late-stage fire reroute in New Mexico during which I was not able to transfer the reroute data to my Wahoo Roam.
Lighting
I knew that I would be riding in the early morning and late evening hours over the course of the race. So, I purchased a brand new lighting kit with some birthday money that my parents had sent to me. Thanks Mom and Dad!!! ❤️
My primary bike headlight was a Fenix BCR26 handlebar mounted light. This light was easy to use and very bright! It also offers a daytime flashing mode, which was useful when I had to ride on busy highways. I supplemented the bike headlight with a helmet-mounted Fenix HM70R headlamp. This headlamp is extremely bright, gave me a wide field of view, and was also useful for setting up camp in the dark.
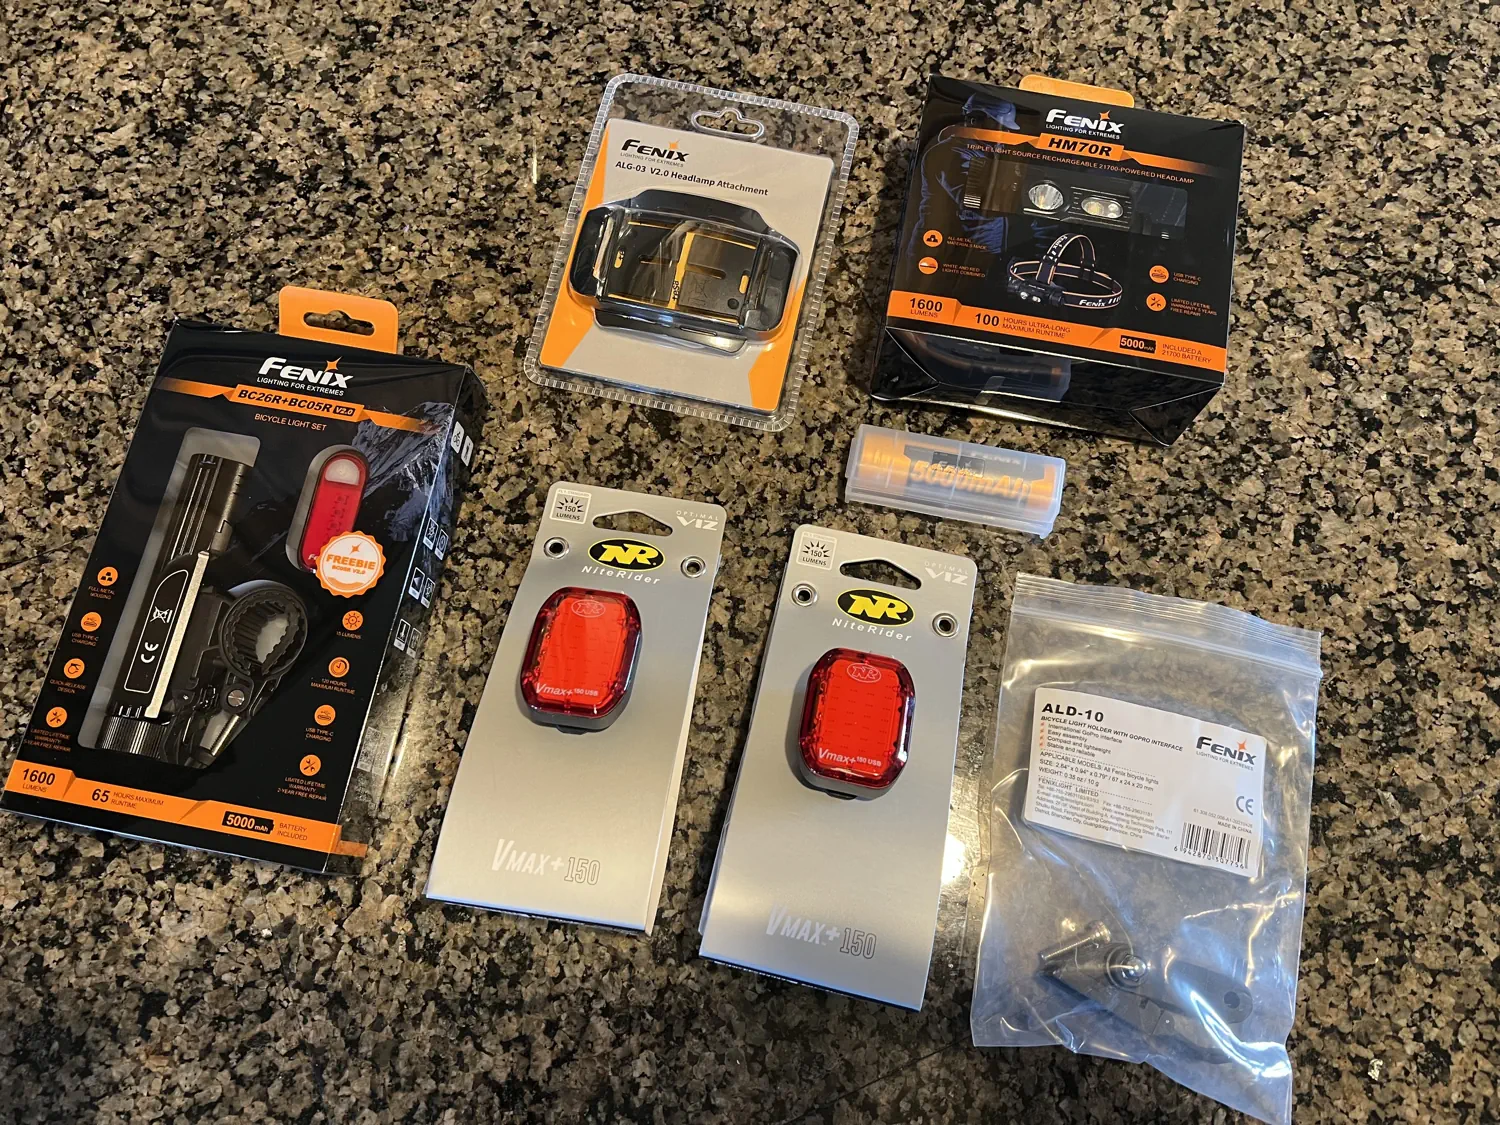
This combination of bike-mounted and helmet-mounted lighting is critical to ensuring that you can always see where you are going, even when navigating tight singletrack corners at night. The bike light always stays pointed down-trail and the headlamp always stays pointed where you are looking. This helps to eliminate any blind spots created by each individual light.
For a safety tail light, I used a lightweight, yet very bright, Niterider Vmax+ 150. This light could be left on all day and I never had to worry about the battery dying. It is bright enough to be seen in full-sun and has various flashing modes to catch drivers' attention. I also carried a spare Niterider Vmax+ 150 tail light in case my primary tail light was ever lost or damaged.
Other electronics
I carried a lot of other electronics. You can see the full list on my LighterPack.com packing list. Some key items that I brought along were an Insta360 X3 360° camera, a 20,000mAH Nitecore battery bank, and an assortment of chargers, cables, adapters, memory cards, etc.
Let me know if the comments if you want to hear more about any of the specific electronics that I brought with me.
Emergency kit and bear safety 🏥 🐻
A lot can go wrong when you are out in the wilderness, alone, for days on end. It's important to be prepared for anything and everything that could go wrong.
Satellite communicator
I carried a Garmin inReach Mini satellite communicator as my primary emergency device. This device was also used as a GPS tracker by race coordinators so that they could track and verify my progress via the TrackLeaders.com Tour Divide 2025 website. The Garmin inReach allowed me to send and receive text messages when I was outside of cellular coverage areas. It also offered an SOS button that automatically contacts emergency rescue services. Thankfully, I never had to press that button! 😅
First aid kit
I put together a custom, lightweight, yet comprehensive first aid kit. This kit included a variety of bandages, gauze, and medications for common ailments (headaches, nausea, diarrhea, etc.). You can see the full list of first aid items that I brought on my LighterPack.com packing list.
Bear safety
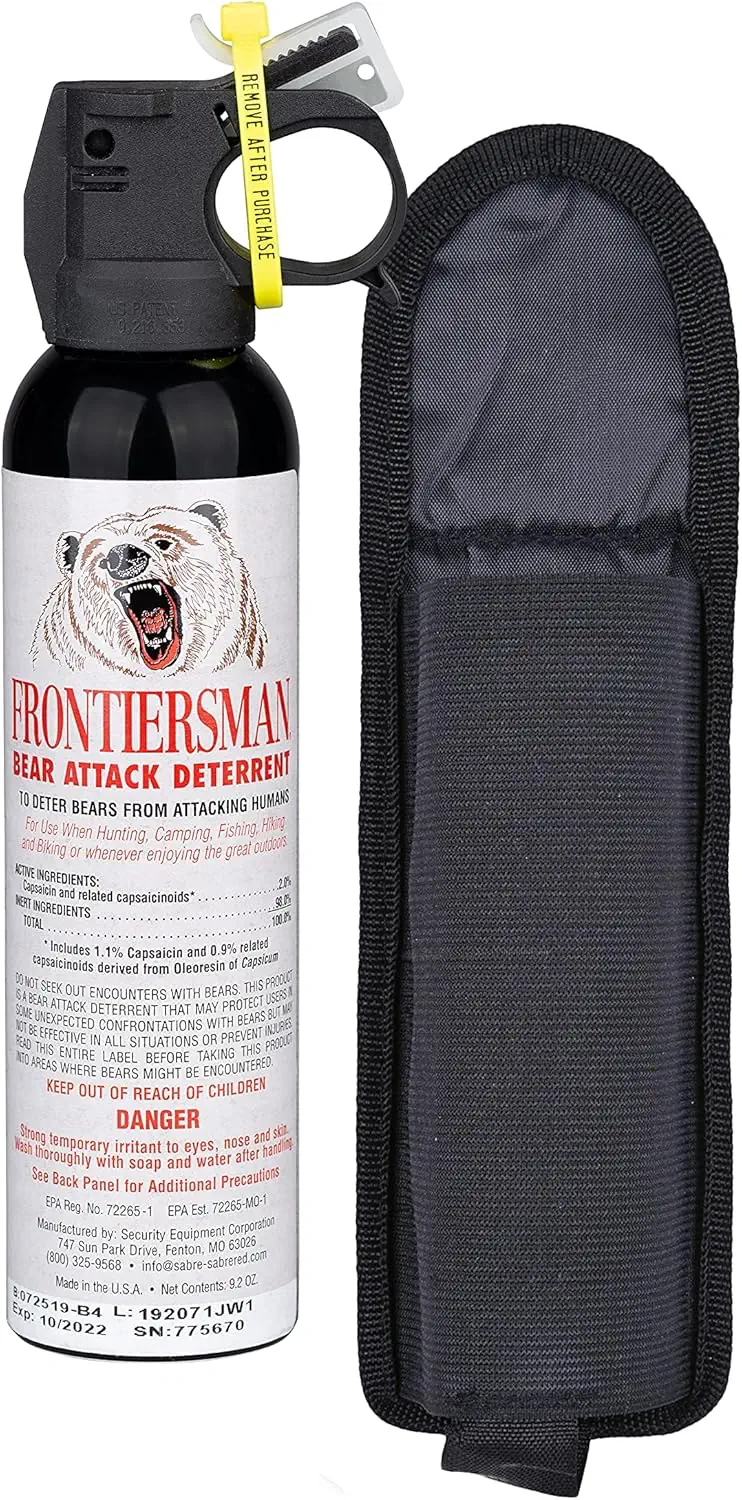
The northern half of the Tour Divide route crosses through grizzly bear country. 🐻 Because of this, it is HIGHLY RECOMMENDED to carry, and know how to use, bear spray. I kept a can of bear spray nearby but thankfully, I never had to use it.
I also had a Timber Model Yew! bell attached to my handlebars. This bell acted as my "bear bell" to help inform wildlife that I was coming through so that I was less likely to surprise them.
My race plan (or lack thereof) 🧑💻 ✅
I really don't have a lot to write about when it comes to my race plan. The shear scale of the Tour Divide route makes it almost impossible to really "plan" out your ride. Any sort of weather, mechanical, or physical issues could set you back hours, or potentially days, thus completely upending any plans you have.
So, I decided to keep my race plan as simple as possible... I set a daily, average distance goal of 100 miles (161 kilometers). This meant that no matter how slow or fast I was traveling, I would need to attempt to cover my goal distance. This daily goal would also keep me ahead of the virtual "broom wagon", which would meet the race-pace requirement.
I also made a general plan to get through the initial Canada section. I had planned to at least make it to the base of the mammoth Koko Claims hike-a-bike section by the end of day 1. I also planned to be back in the USA within the first 3 days. I knew that if I could meet these goals, then I would set myself up for success throughout the rest of the race. After that, I basically played it day by day and never really made much of a plan beyond that. 🤪
Wrapping up 🚵 ➡️
Wow! That was a lot to go through. If you made it this far, THANKS!!! I really appreciate you taking the time to read this long post.
In the next post, I start covering the actual race itself, day-by-day. Be sure to subscribe to our blog so you don't miss out.
• Next Post: Racing (Day 1) - Banff, Alberta 🇨🇦 to Koko Claims, British Columbia 🇨🇦 [coming soon]
• Previous Post: My Journey to the Starting Line
What did you think about my bikepacking setup and race plan? Do you have any recommendations for how to improve either? Let us know in the comments below. 👇 💬