Hiking The Subway at Zion National Park
- Written by Lindsey Huster
- /
- 6 min read
- /
- Last updated a year ago
Zion National Park has several iconic hikes and certainly The Subway is one of those! The Subway hike at Zion National Park is a bit more unique because you must obtain a permit, which makes it harder to access since permits are restricted per day.
The Subway
The hike is quite strenuous at times so it will take the majority of the day, especially if stopping to enjoy the gorgeous scenery along the way. Keith and I were in total amazement with every step. The Subway definitely earns a spot on our most memorable hike list.
Check out our video
Quick facts about the hike
- You must obtain a permit via the lottery system (it took us 3 tries)
- The “Top Down” option requires swimming and rappelling
- The “Bottom Up” option is an out-and-back hike, non-technical, but you will be bouldering and hiking in water. This is the route that we took.
- 6-7 miles (my Apple Watch recorded 8.84 miles, 2121 ft. elevation gain, and just over 4 hours hiking time- this time doesn’t count lunch, long breaks, or the time we spent in the main attraction area)
- Plan for 5-9 hours (I believe it took us around 7 hours.)
- Rated strenuous, obstacles in the river; must hike in water, slippery, rugged terrain, loose rock, etc.
- Steep 400+ foot descent into the canyon and then 600+ foot incline up the canyon. (Be aware that the 400+ ascent back up the to trailhead can be quite challenging after a long day hiking)
- I believe 80 permits per day we allowed in October 2019, check current information on Zion’s website for your visit. (We didn’t even see 10 people during our hike!)
Our experience on this hike
Obtaining a wilderness permit
You will check in at the Zion National Park Visitor Center to obtain your permit by reviewing the park requirements and then signing the user agreement. We secured our permit days in advance, although it took three tries to be entered into the lottery. You do pay a non-returnable fee to be entered into the lottery each time. We tried twice for weekend dates and then were chosen for a weekday.
Finding the Left Fork trailhead
The hike starts at Left Fork Trailhead, which is a 40-minute drive from the visitor center. Plan accordingly for the time since this is a full-day hike. We also spent about 20-30 minutes checking in.
Once at the trailhead, the path is clearly marked and you basically follow the river to the Subway. We did download the trail map from All Trails just in case and as a way to help with the exit. Finding the exit is quite important on the way out. Therefore, you’ll want to be vigilant in watching for the exit uphill.
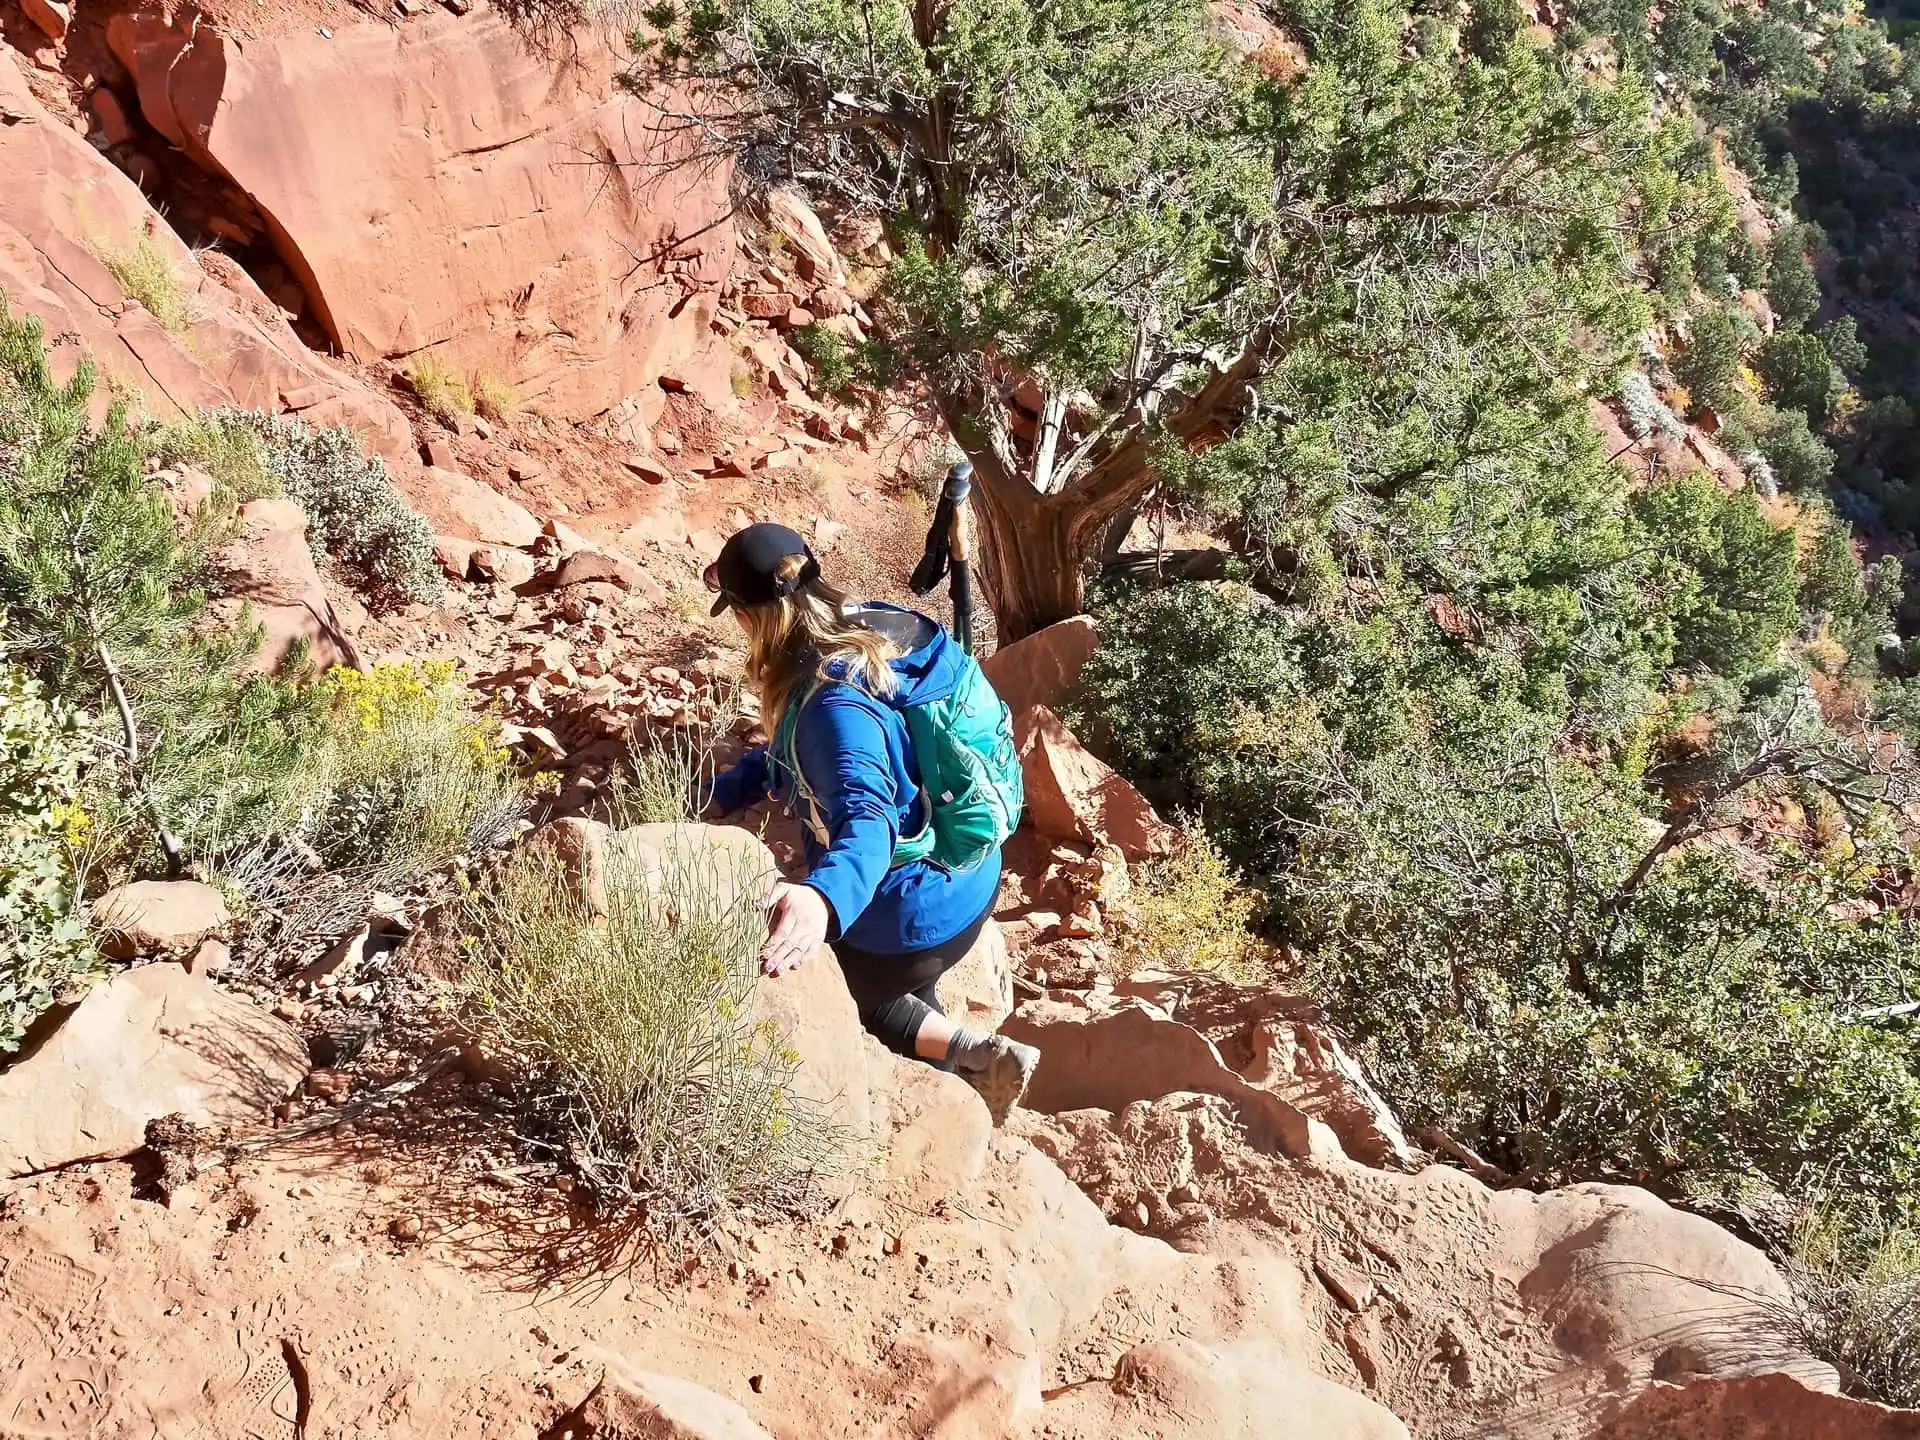
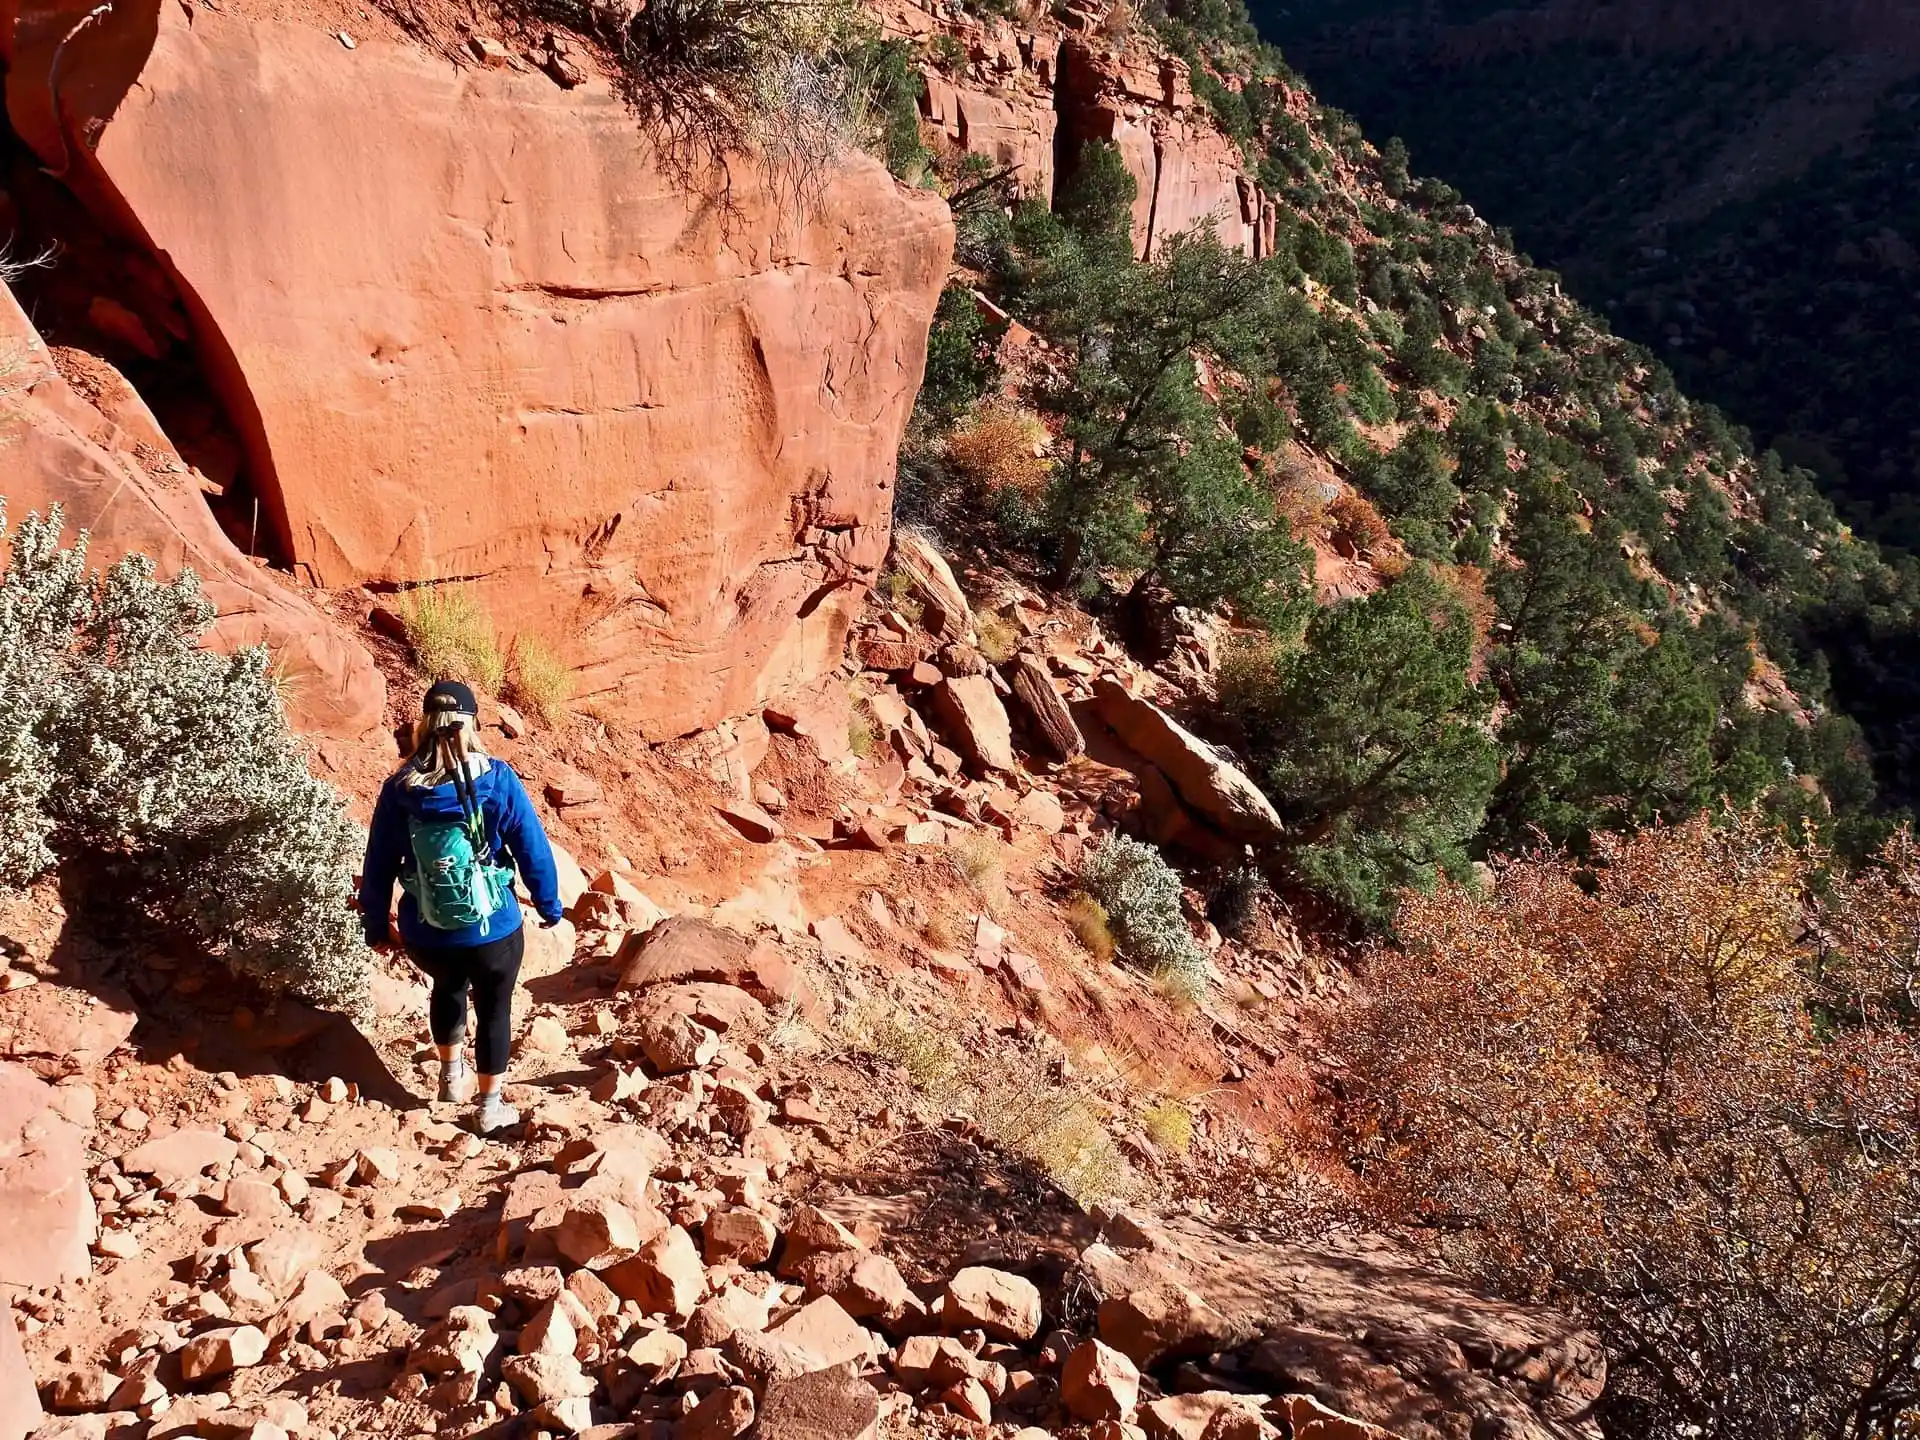
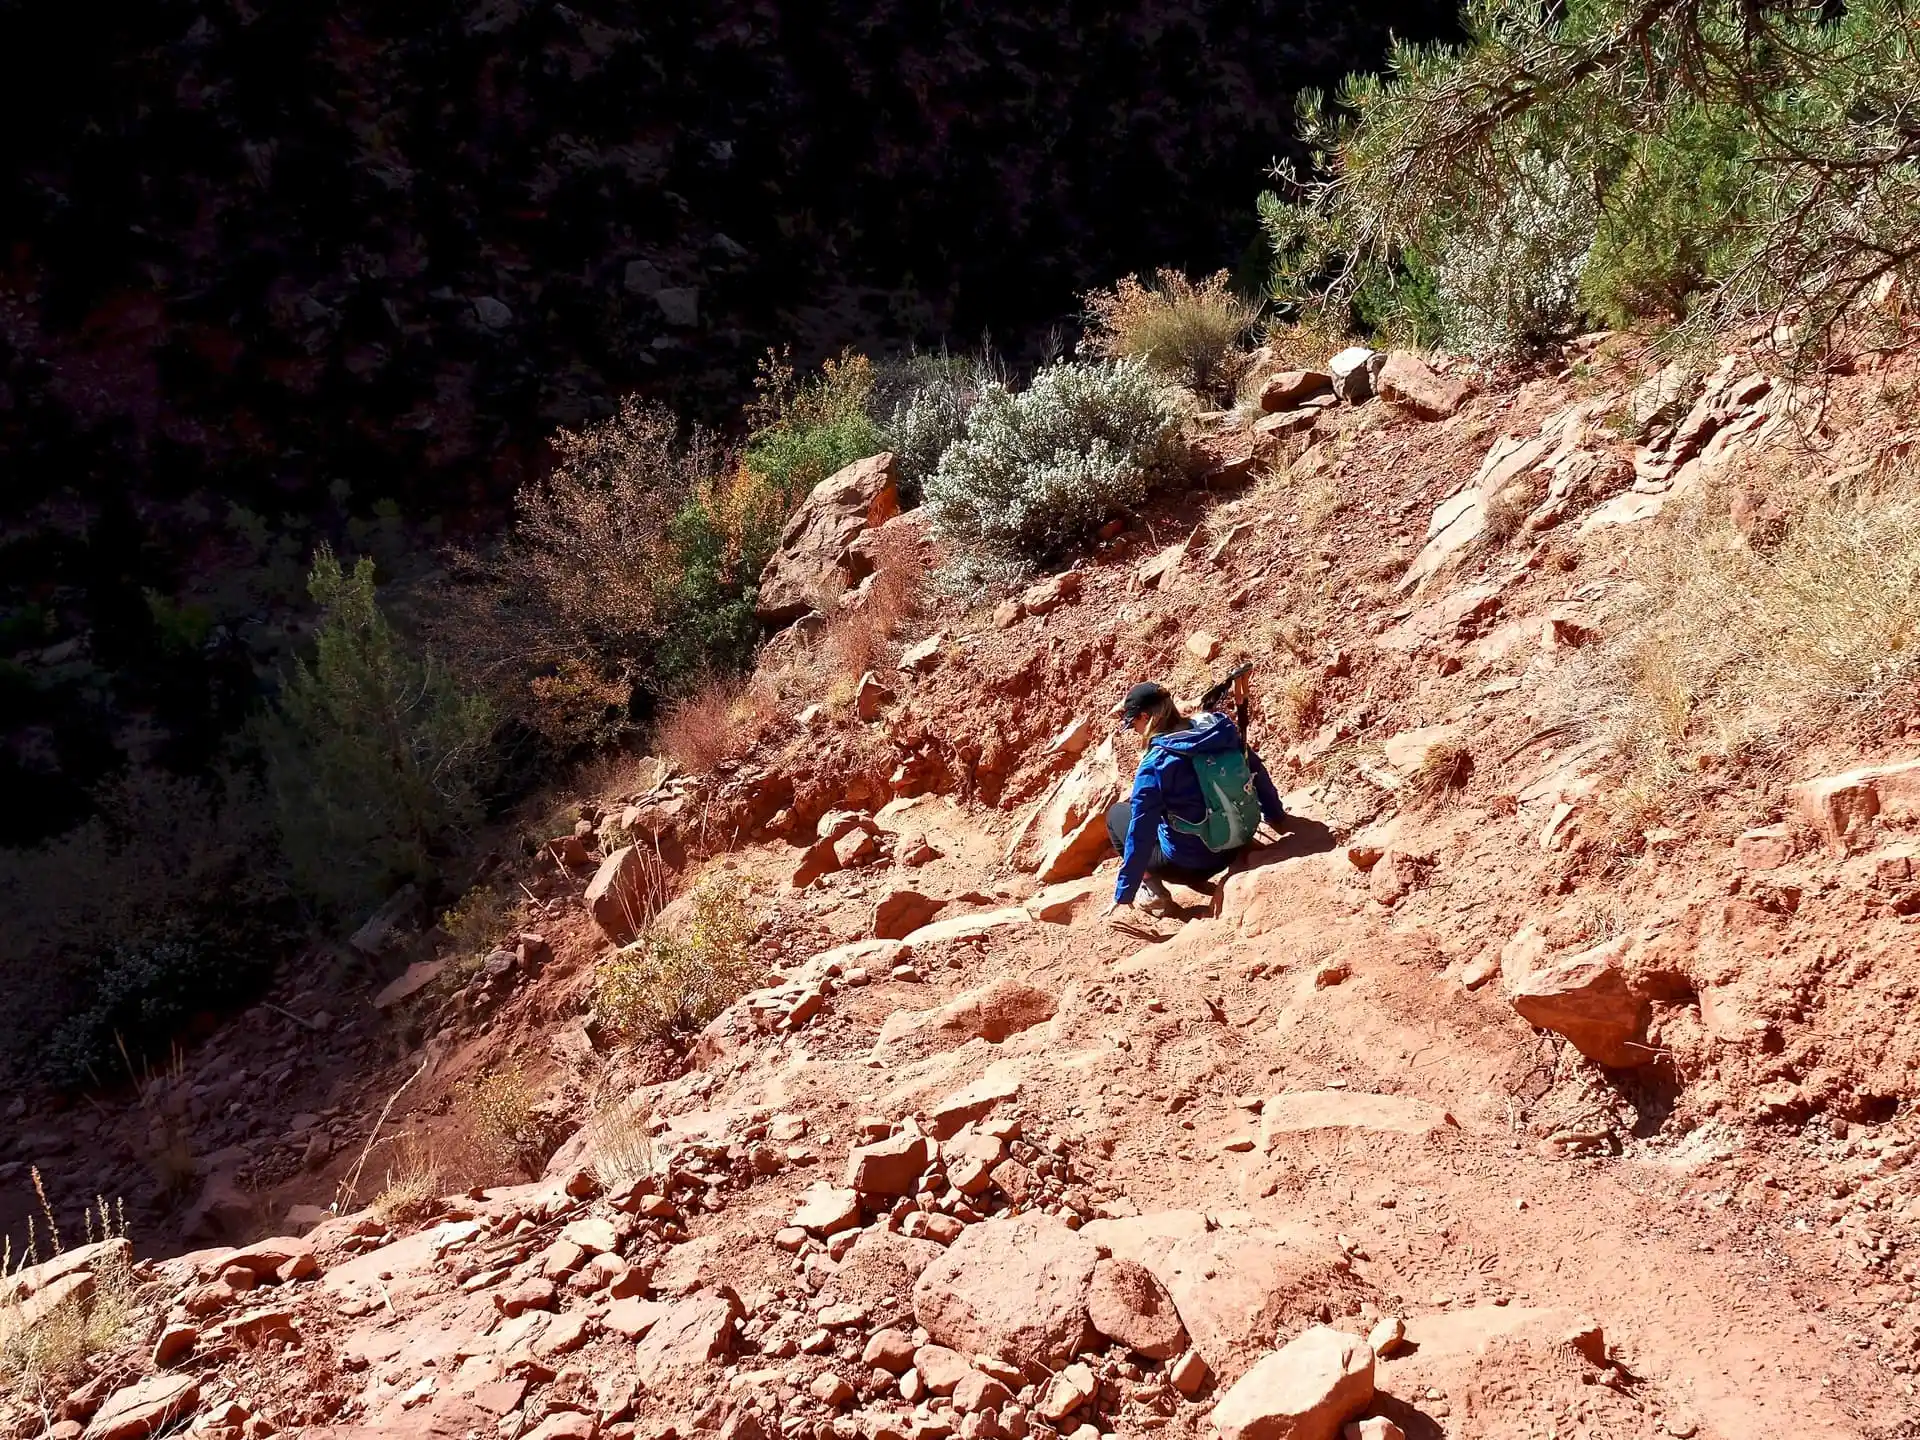
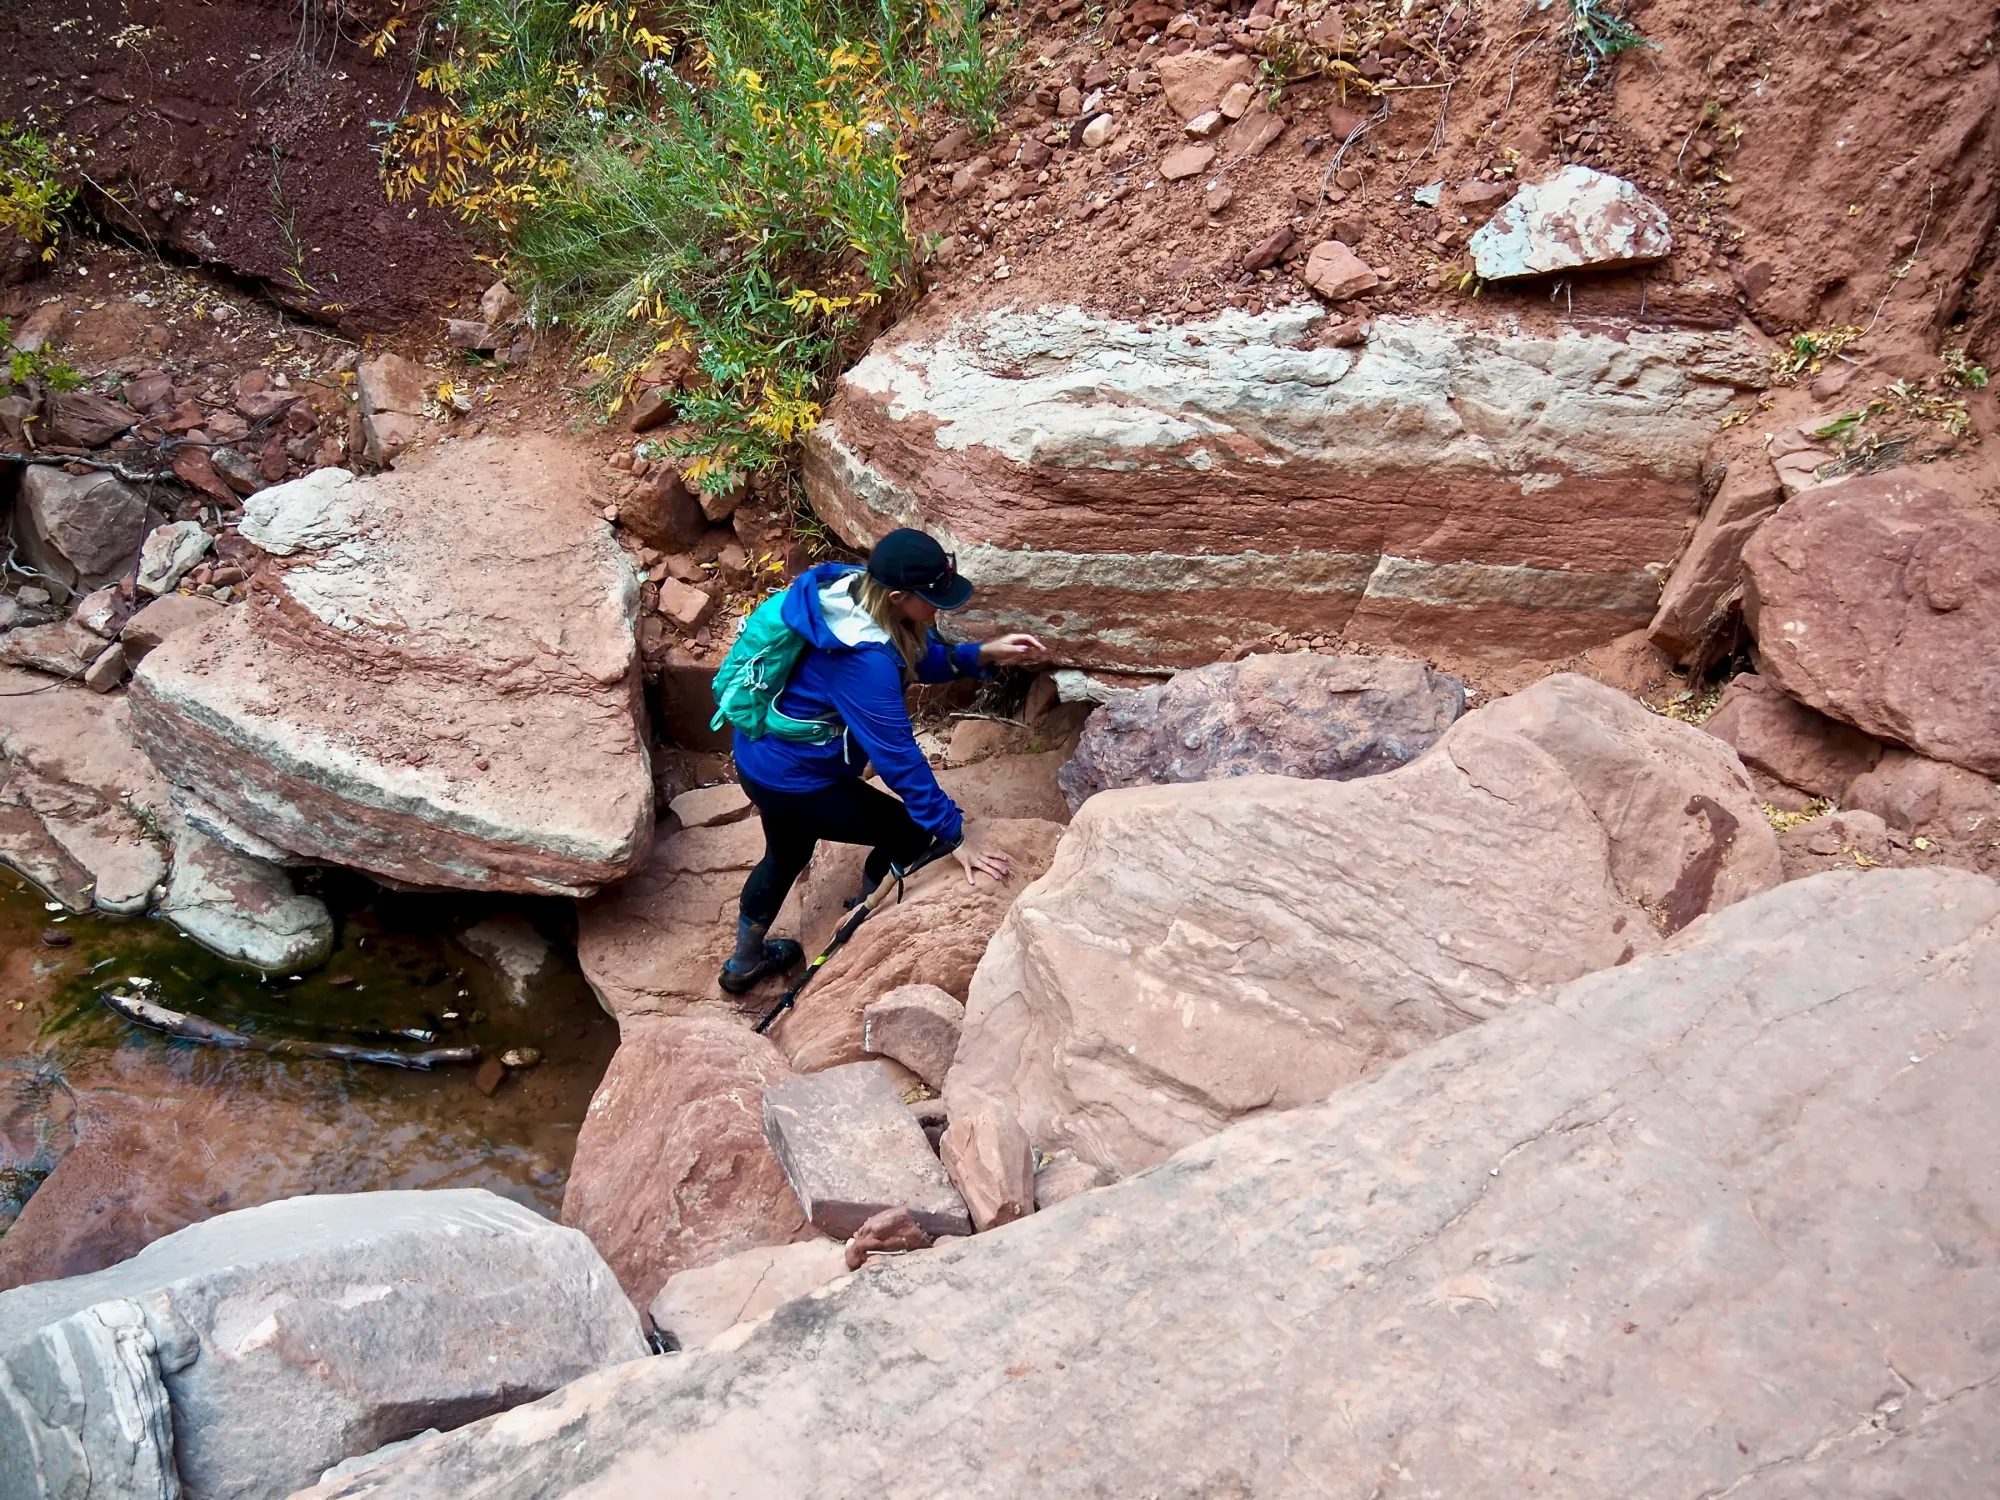
Gallery of Lindsey descending down the steep rock walls at the start of the hike
Hiking through the river
The majority of this hike is meant to be done in the Virgin River. The wilderness ranger specified to us that they indeed want you in the river as much as possible to avoid erosion on the river bank. This means you’ll likely hike at a much slower pace and that needs to be accounted for as you plan for this adventure. Hiking in the water means slippery rocks, potentially quite cold feet, and the inability to see the terrain of every step you are taking.
Once you reach the lower Subway section you’ll encounter a new type of slippery. The running water over the “grand staircase” is quite slick so be really careful. This is definitely a special part of the hike and unlike any river/water hiking, we’ve ever done before.
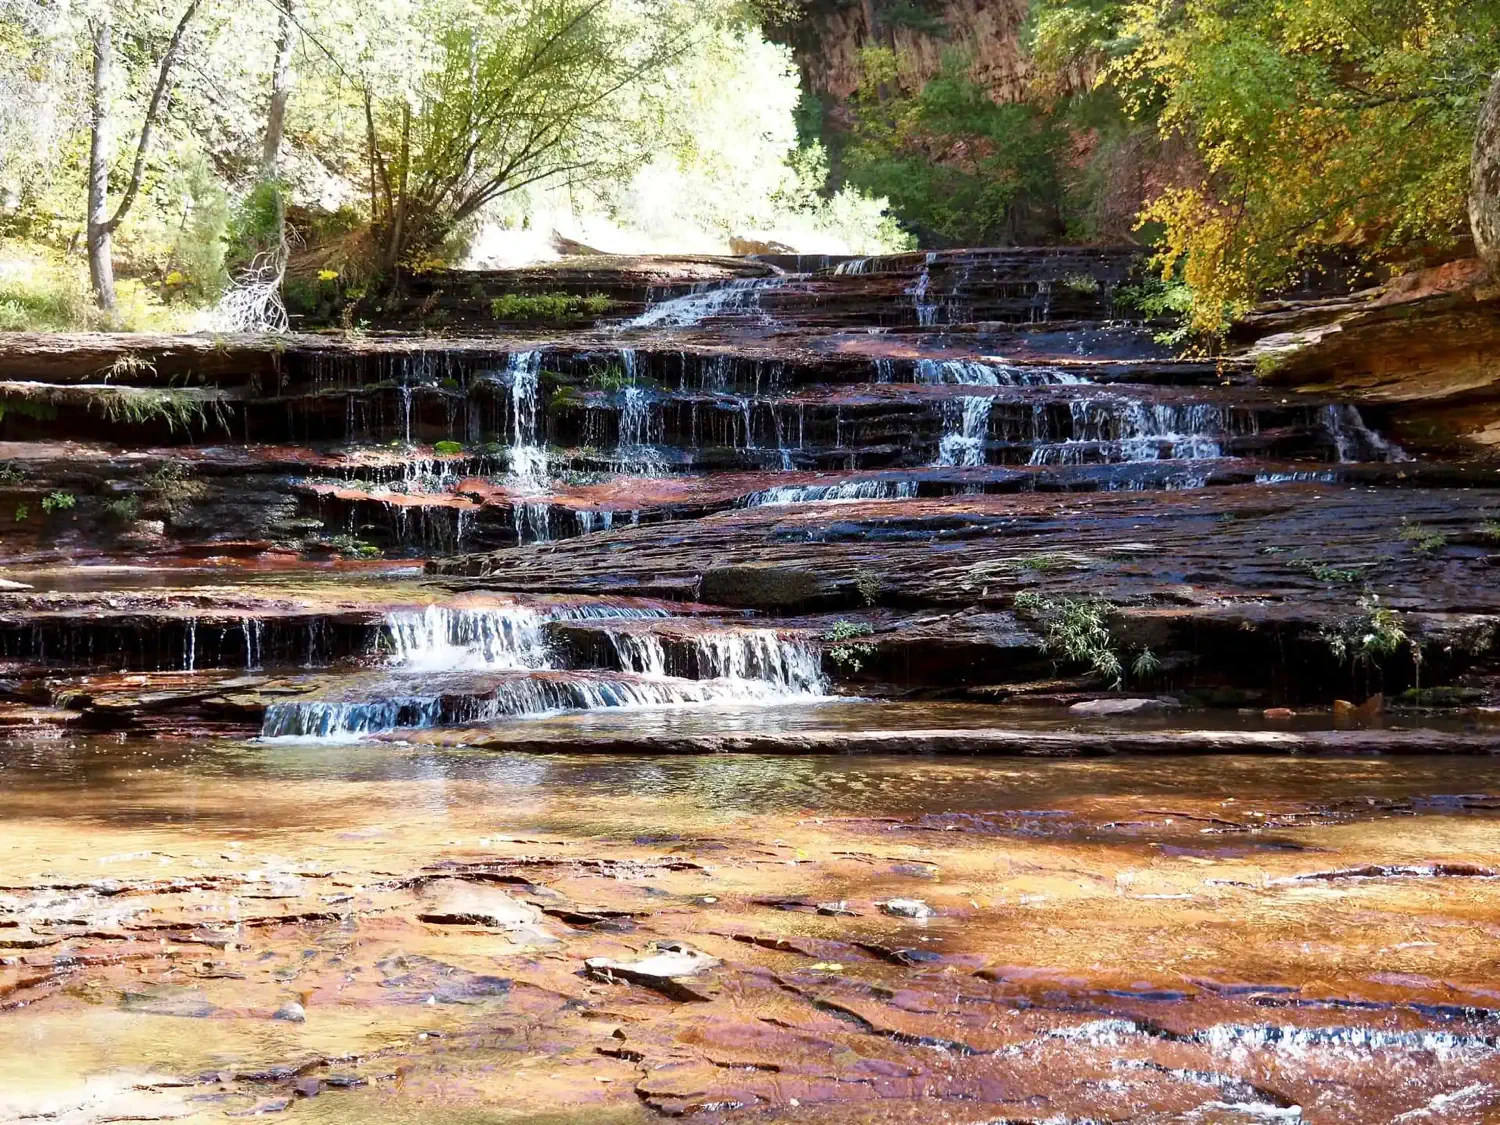
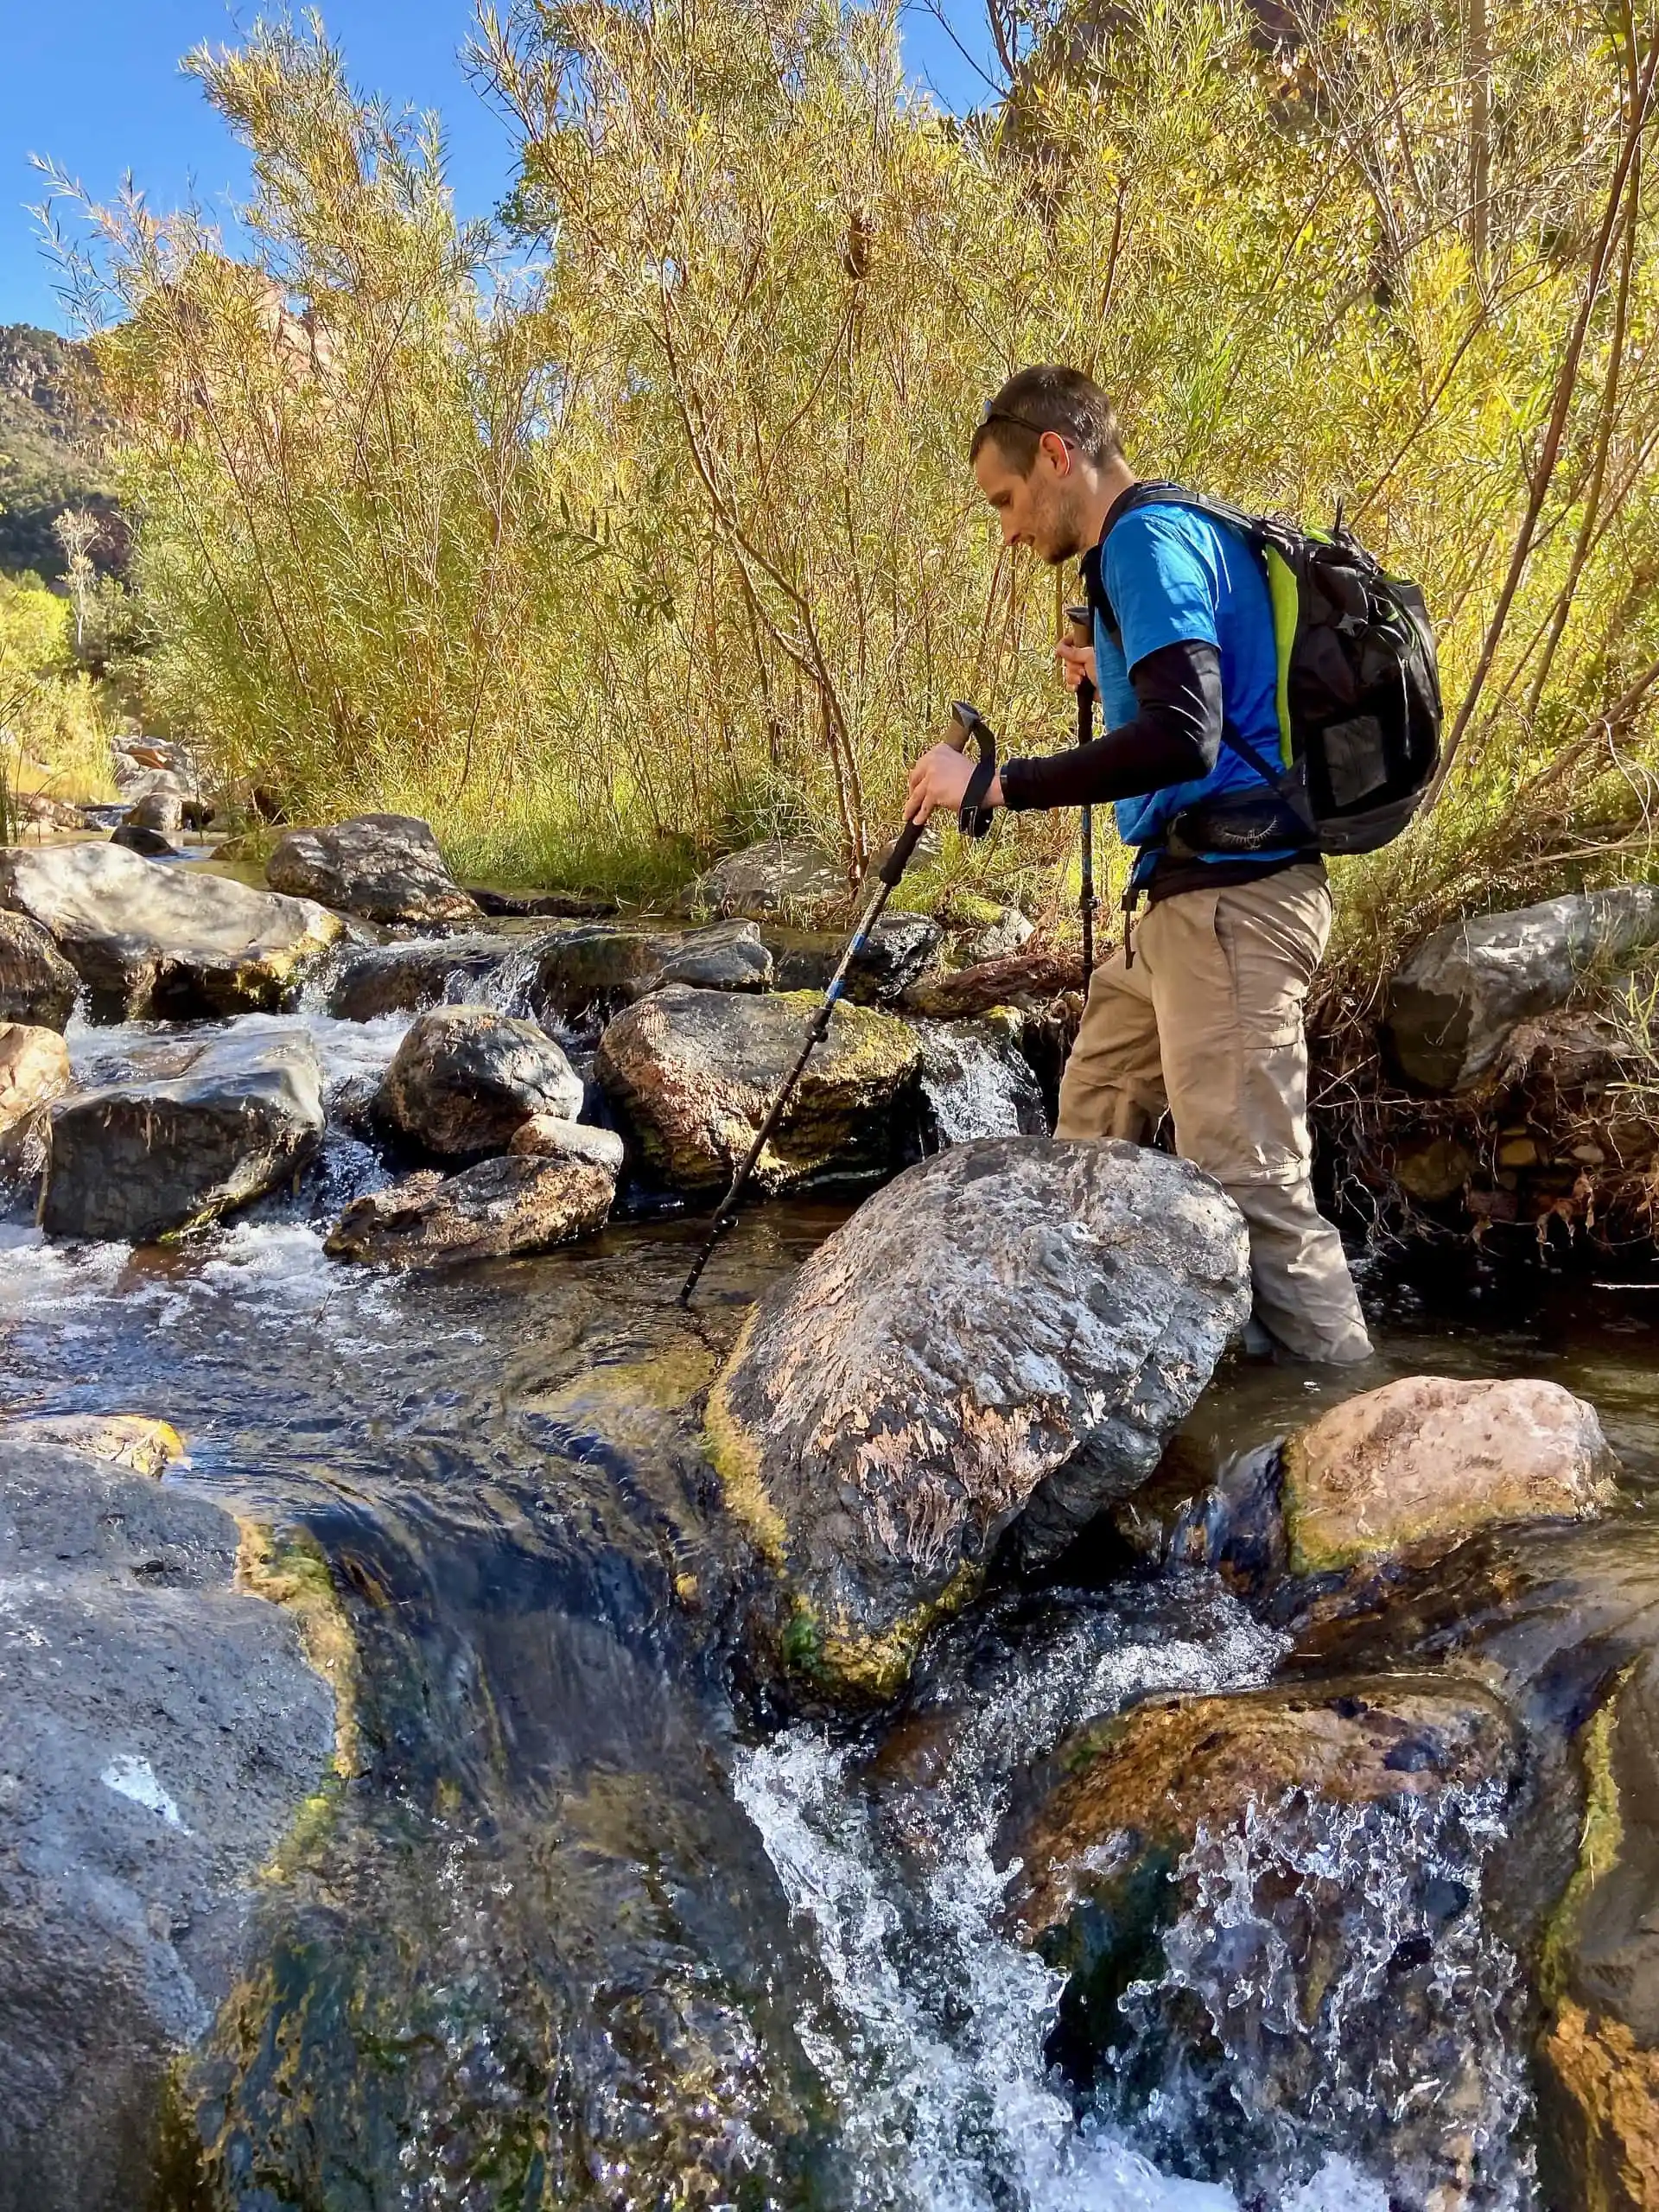
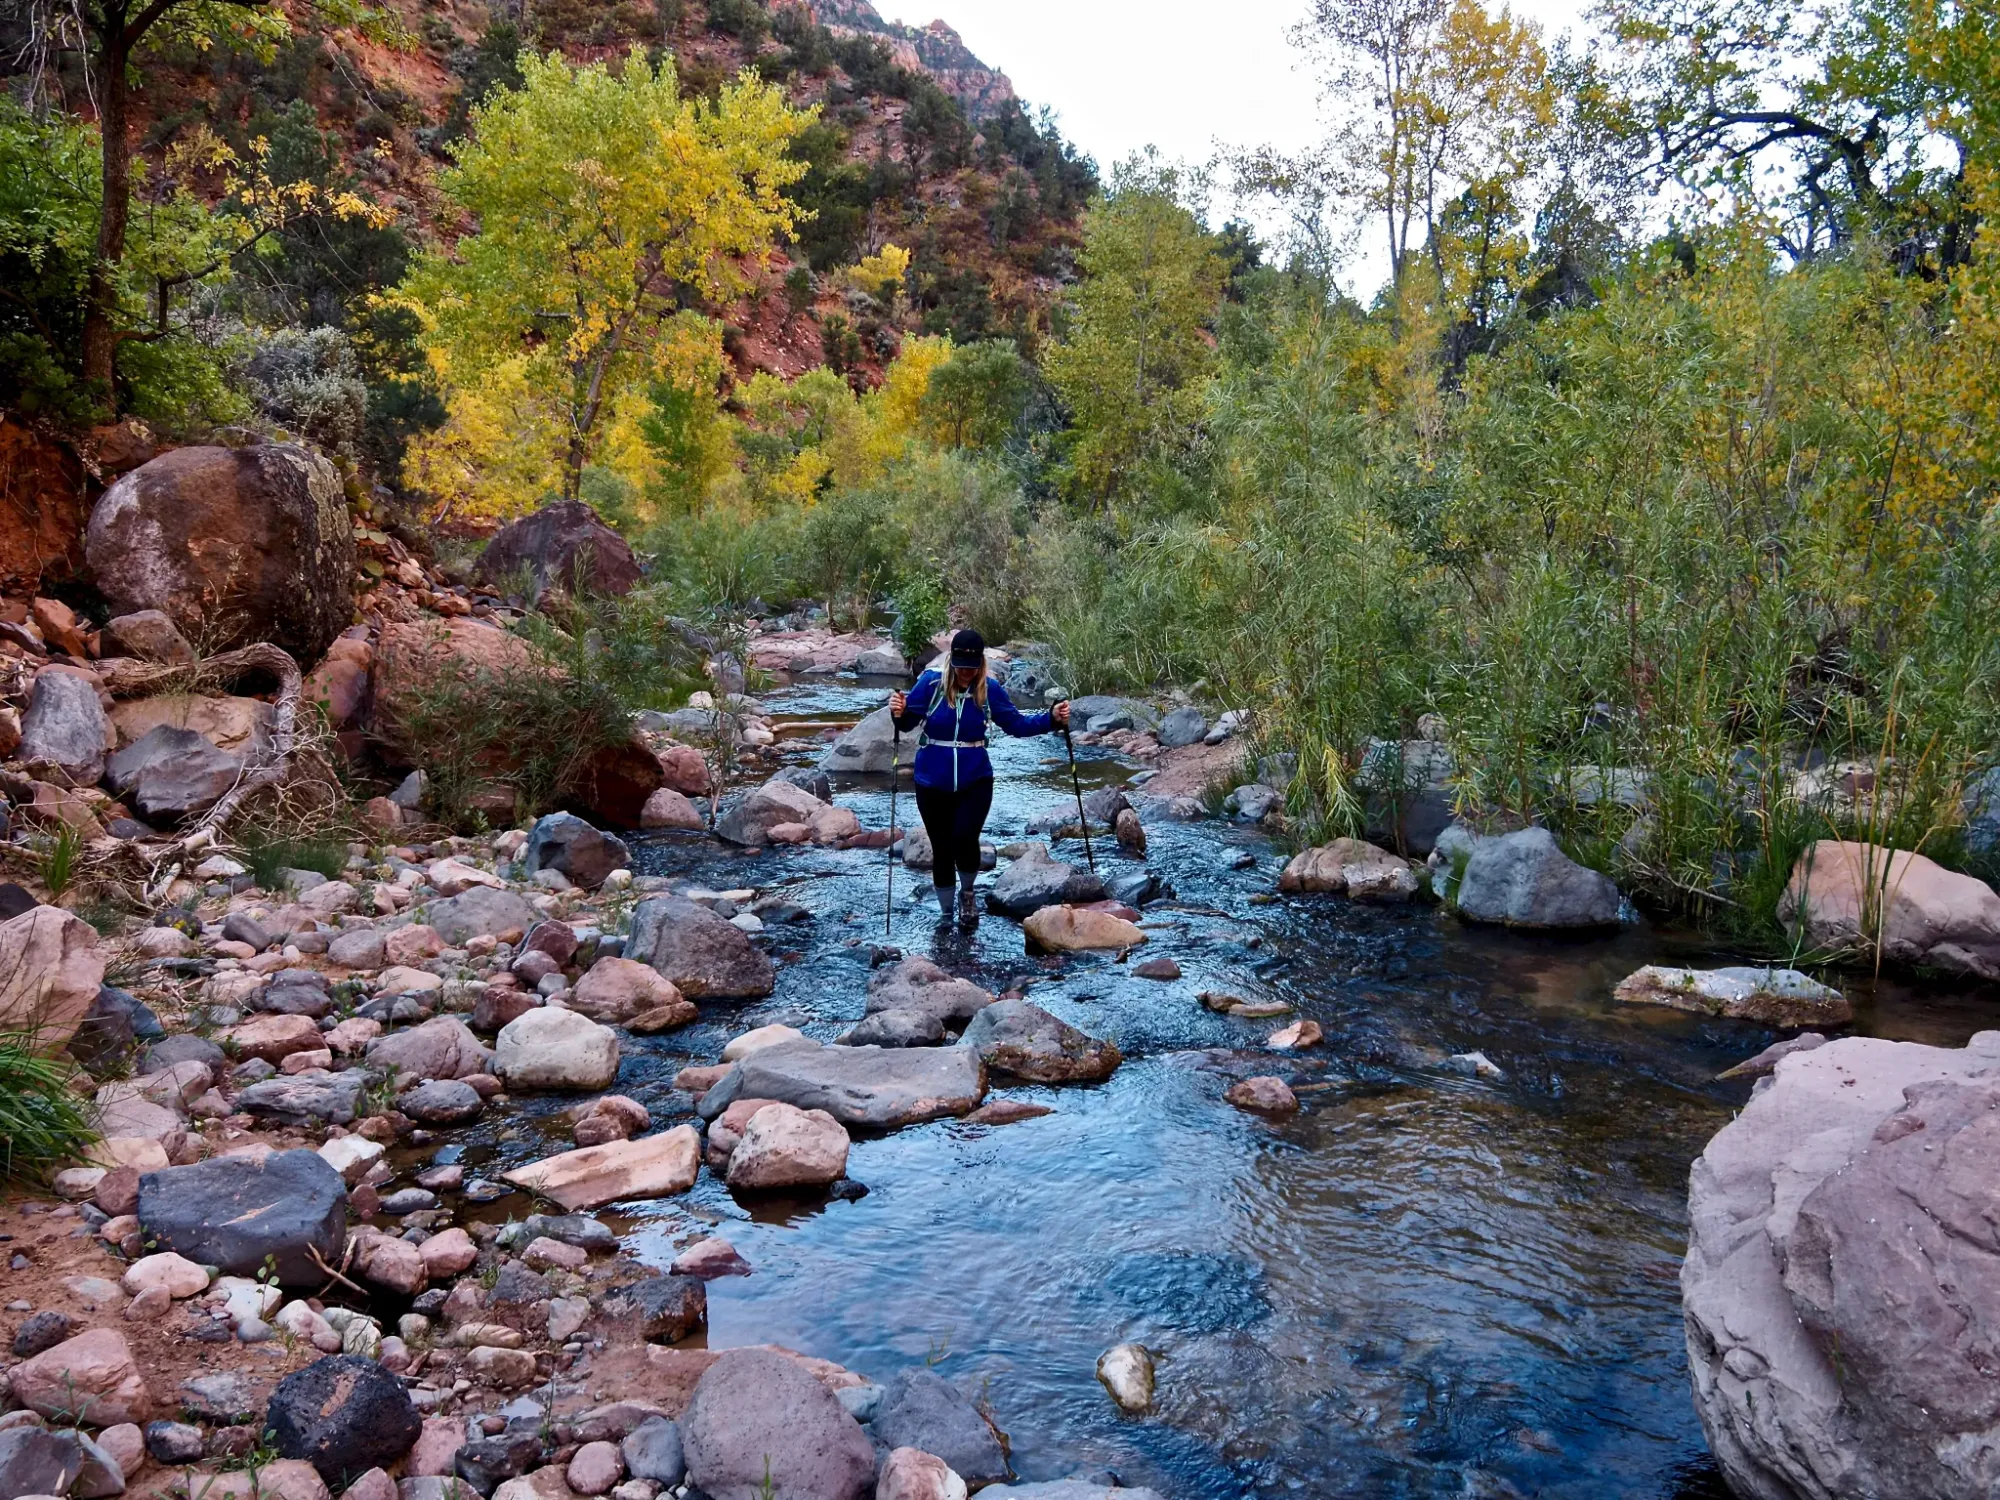
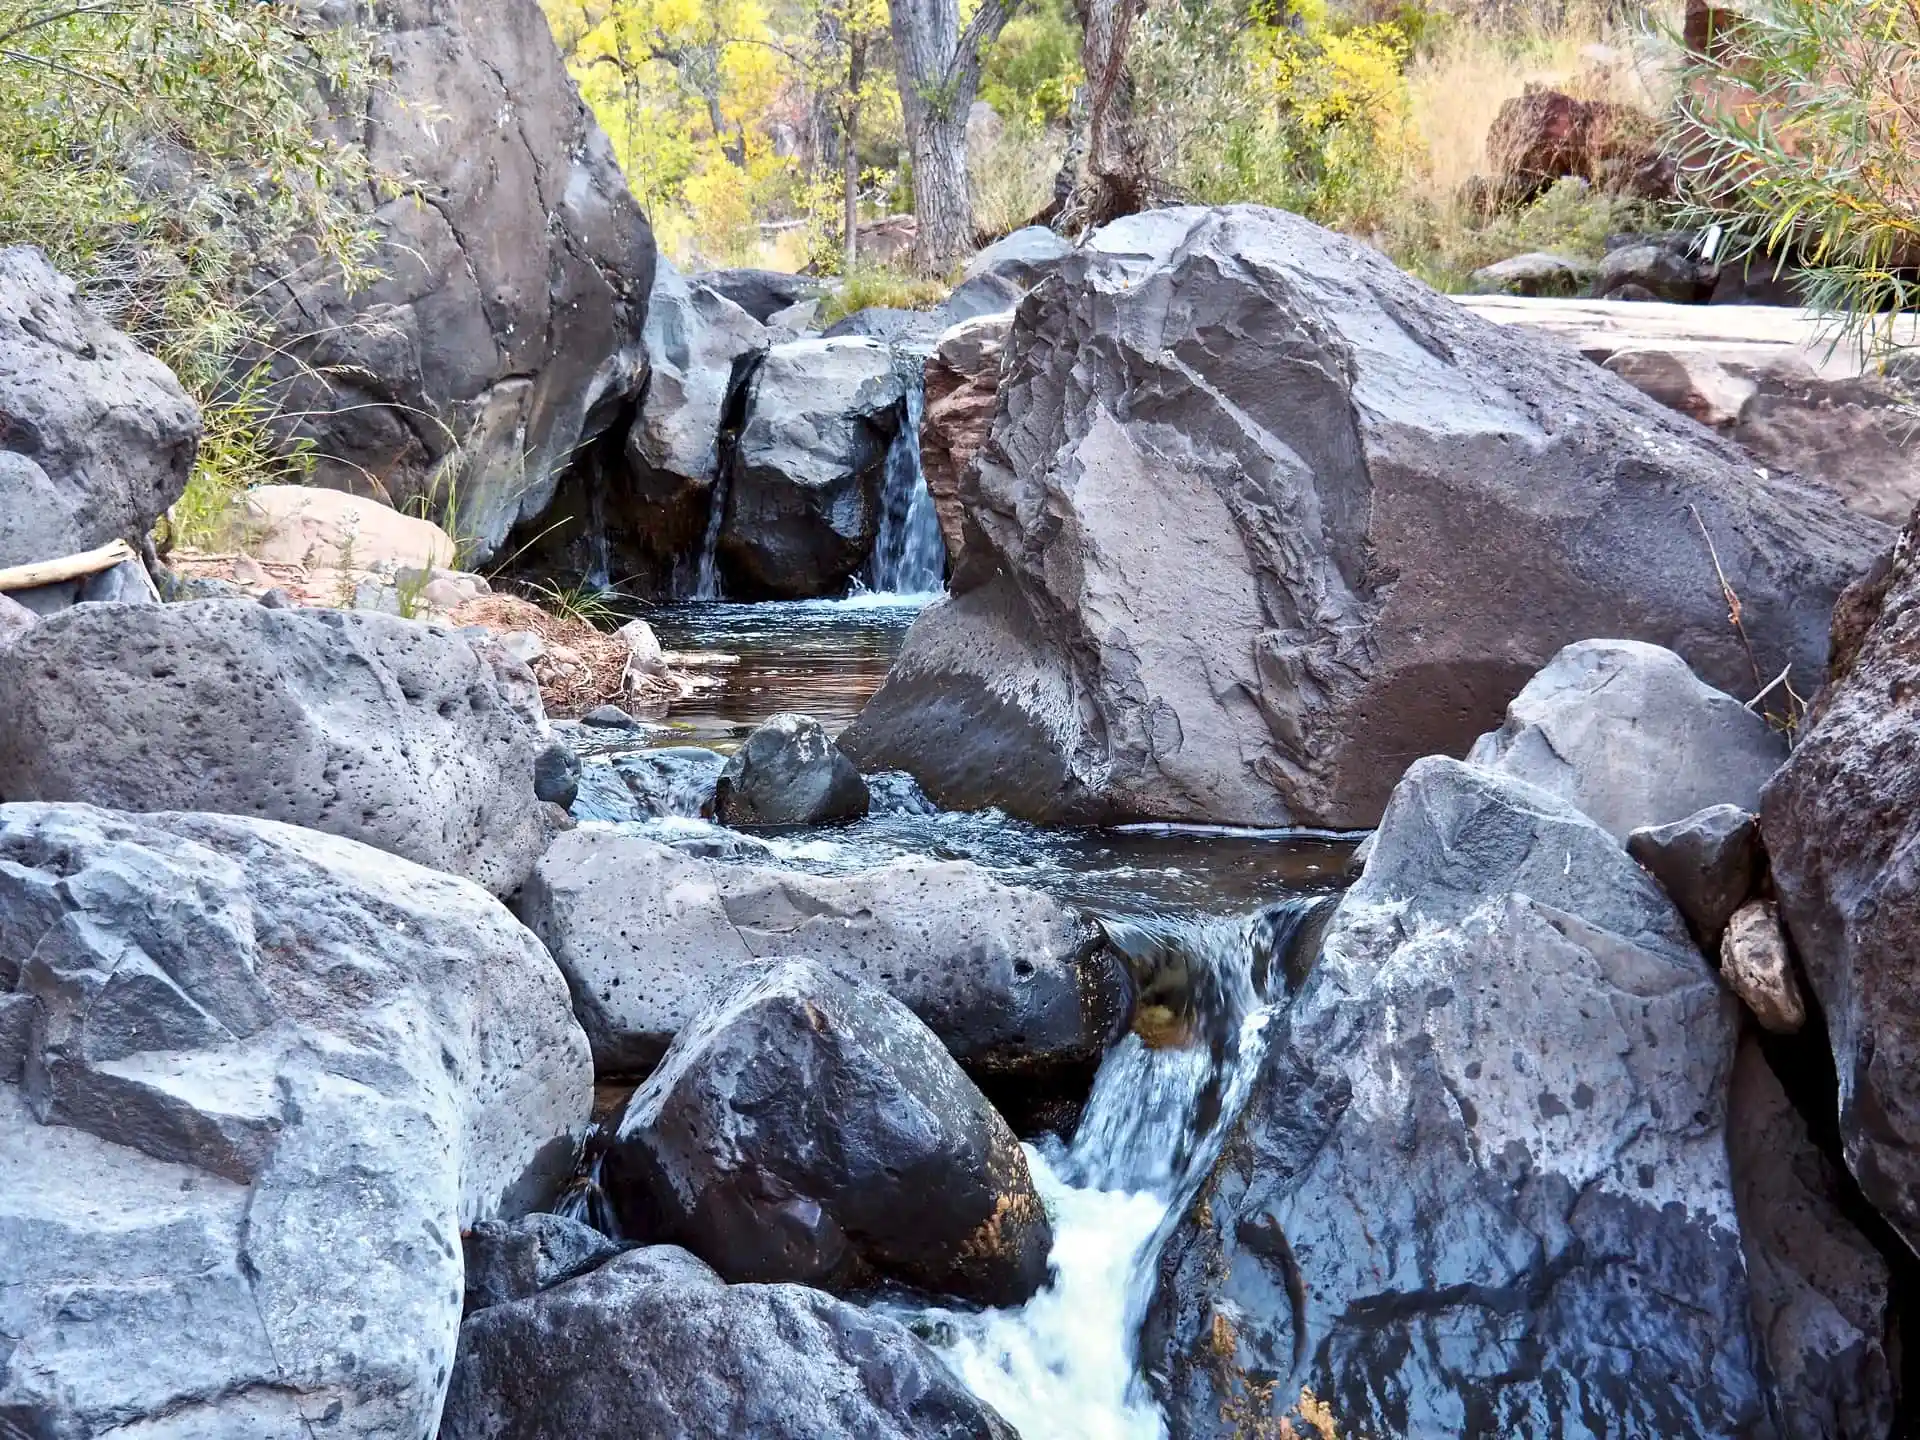
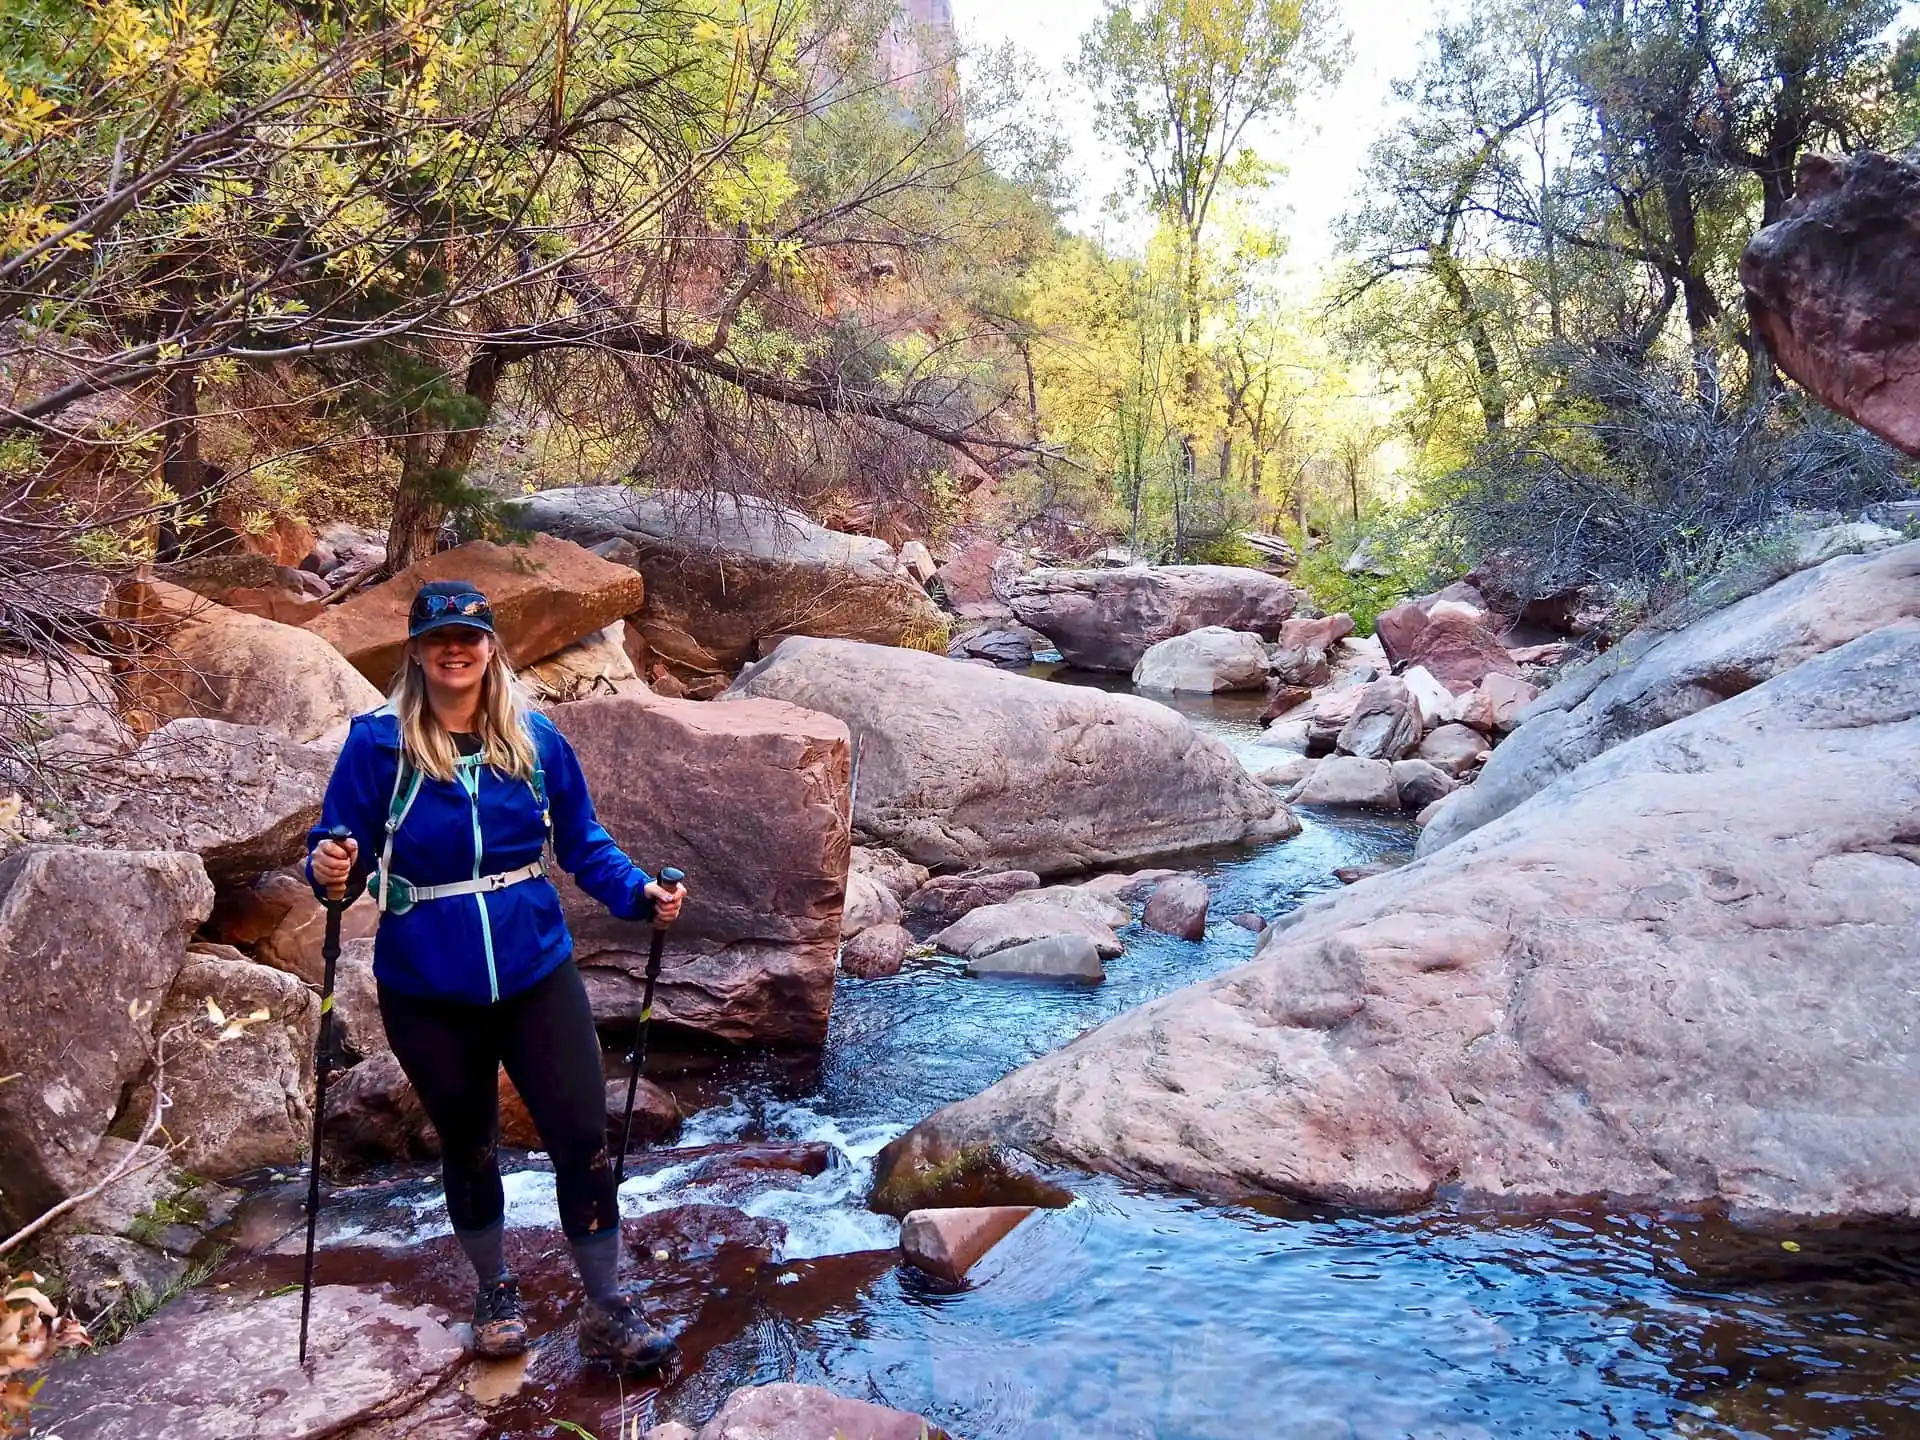
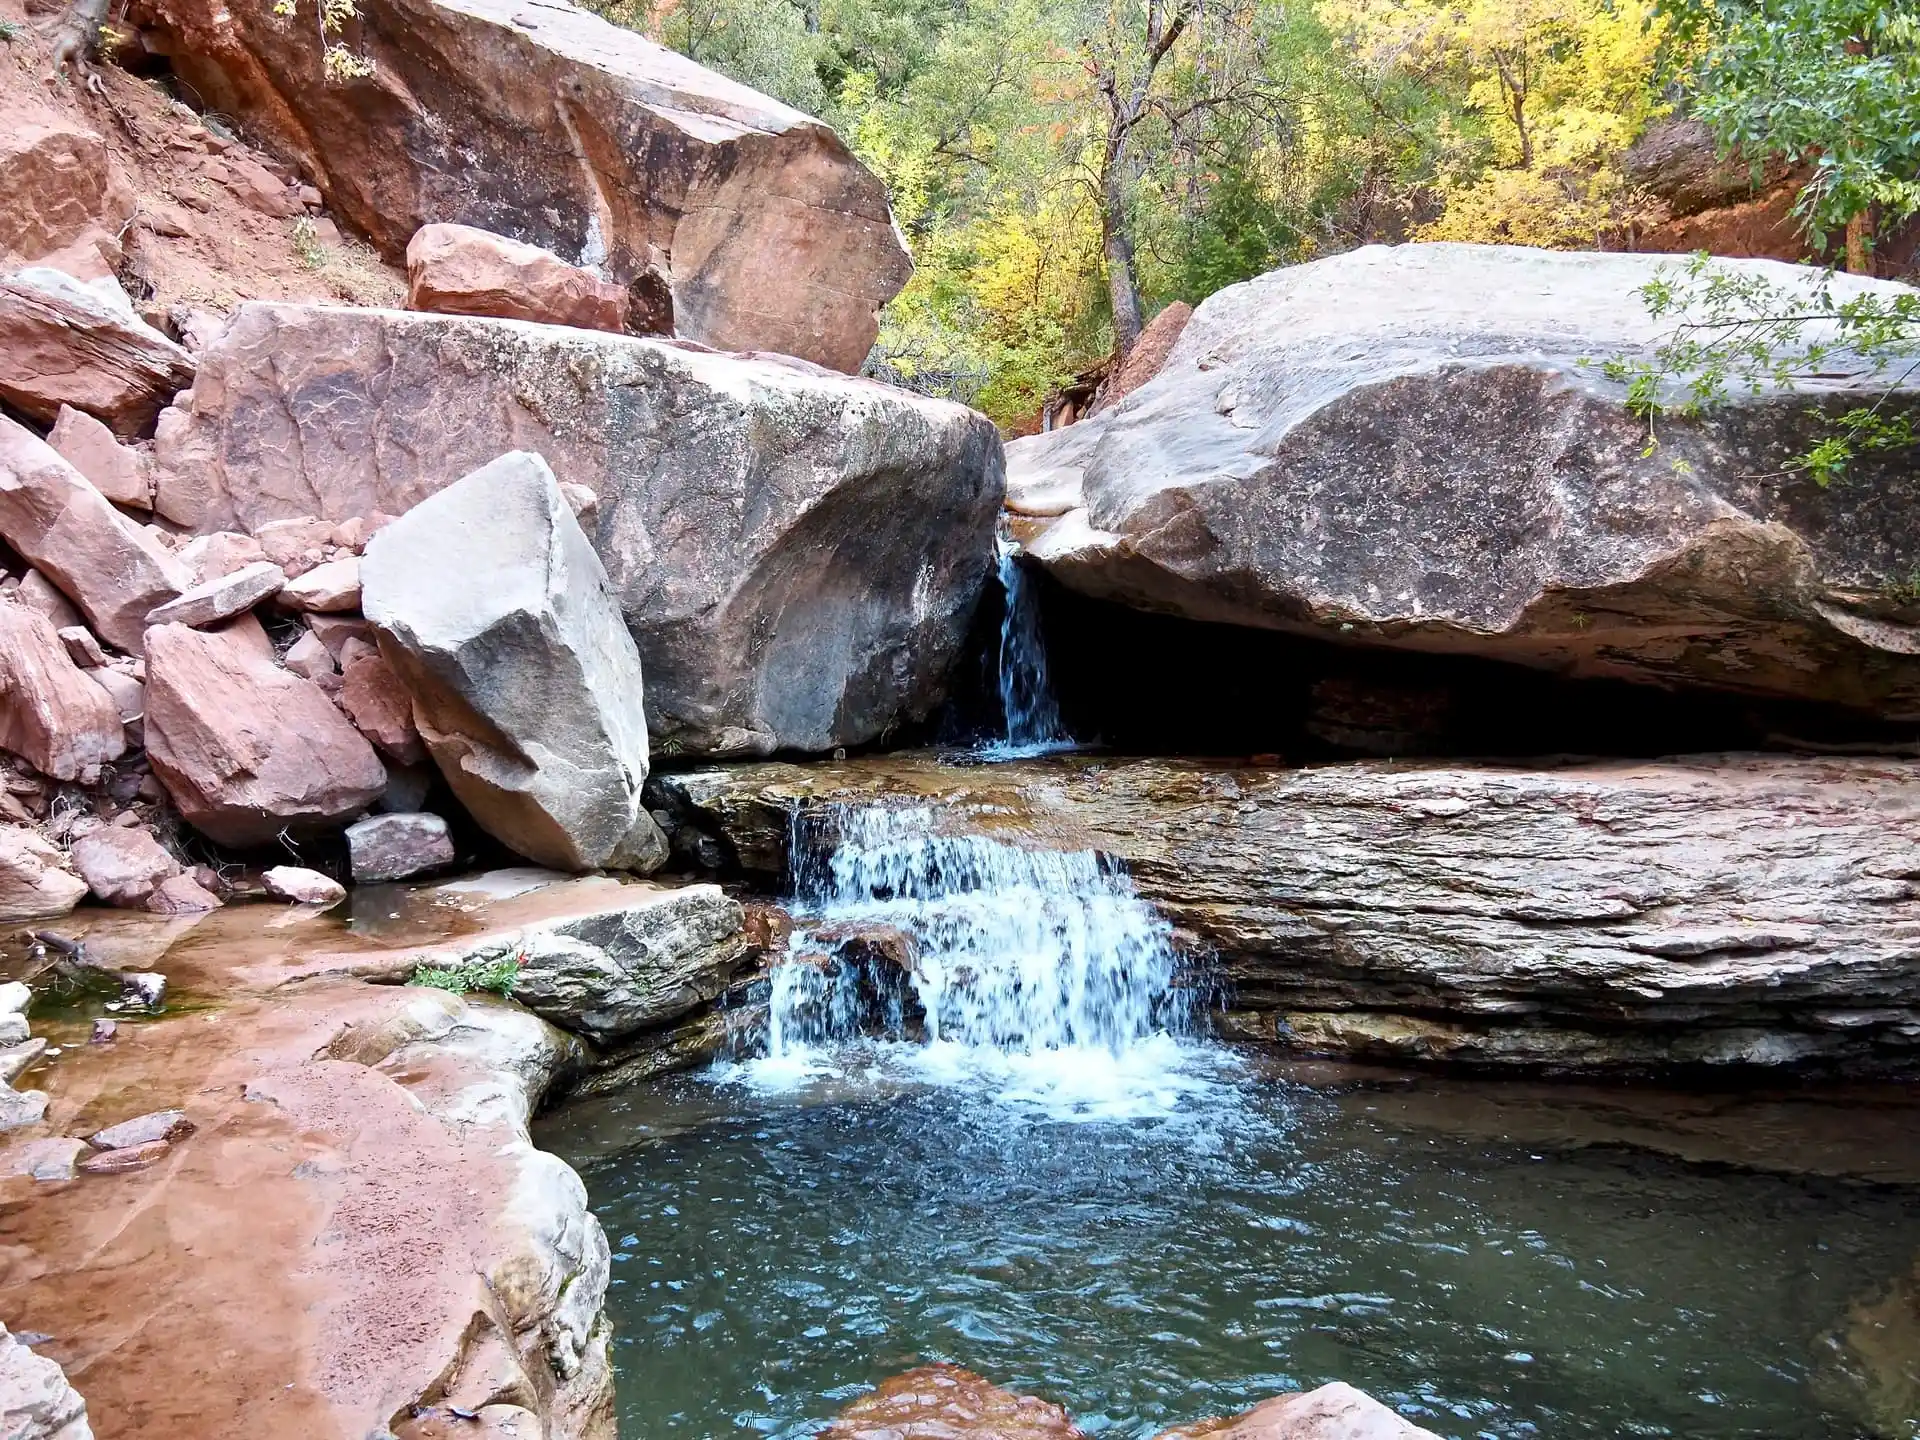
Gallery of hiking through the river on the way to The Subway
Finally reaching The Subway
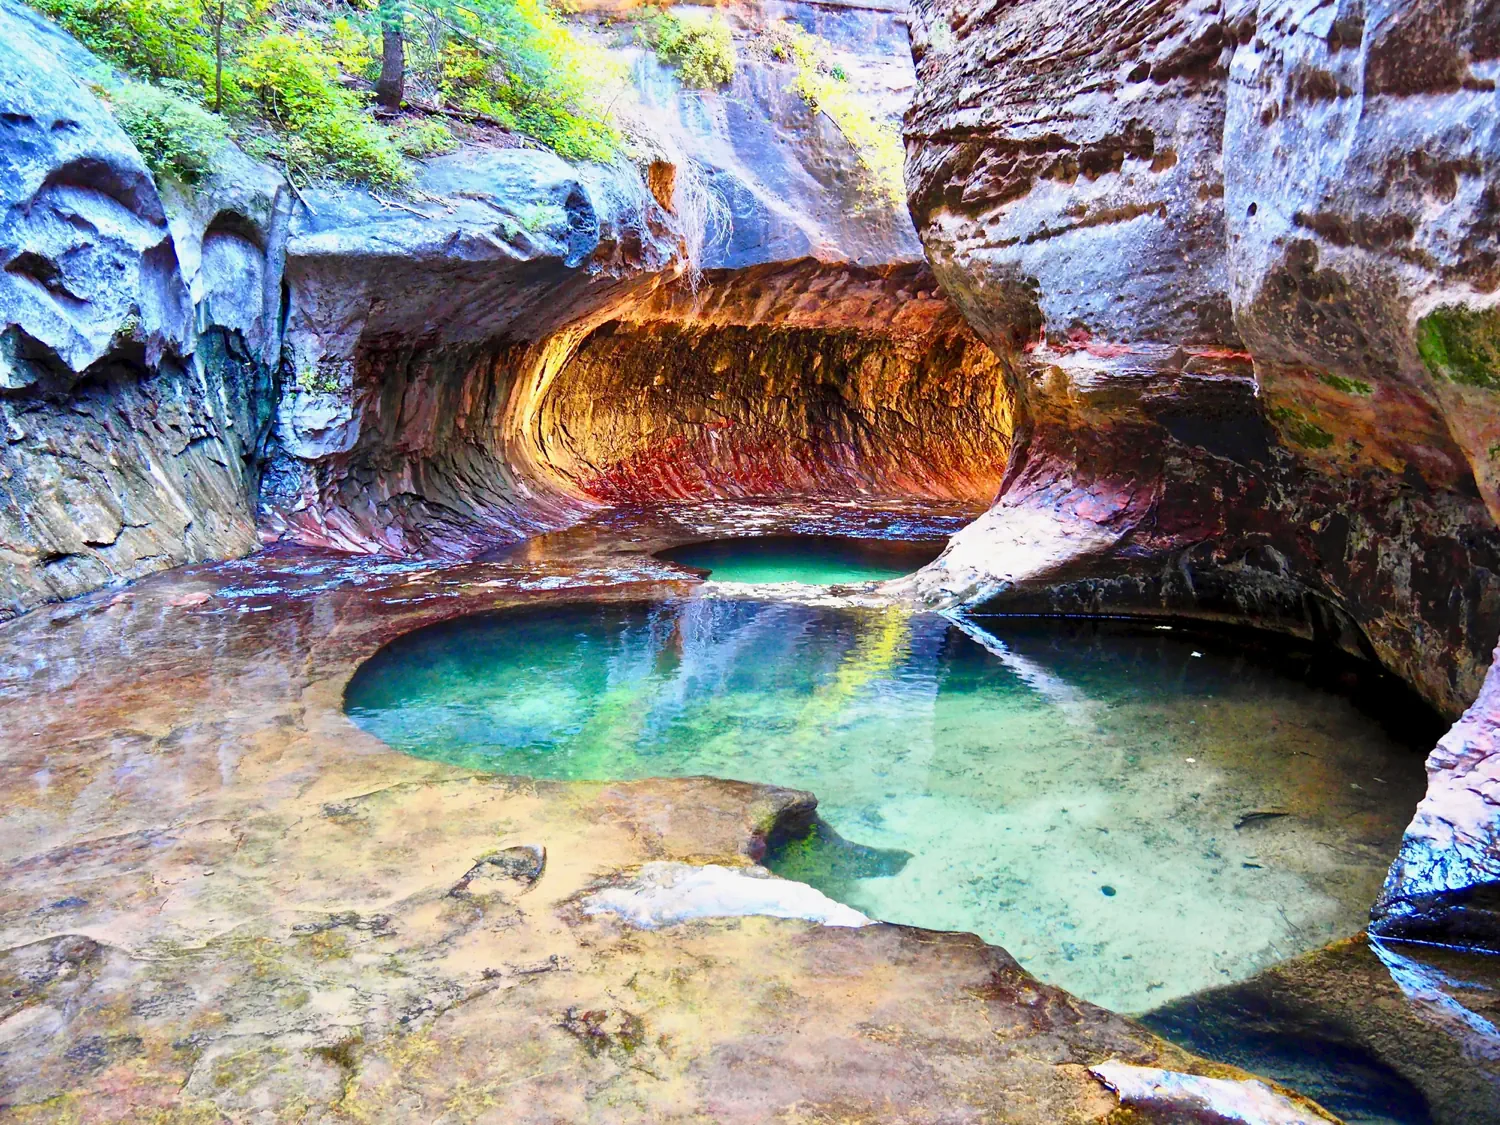
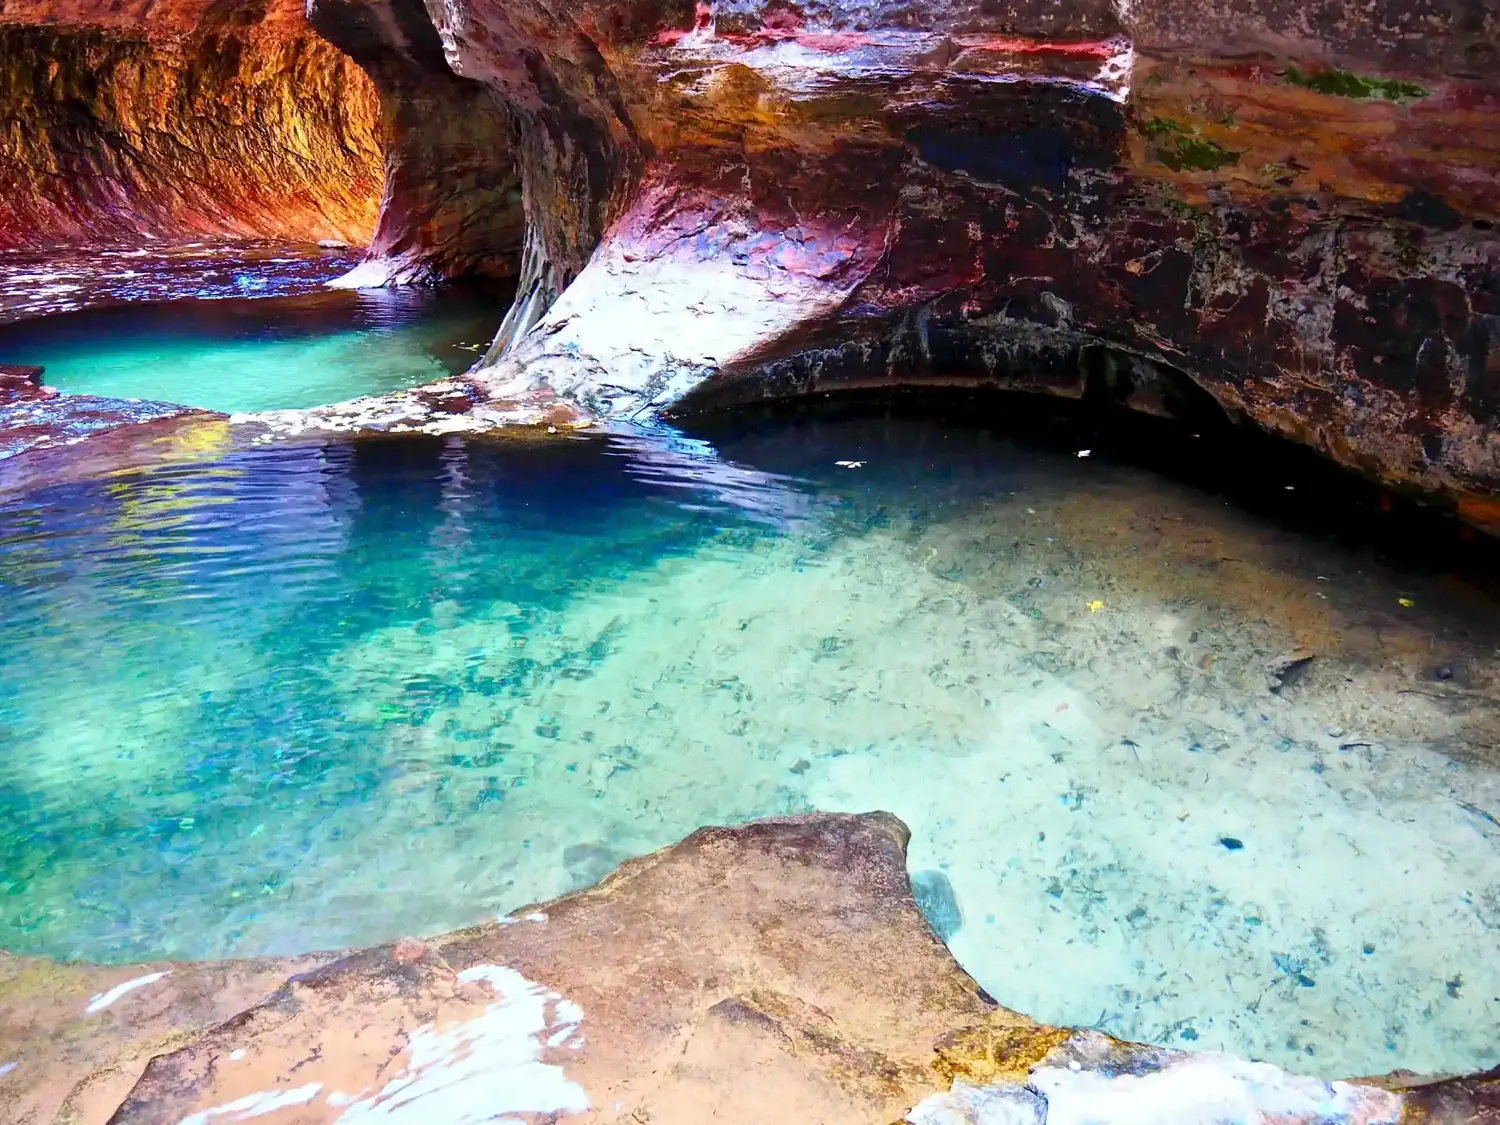
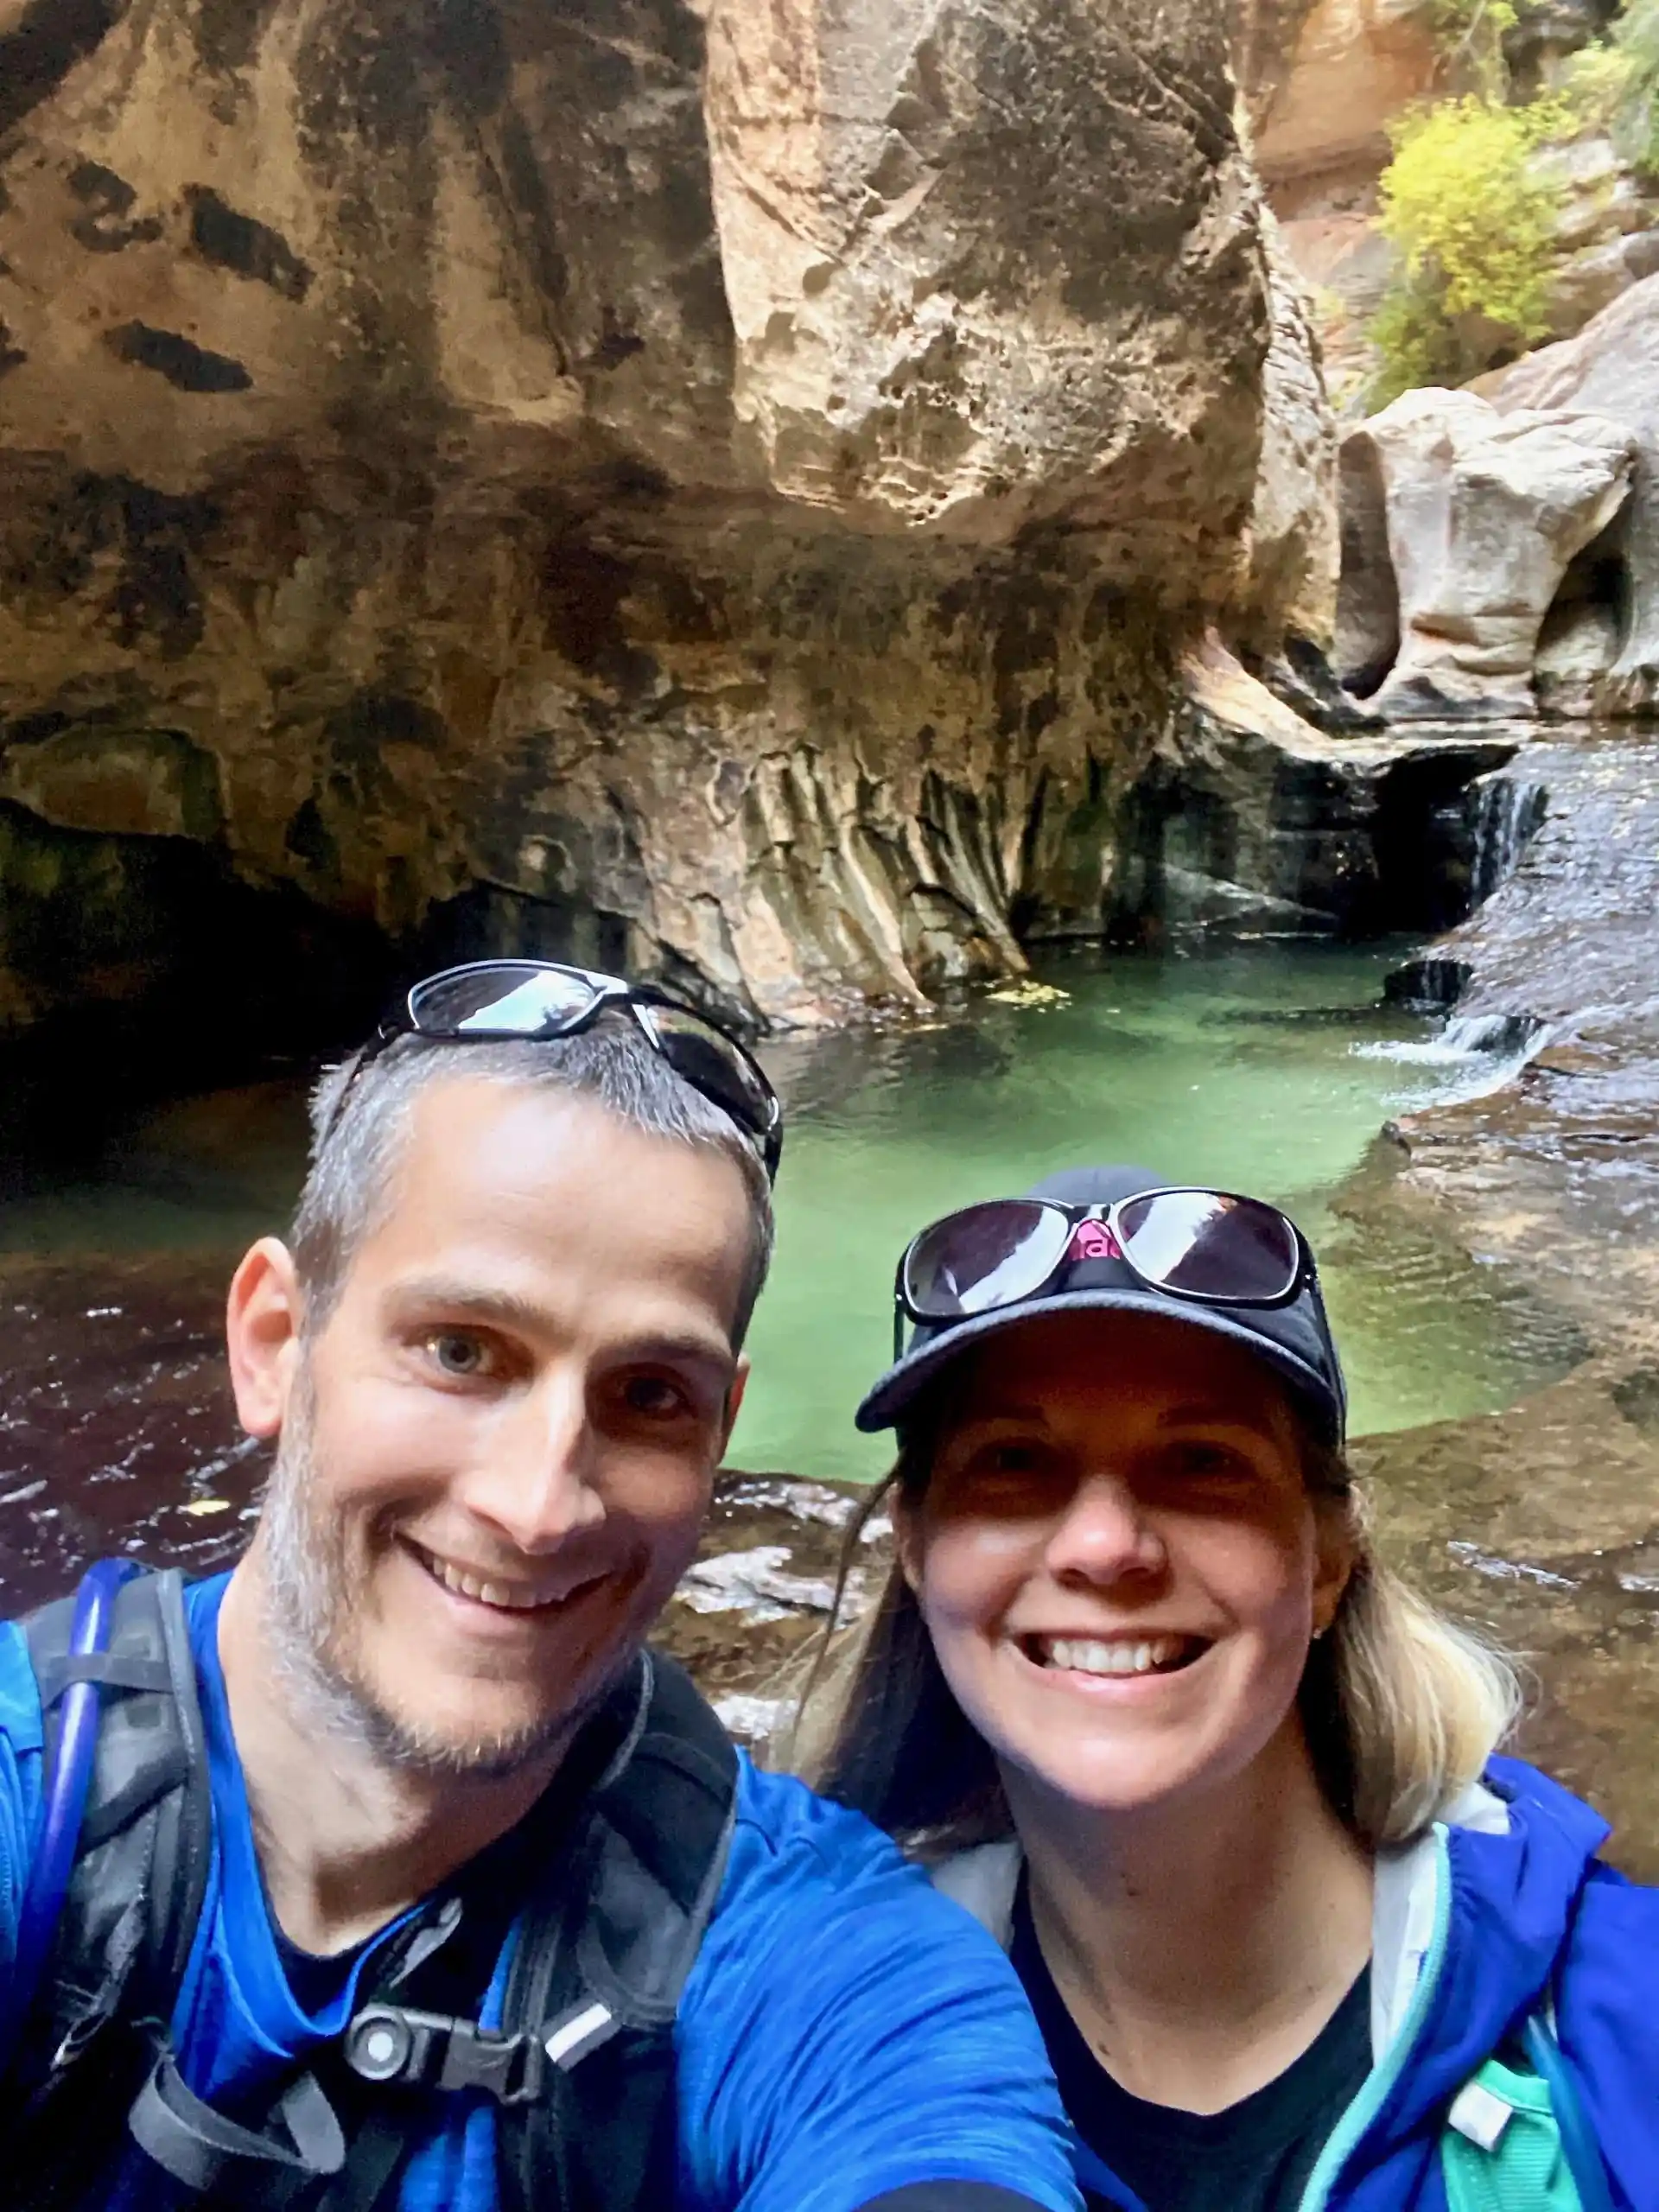
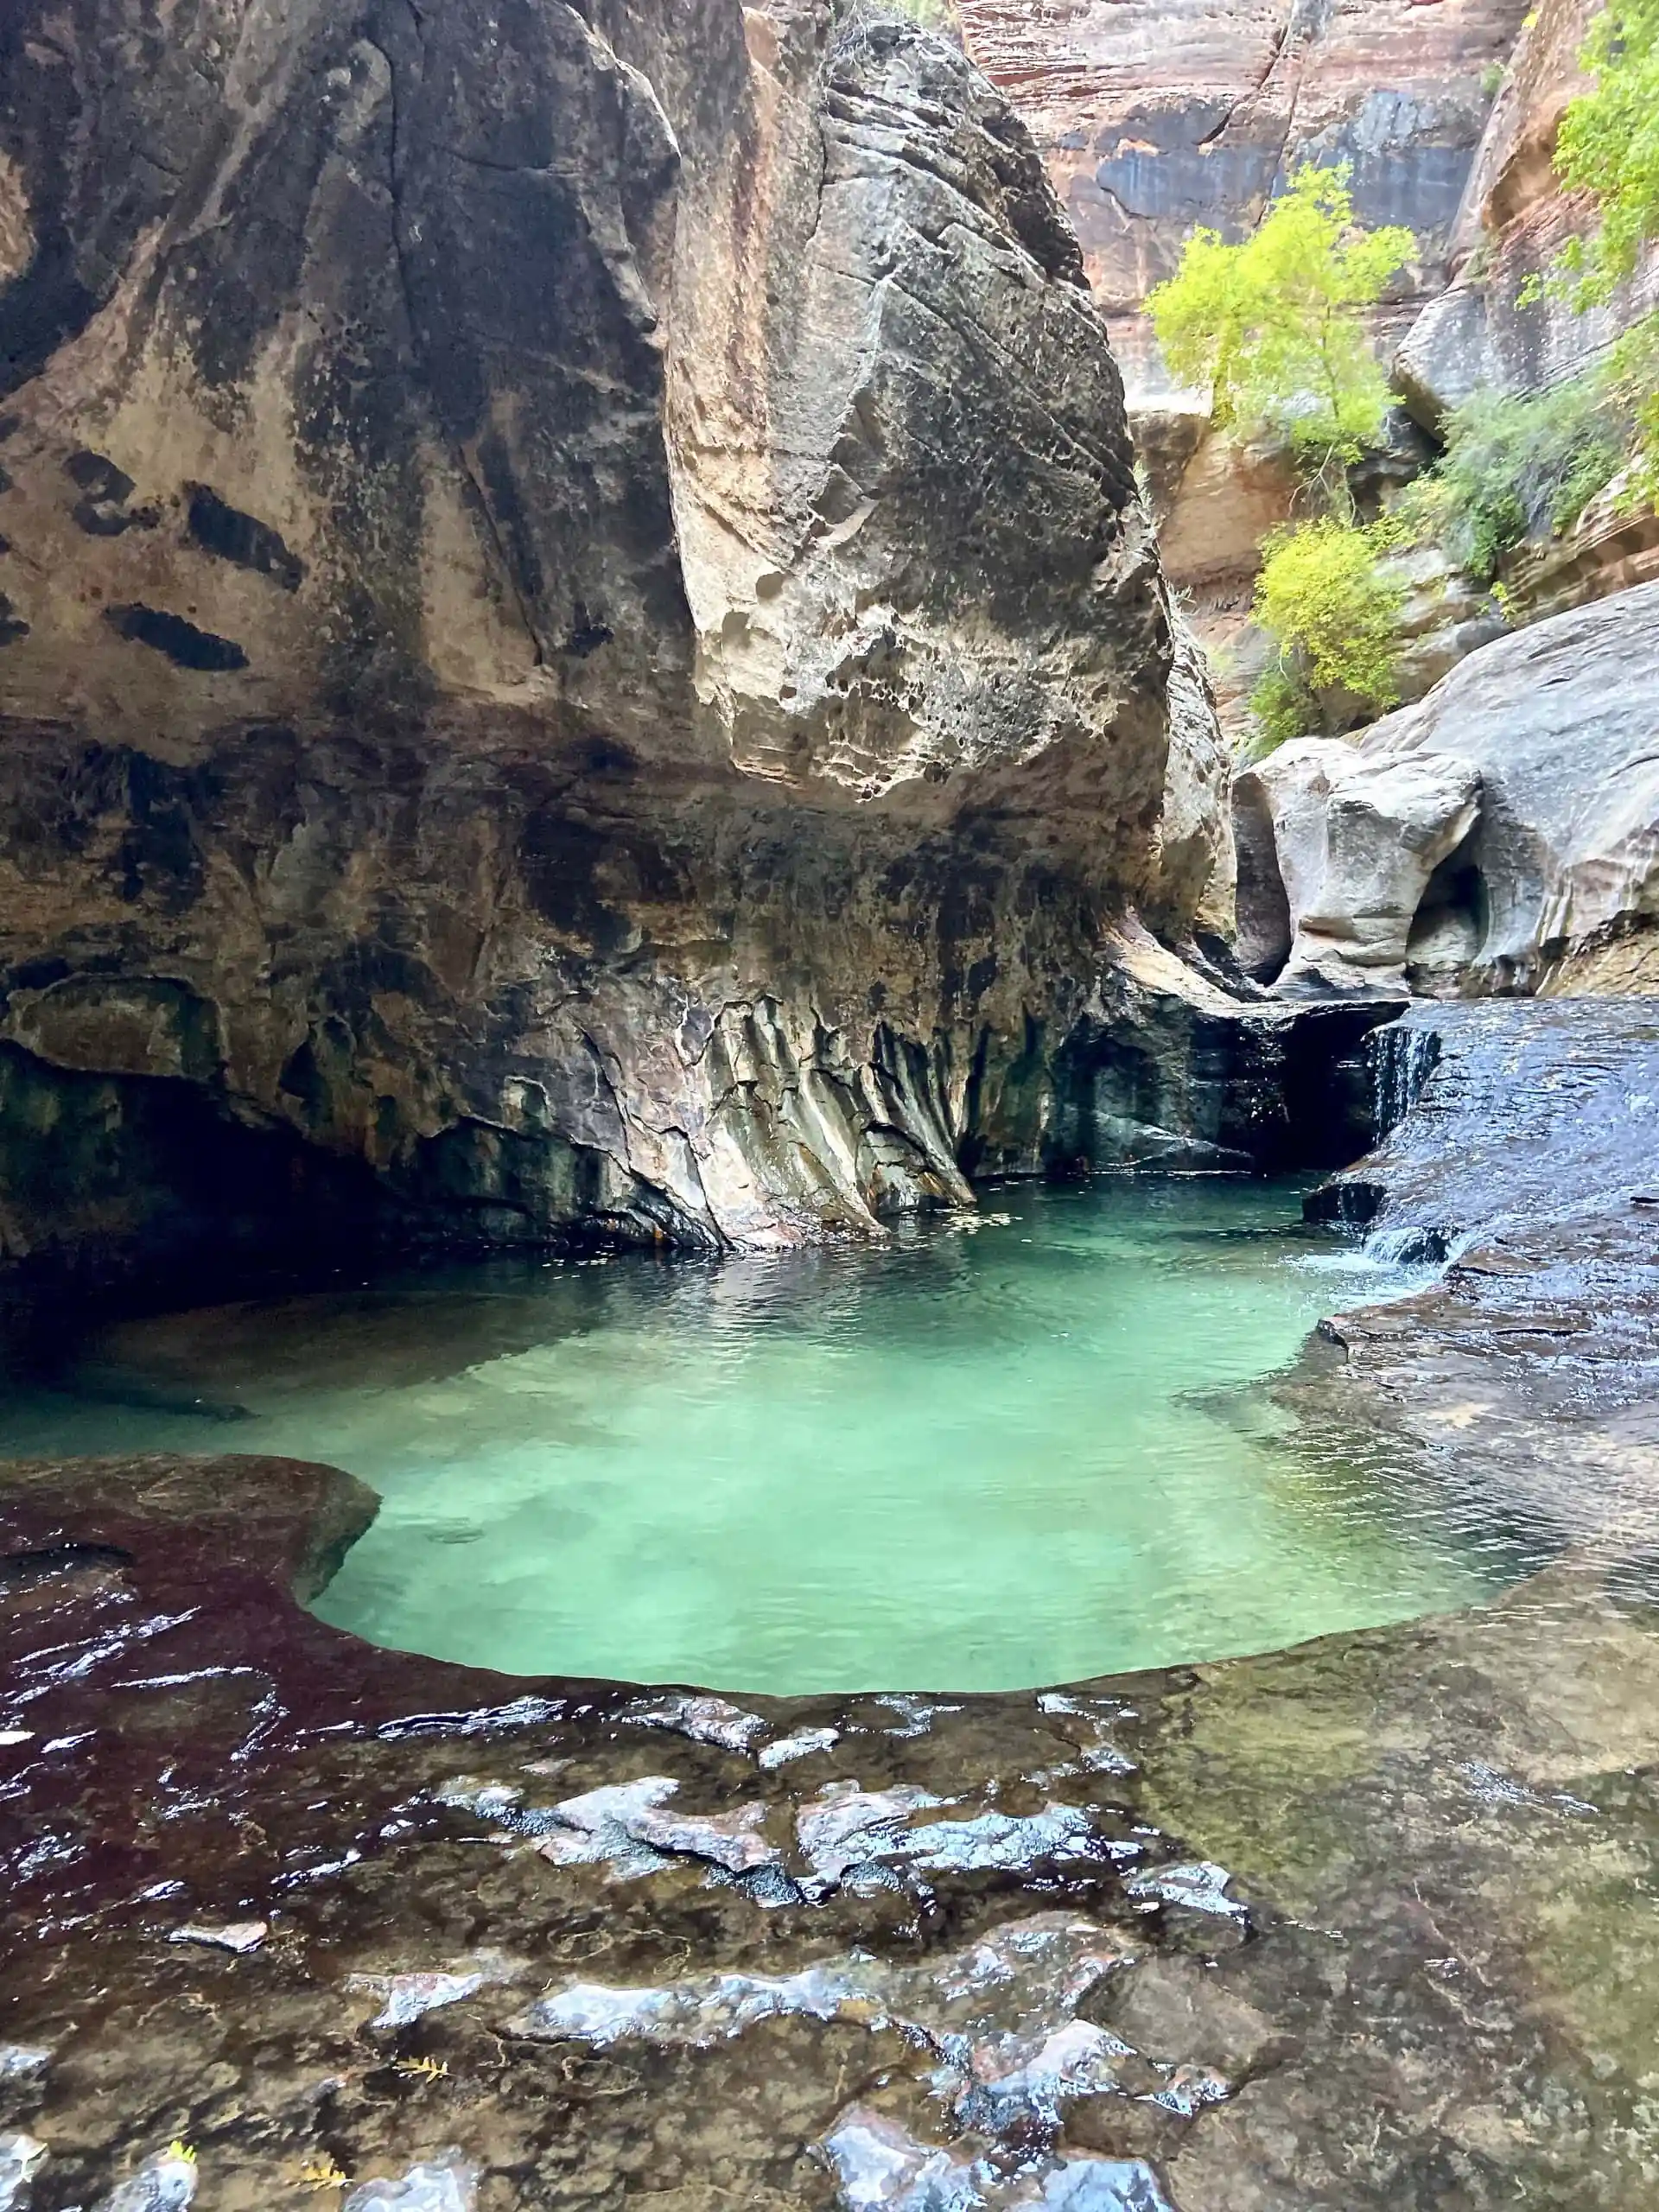
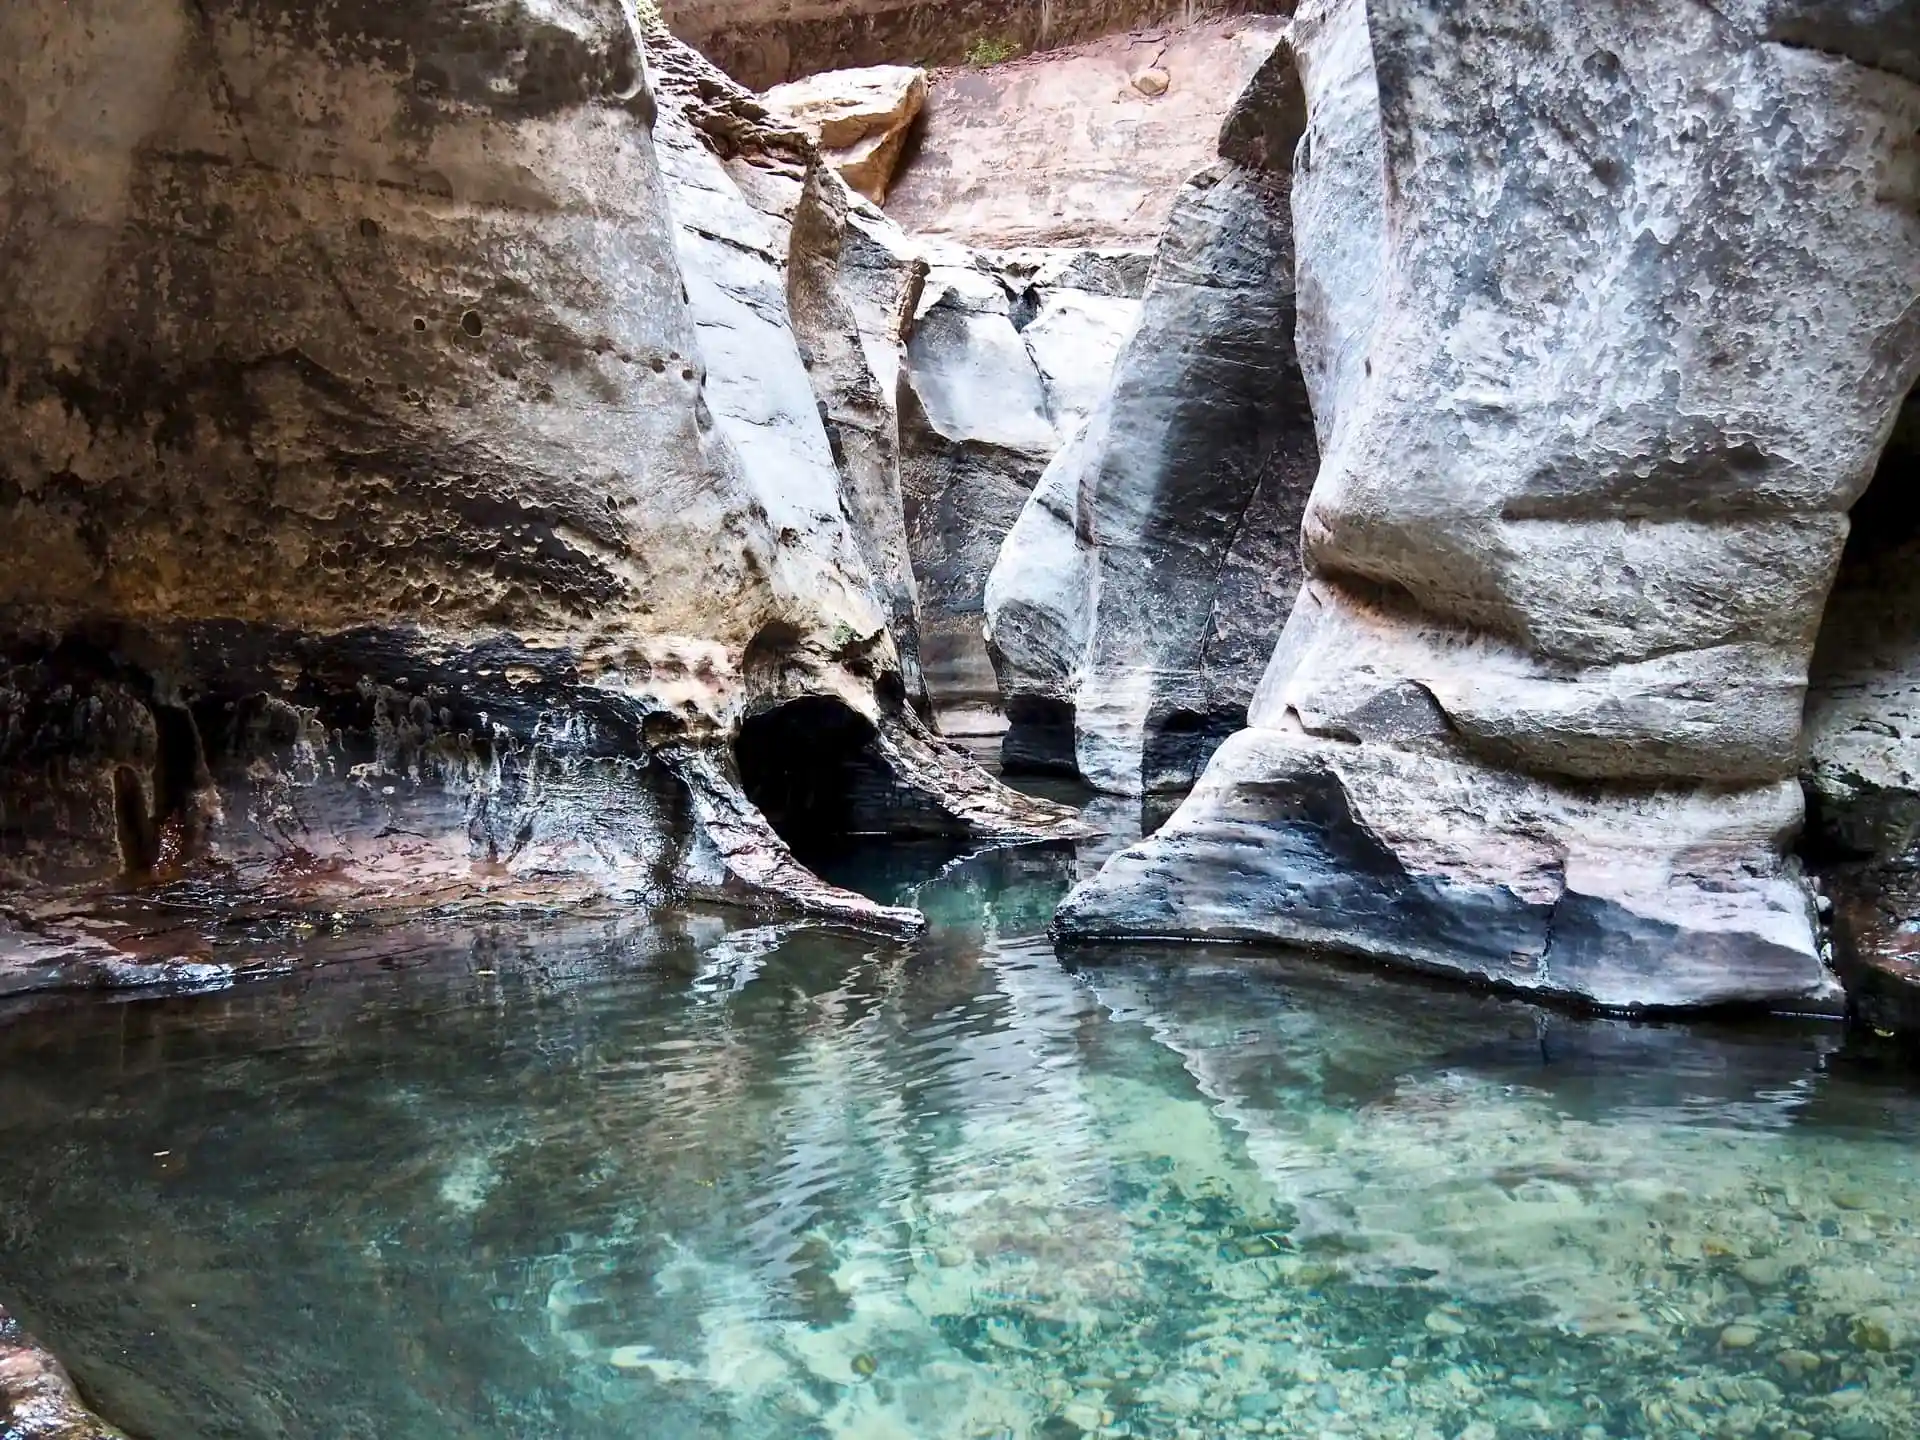
Once you reach The Subway, all the effort in getting there is greatly rewarded. Honestly, you are rewarded with beautiful sights all along the trail and most importantly, the grand finale is The Subway. I have seen plenty of pictures and somehow thought it might be a little bit of a letdown seeing it in person. I was completely wrong! Seeing it in person was not like seeing the pictures. There were several aspects of the pools and landscape that cannot be captured in a single picture.
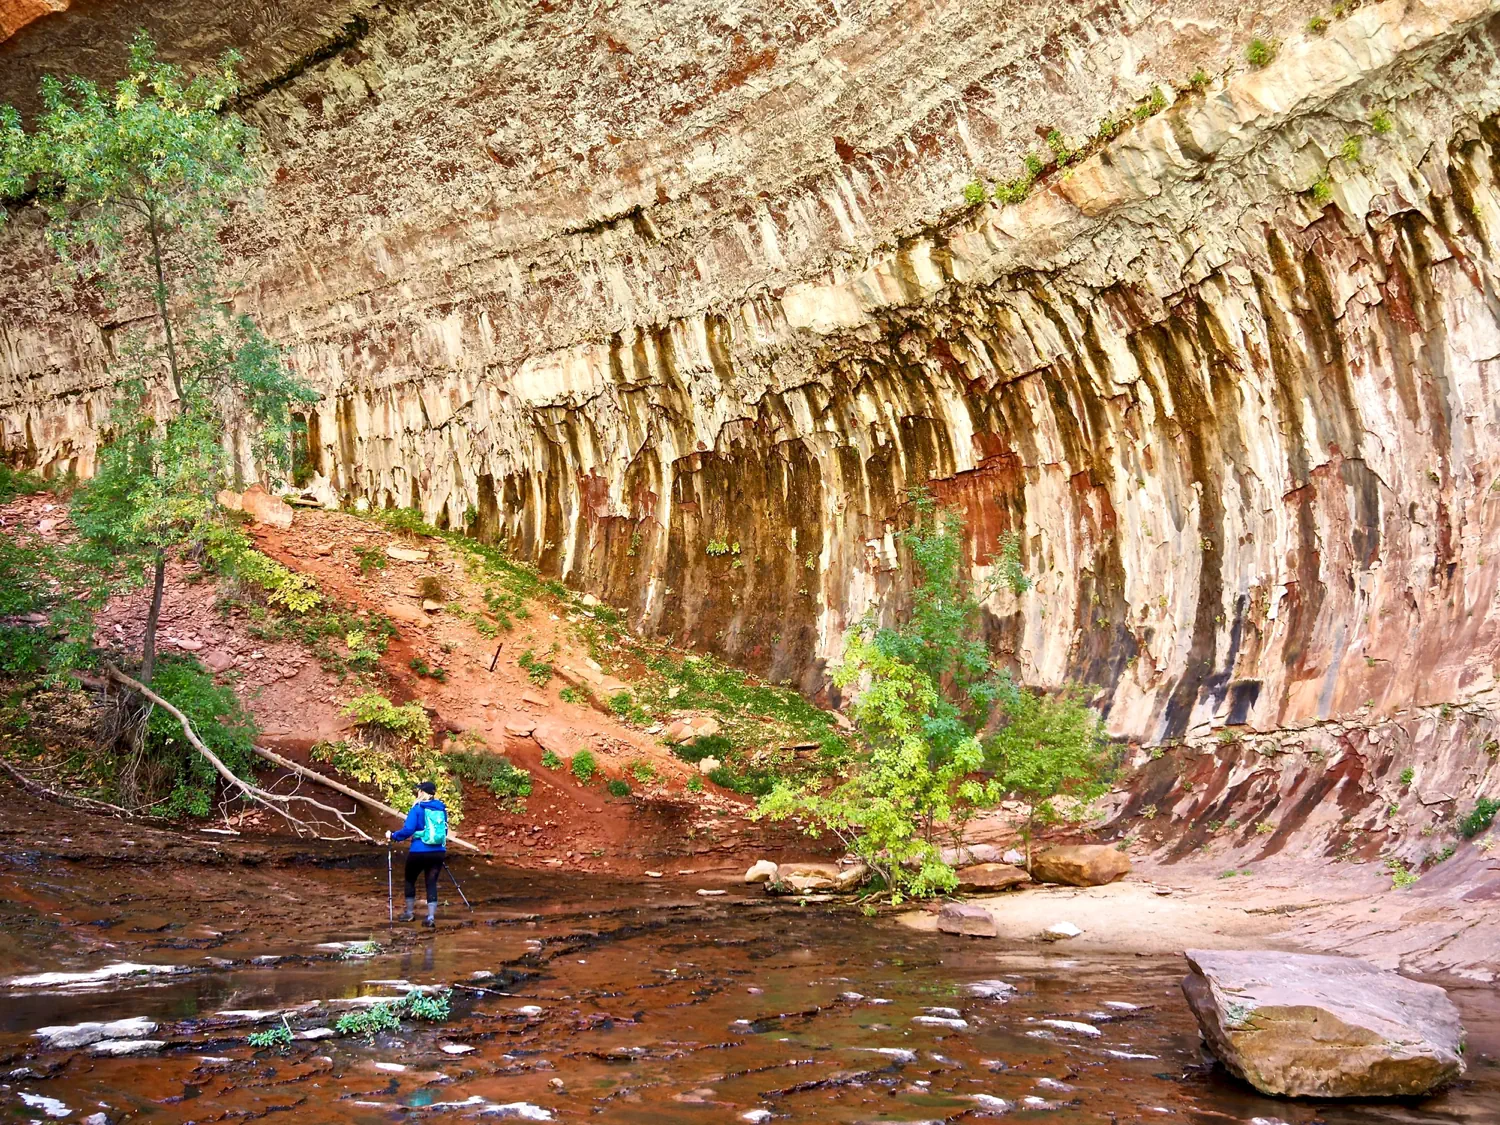
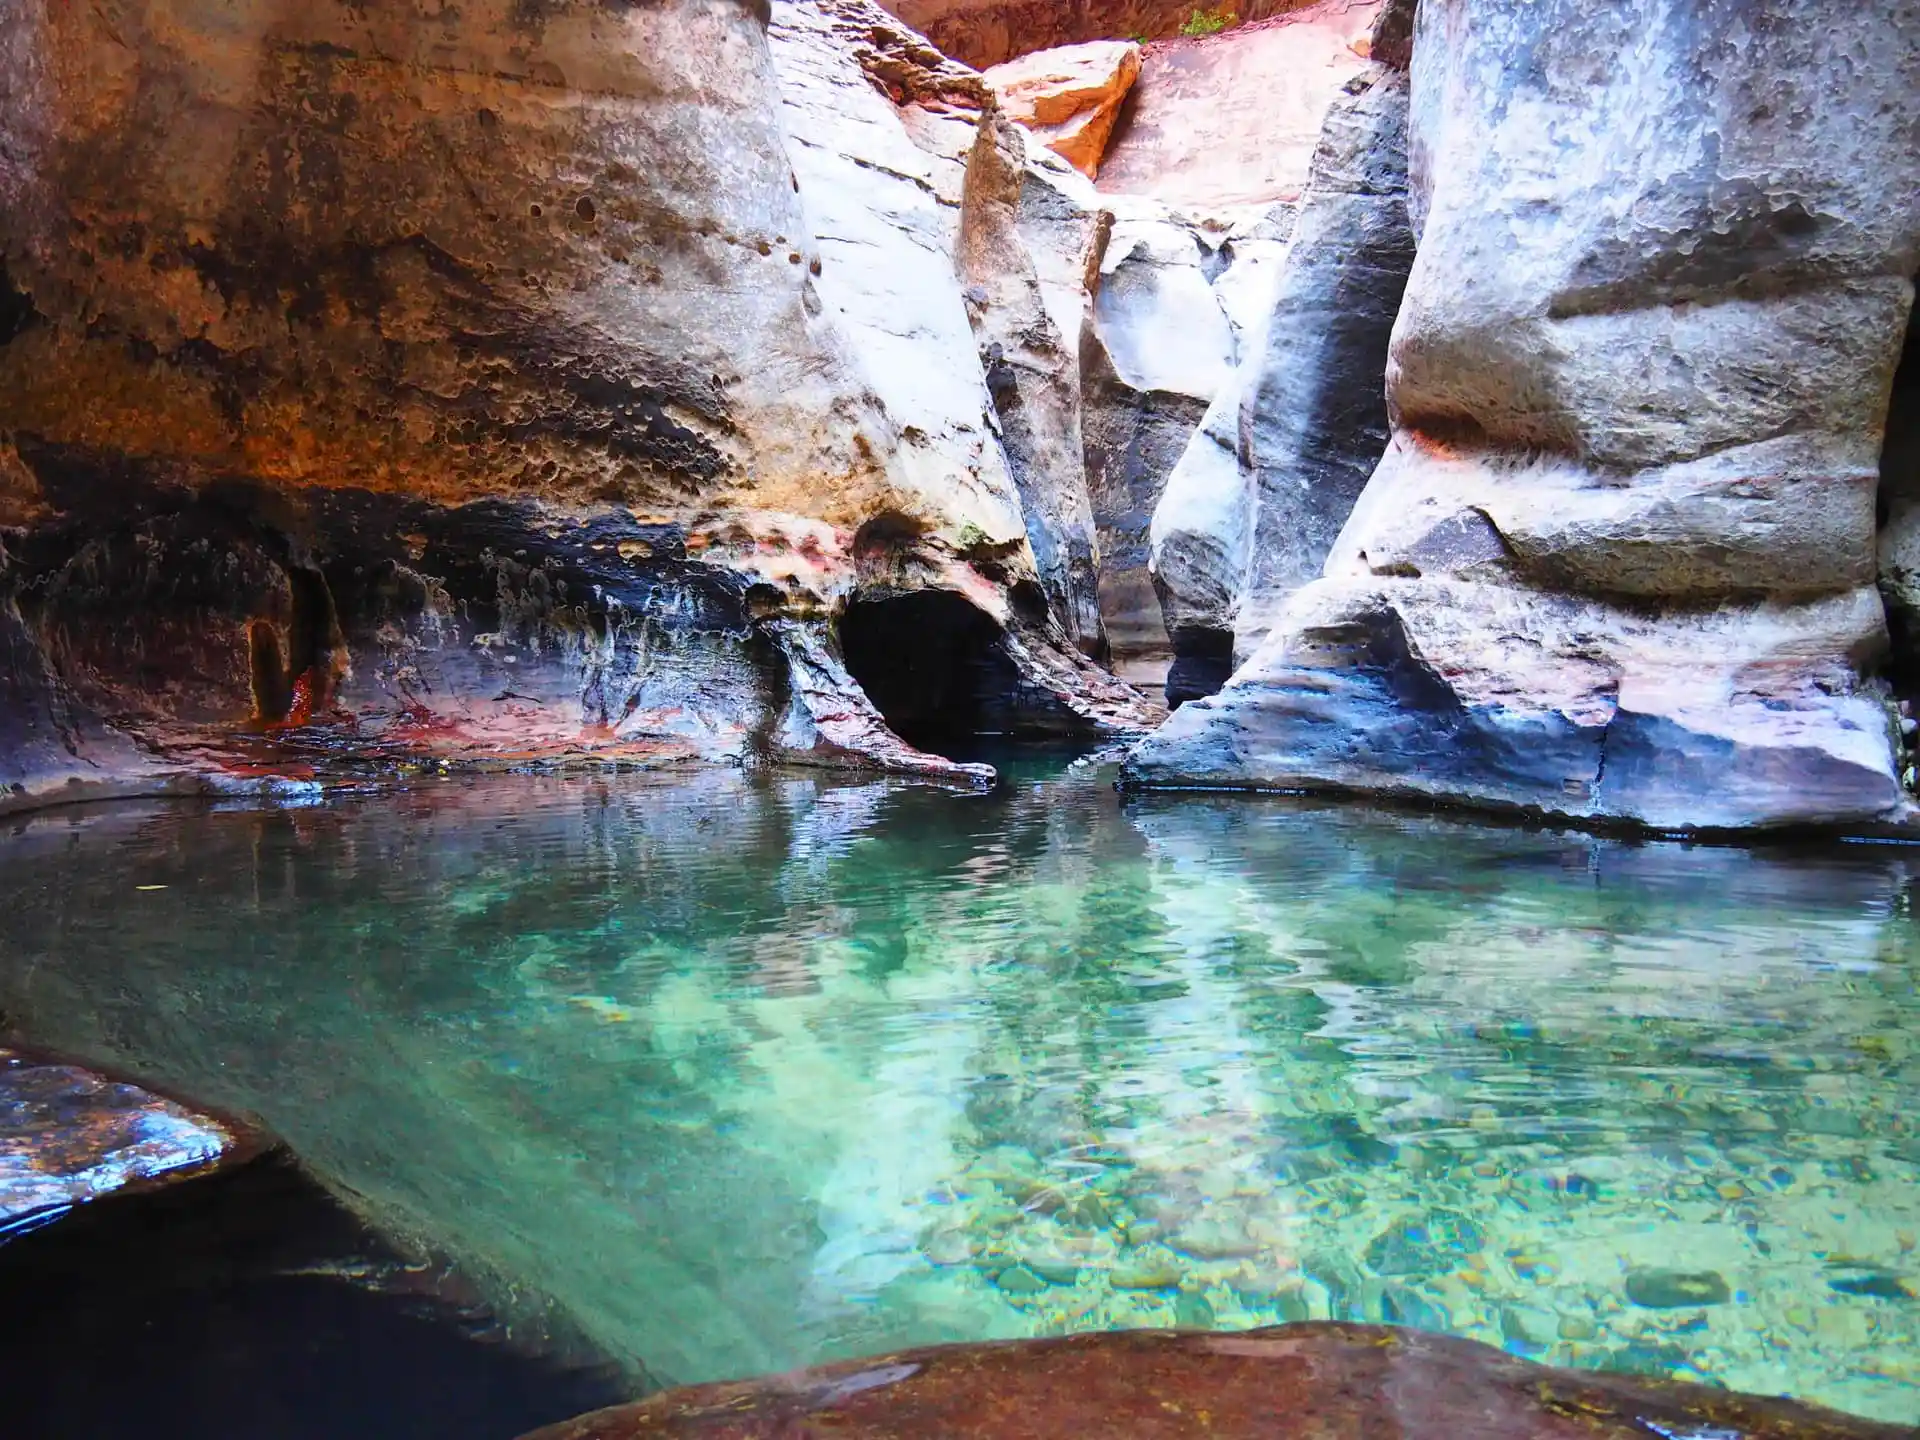
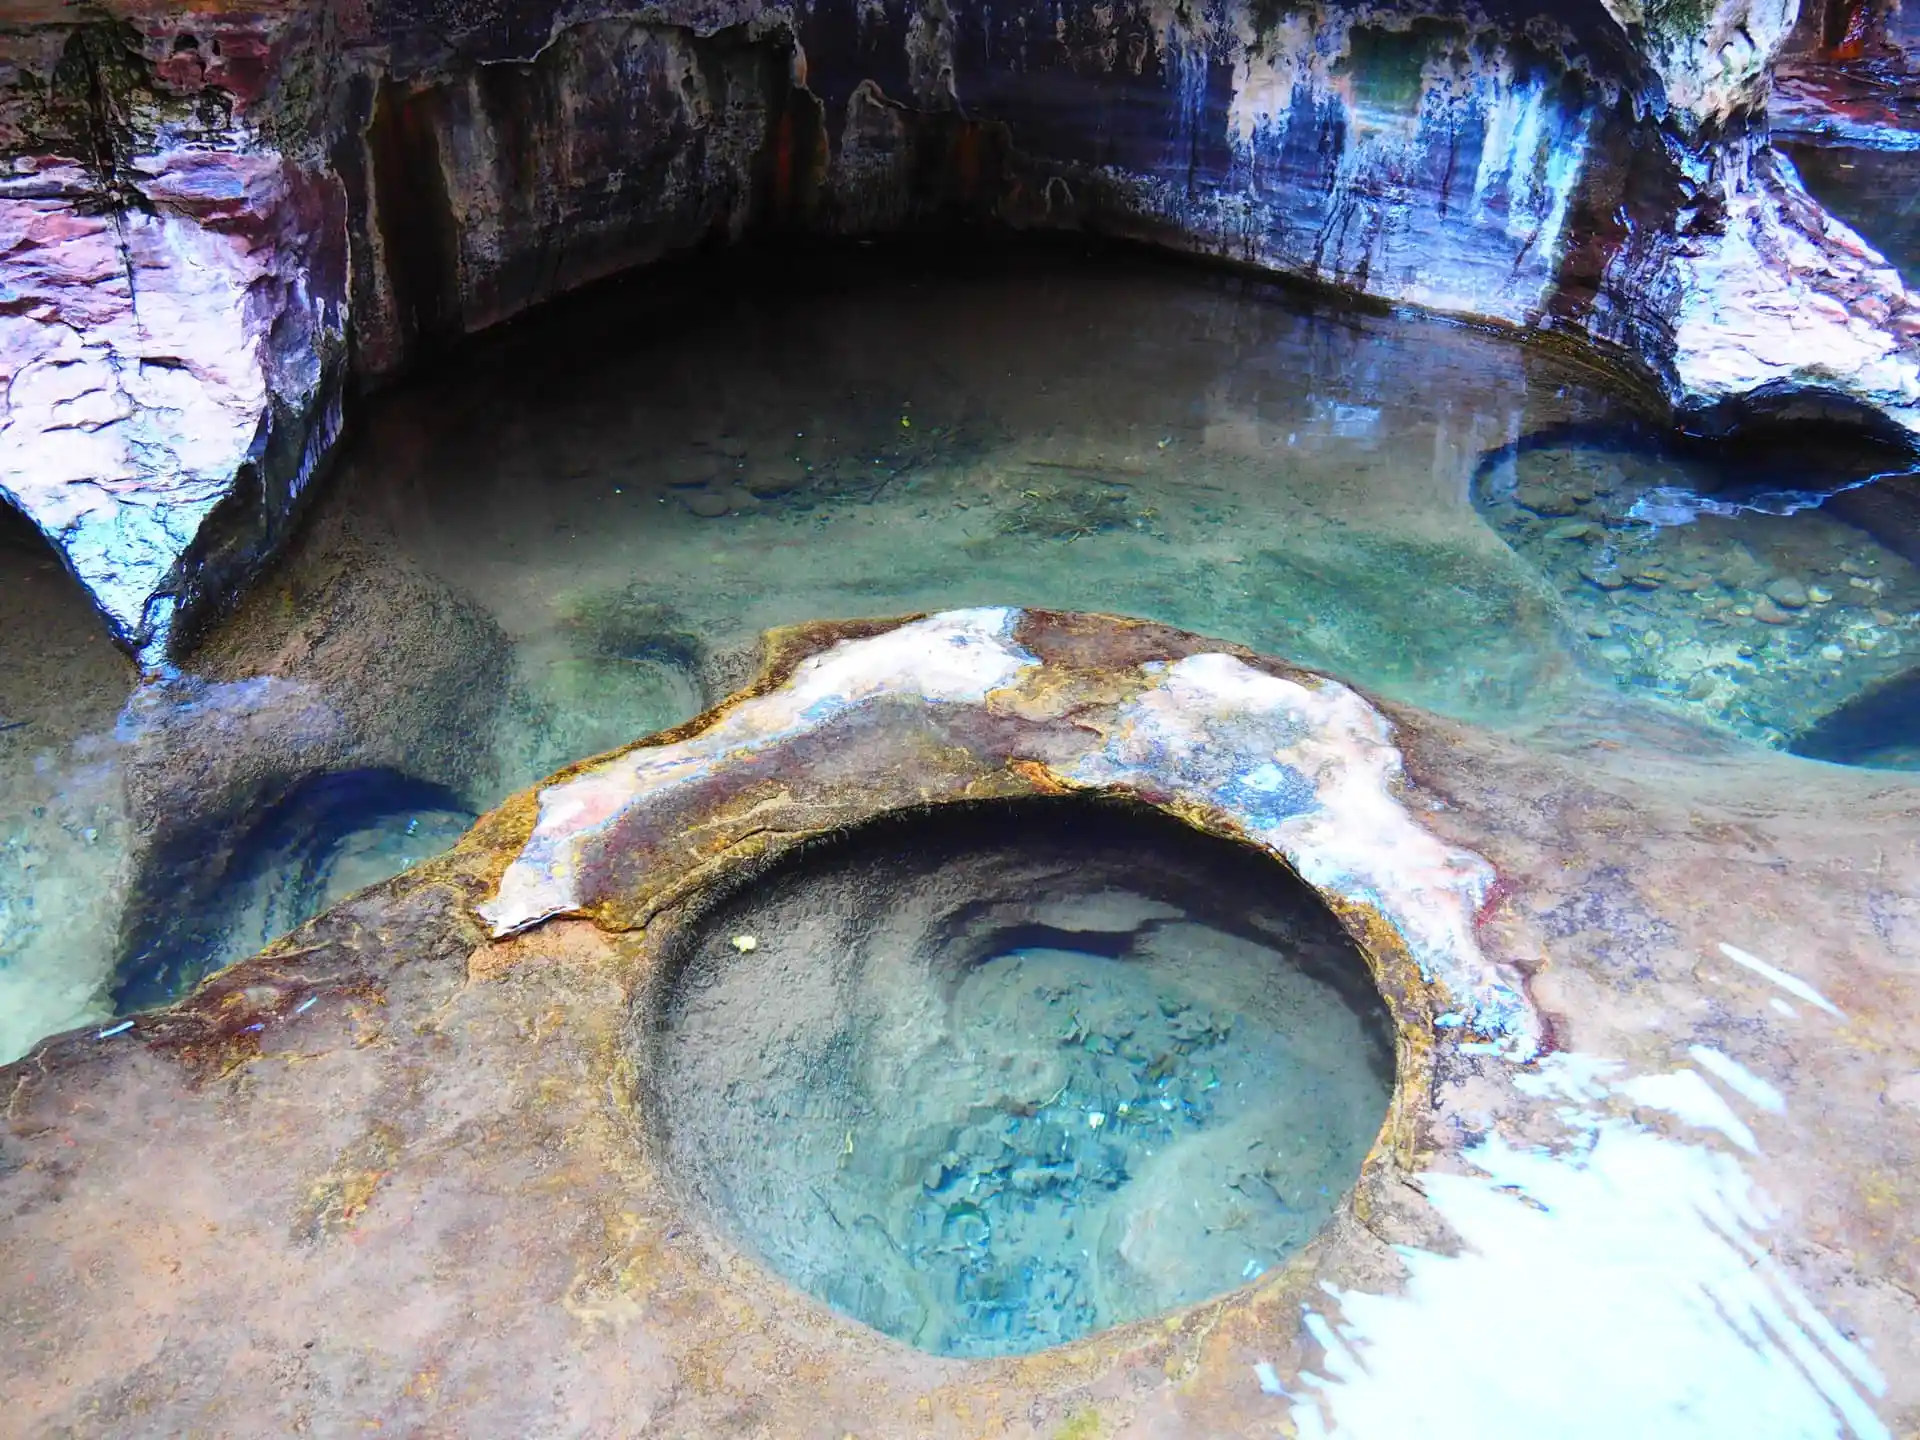
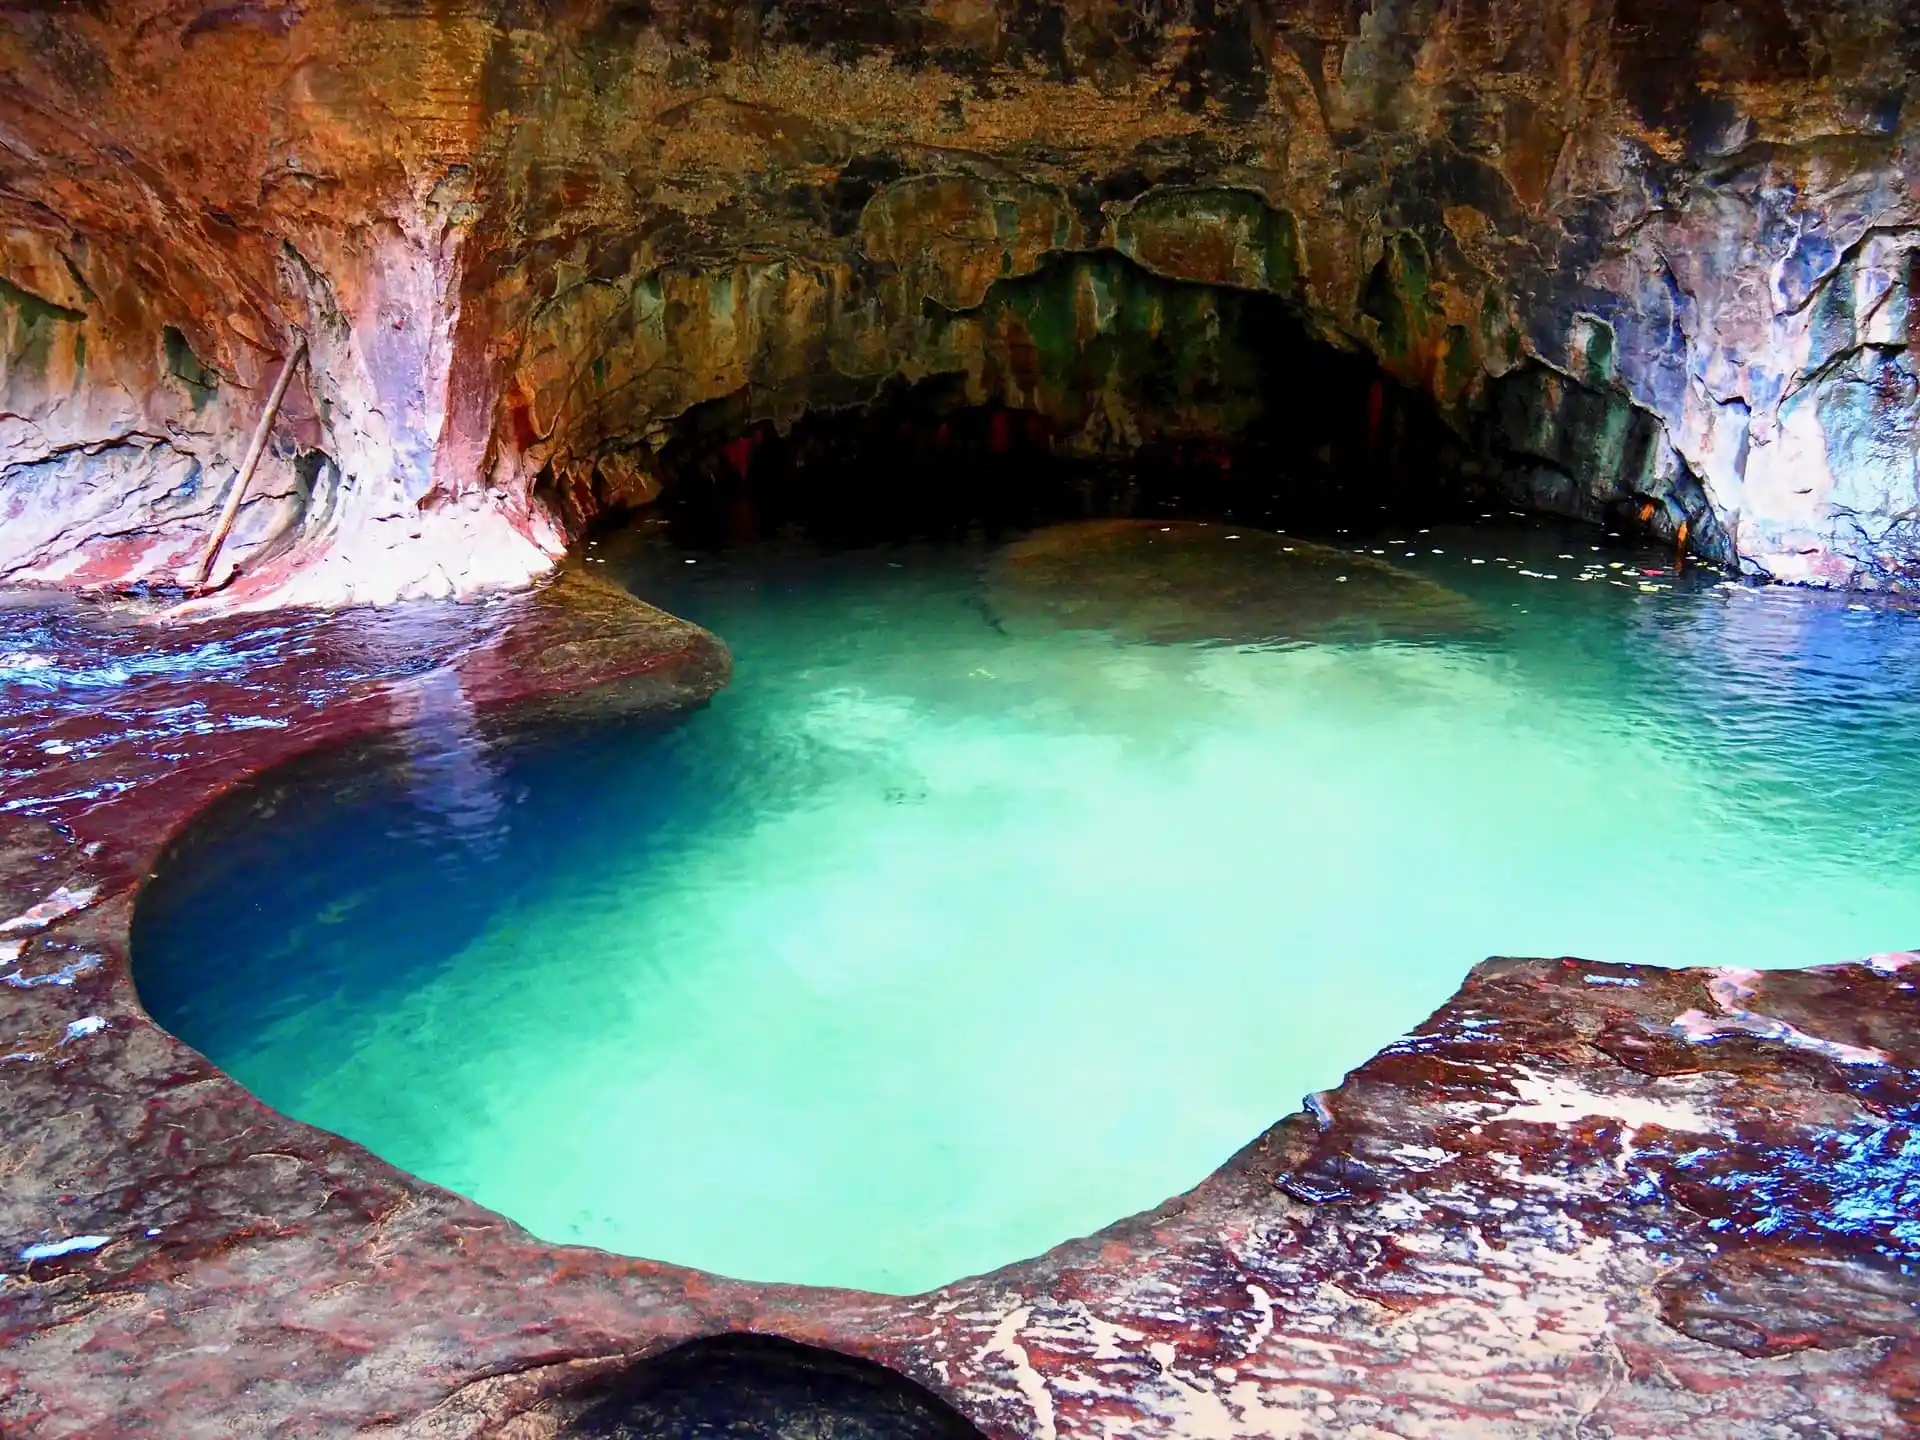
Gallery of highlights from The Subway
Our thoughts about this hike
Keith and I thoroughly enjoyed this more remote and private hike. We truly felt like we were exploring the area all alone and as a result, were able to bask in the beauty of this canyon unlike other busier areas of Zion National Park.
It was a challenging and ultra-rewarding day on our trip to the area. If you are visiting Zion and have the physical ability, along with a full day to devote to this hike, it’s well worth obtaining the permit to journey back to The Subway.
Gear we used for this hike
- Keith’s Socks: Drake Merino Wool Mid-weight Crew Sock
- Keith’s Shoes: Merrell Men’s
- Lindsey’s Socks: Smartwool Outdoor Advanced Light Crew Hiking Sock
- Lindsey’s Shoes: Merrell Women’s Moab 2 Waterproof Hiking Shoe!
- Hiking Poles
- Headlamp (in case we got stuck out after dark)
- Lindsey’s Backpack
- Keith’s Backpack
Pro tips for this hike
- Be prepared for this hike; clothing, food, water, emergency supplies, emergency contact prearranged, etc.
- Practice “Leave No Trace” principles. Click HERE for more information on what this means.
- Hike on a weekday if possible and/or off-season- securing the permit will be easier and will possibly avoid additional costs by applying less number of times.
- Give yourself plenty of time to hike and enjoy this adventure.
- Be extremely careful in the variety of terrain you will encounter; even a small injury could result in needing rescue.
- Beware of flash flood potential.


