Riggs Spring Loop Trail
- Written by Lindsey Huster
- /
- 4 min read
- /
- Last updated a year ago
The Riggs Spring Loop Trail would be the last big hike we would do at Bryce Canyon National Park, at least for this trip! This loop trail is 8.5 miles with a 2248 feet elevation gain.
Planning for the hike
The combination of distance and elevation gain would mean a much harder hike for me and we’d be in bear country so I wasn’t really looking forward to this hike. When you are planning 25 activities for the month, you probably are not going to look forward to each one and this was the hike I’d rather skip, but I knew that it would be worth it in the end.
Check out our video
Starting the hike
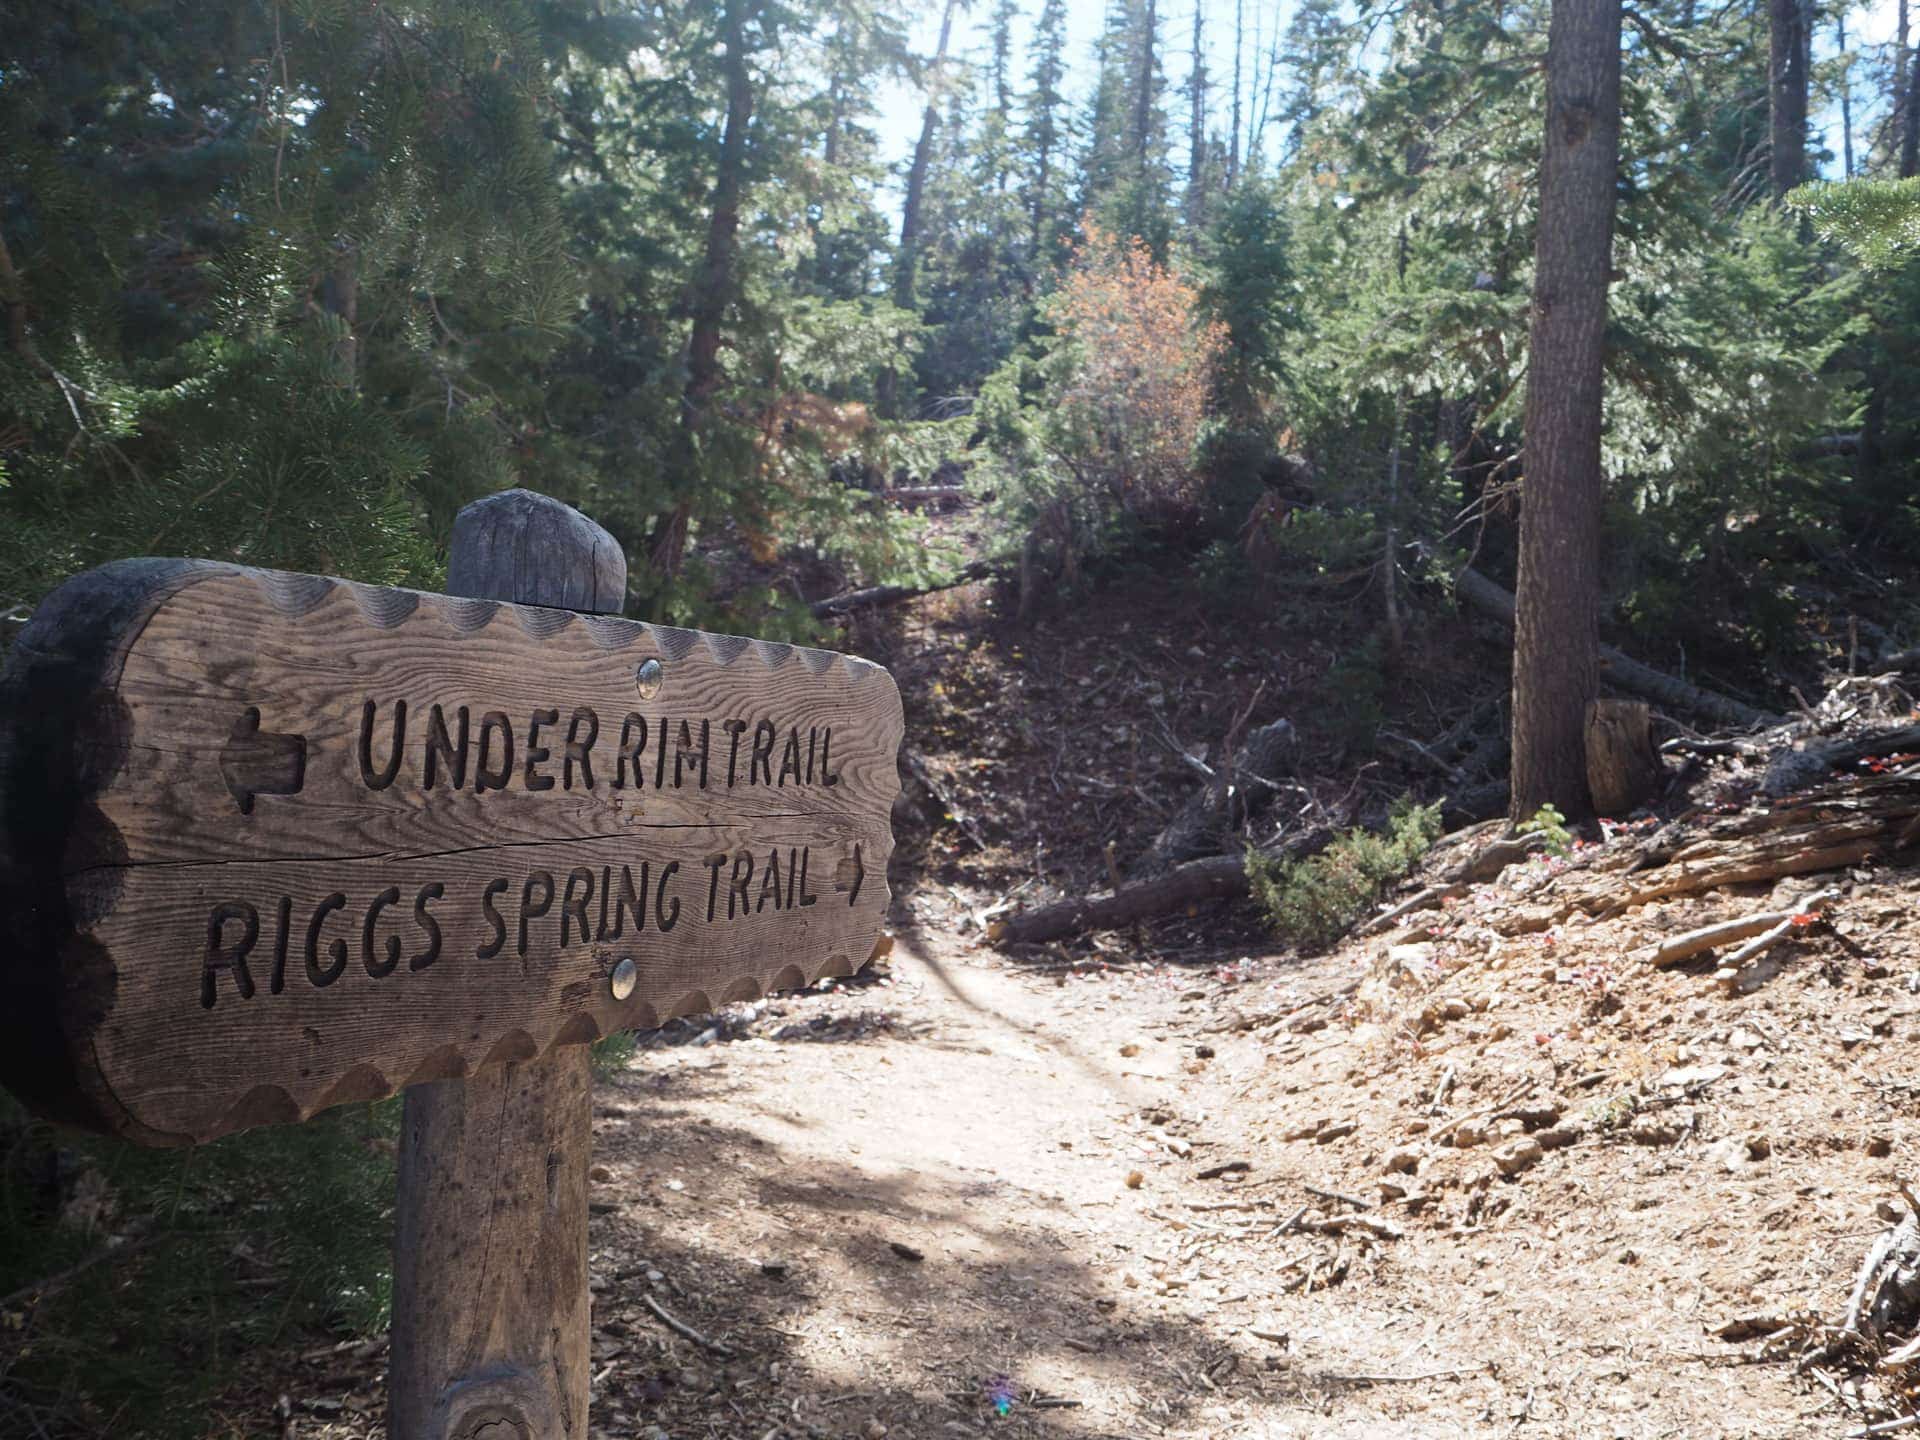
Most hikers start at Yovimpa Point and descend down to Riggs Spring and then have a little longer climb out to Rainbow Point. We did the opposite and started at Rainbow Point so we’d have a long descent, but a quicker steeper ascend.
Since we were in "bear country", we stopped by the visitor center to ask questions about the likelihood of seeing a bear. There had not been any bear sightings in the park so it was very safe. We also learned that the park does monitor bear activity within the park through the use of cameras.
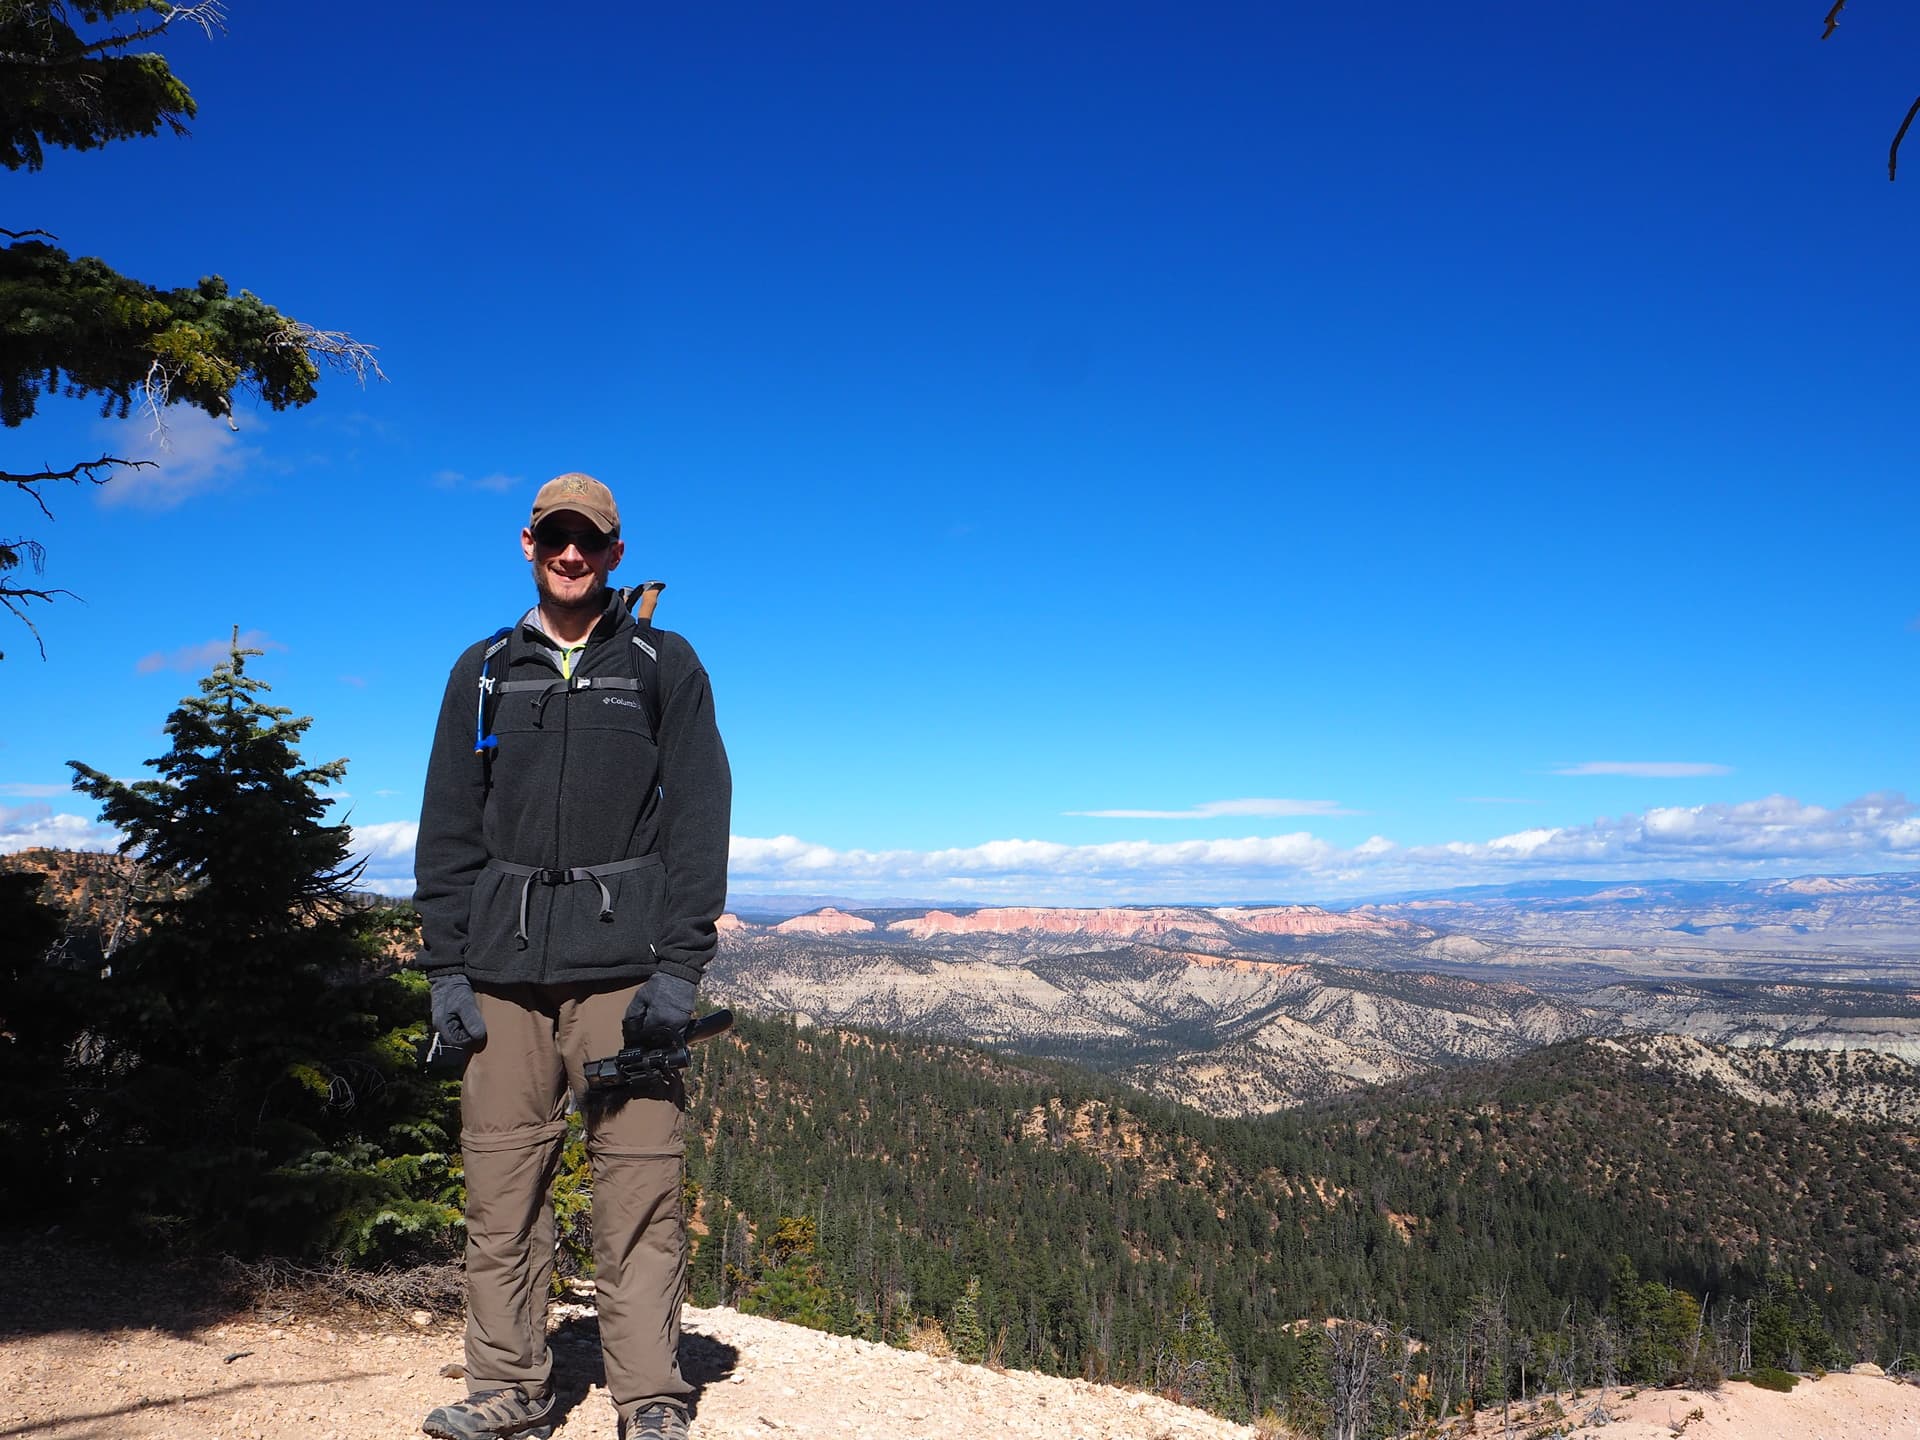
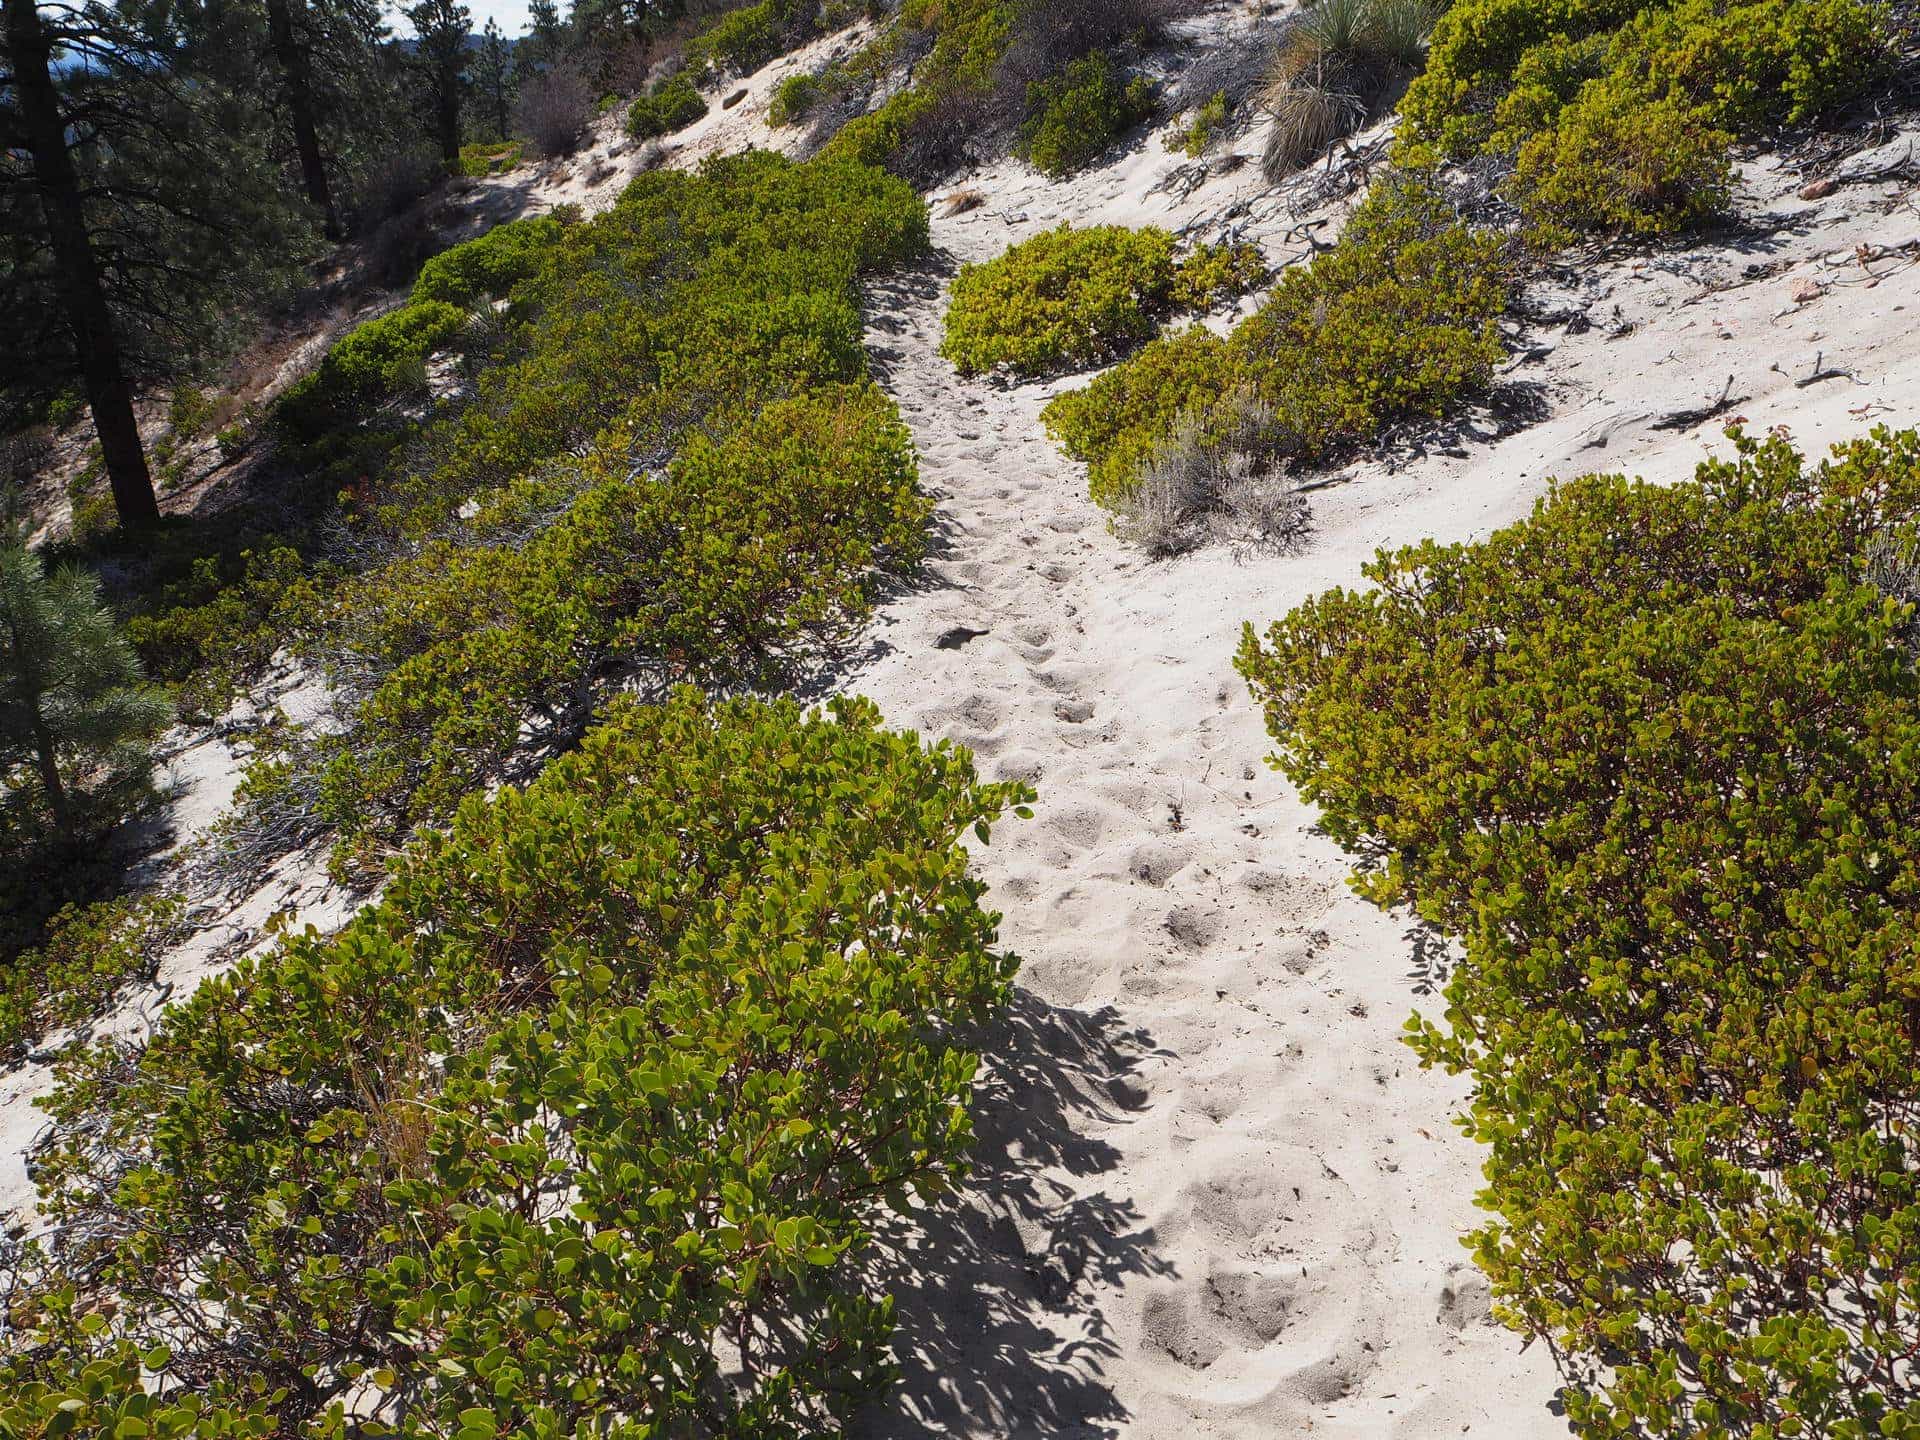
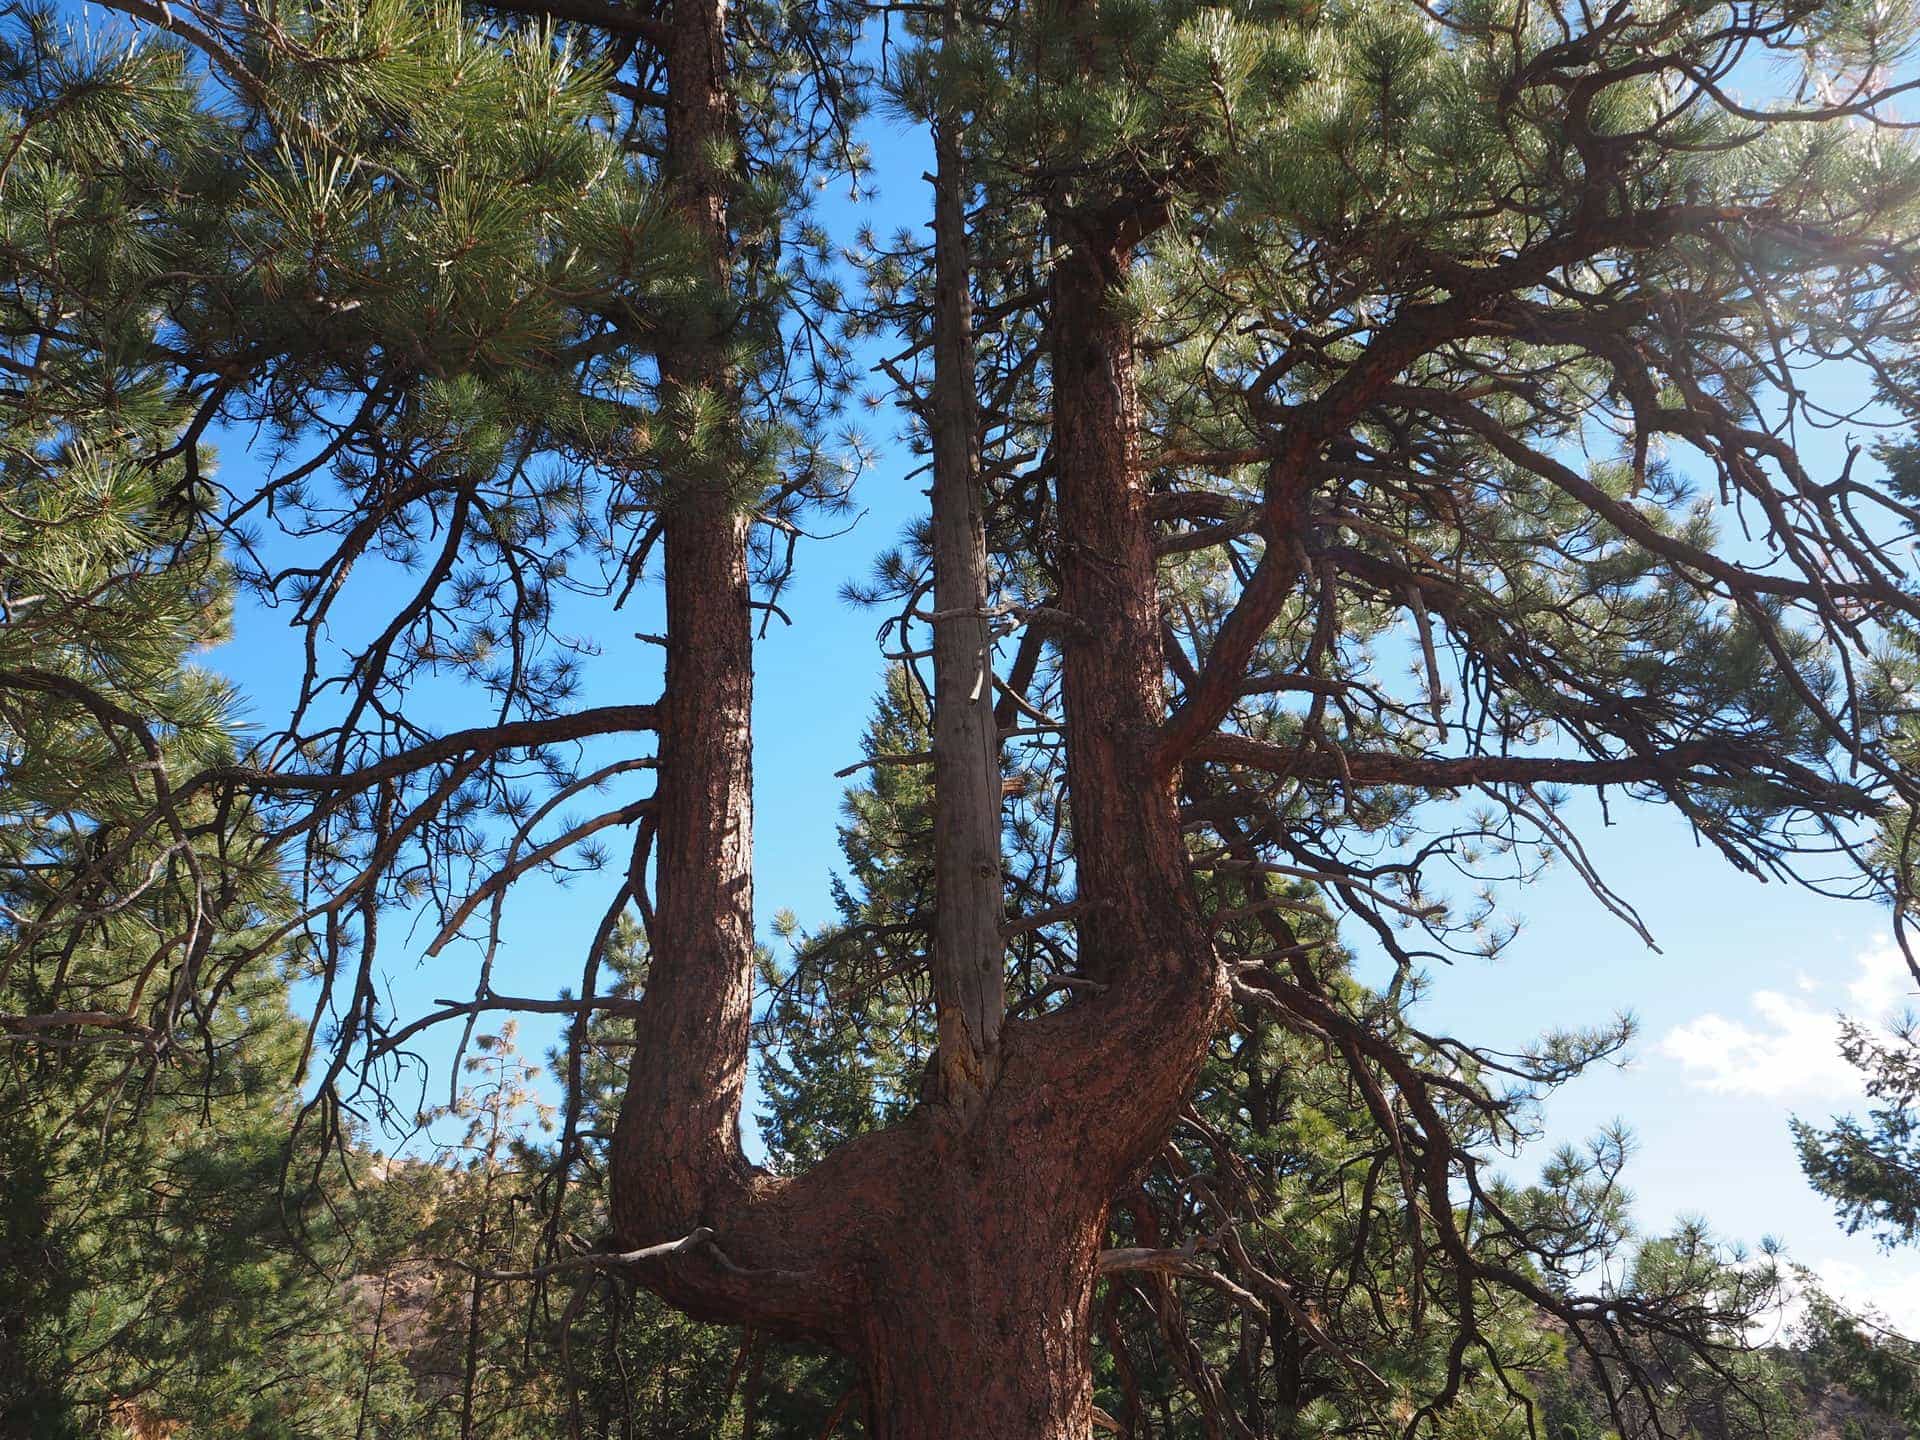
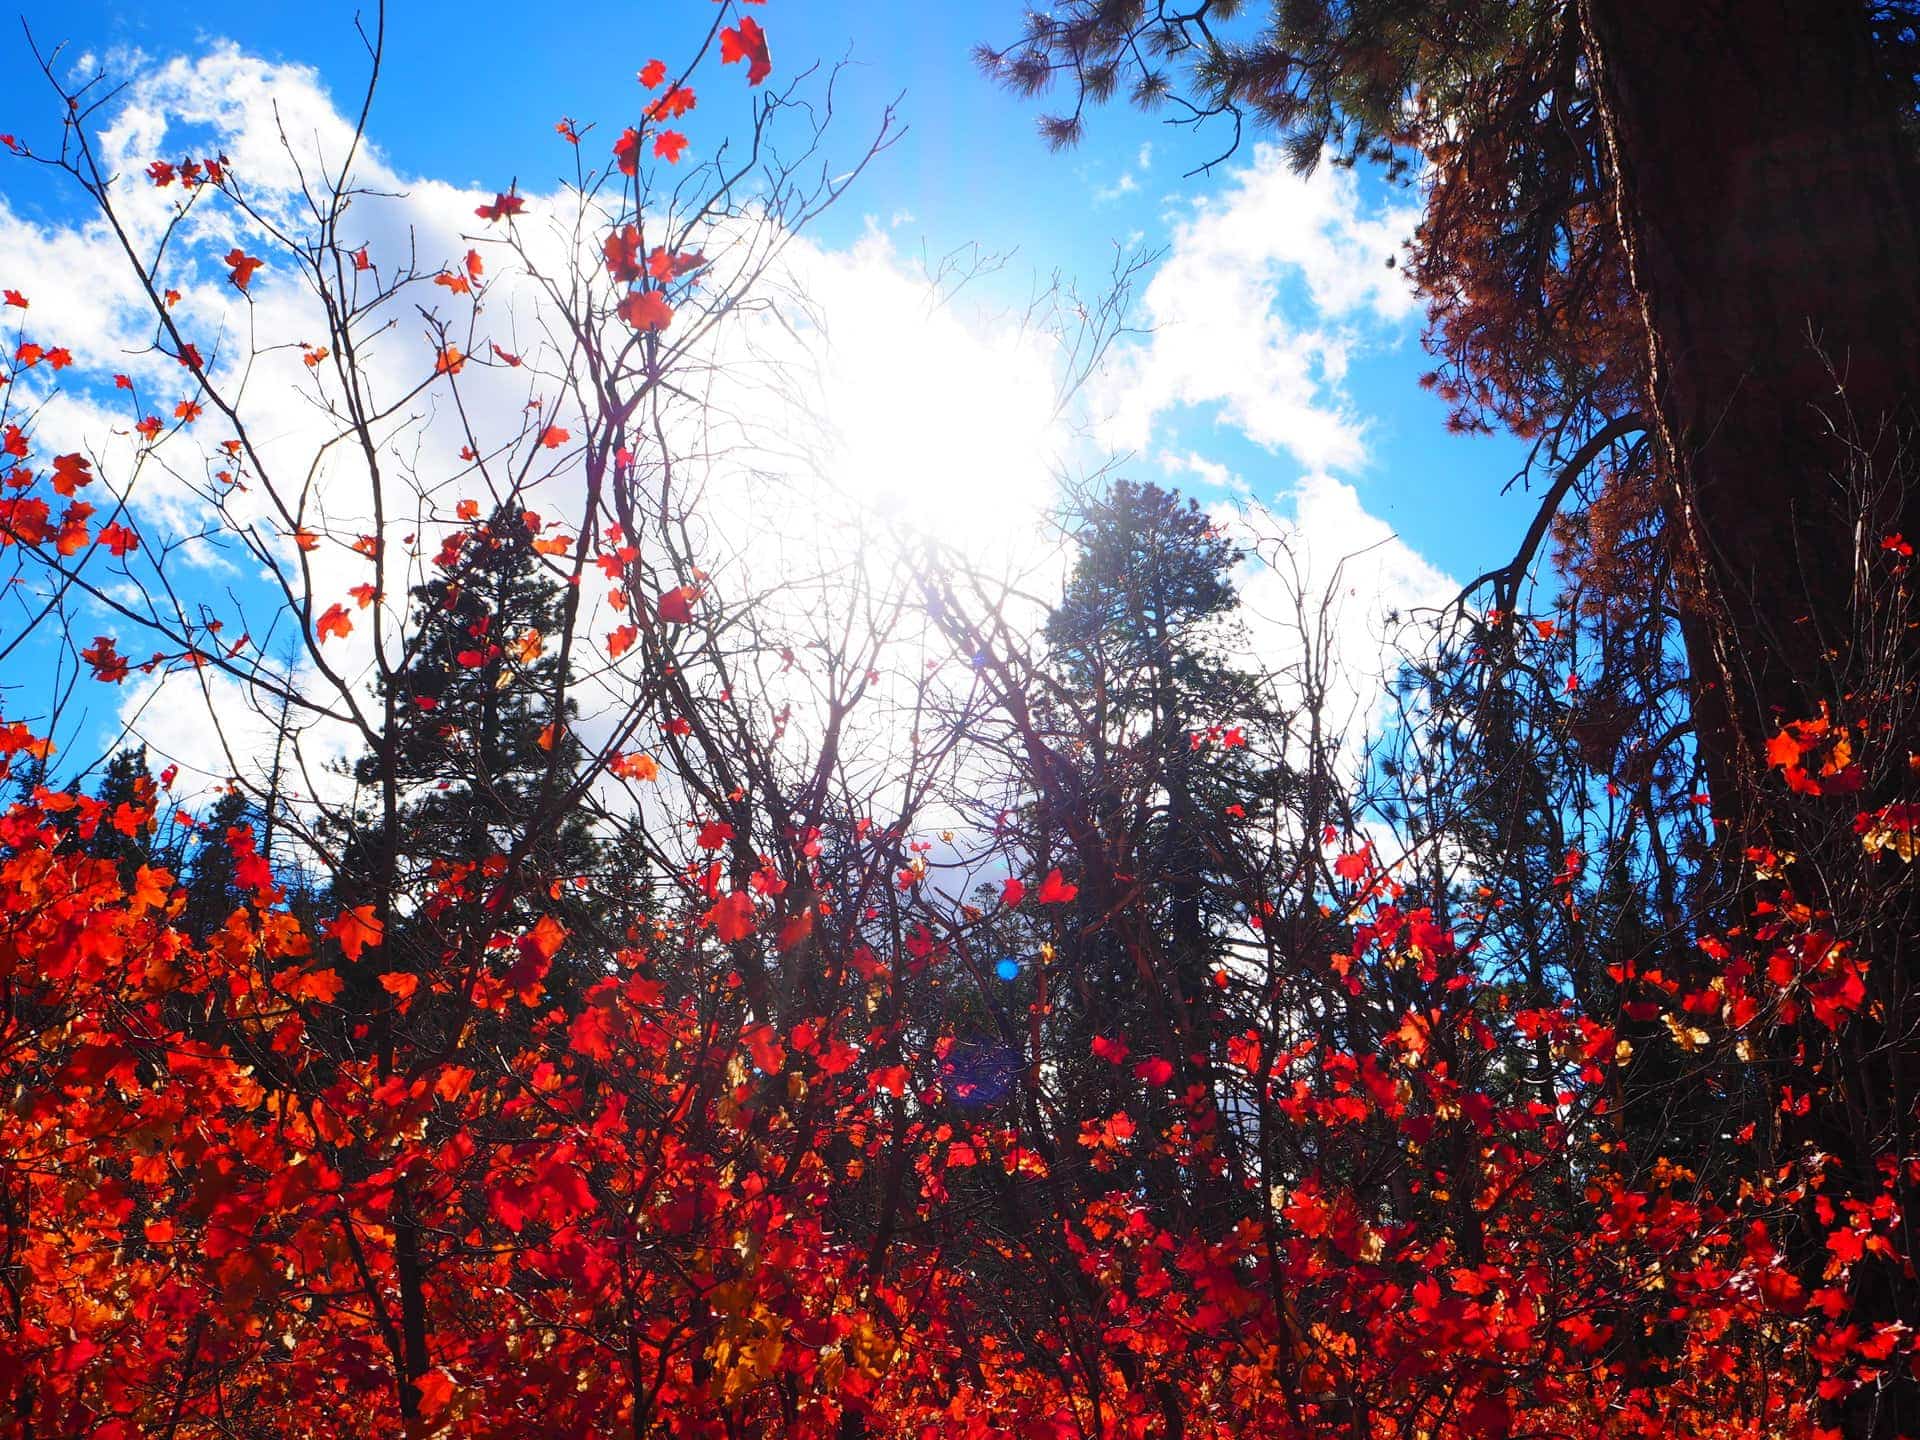
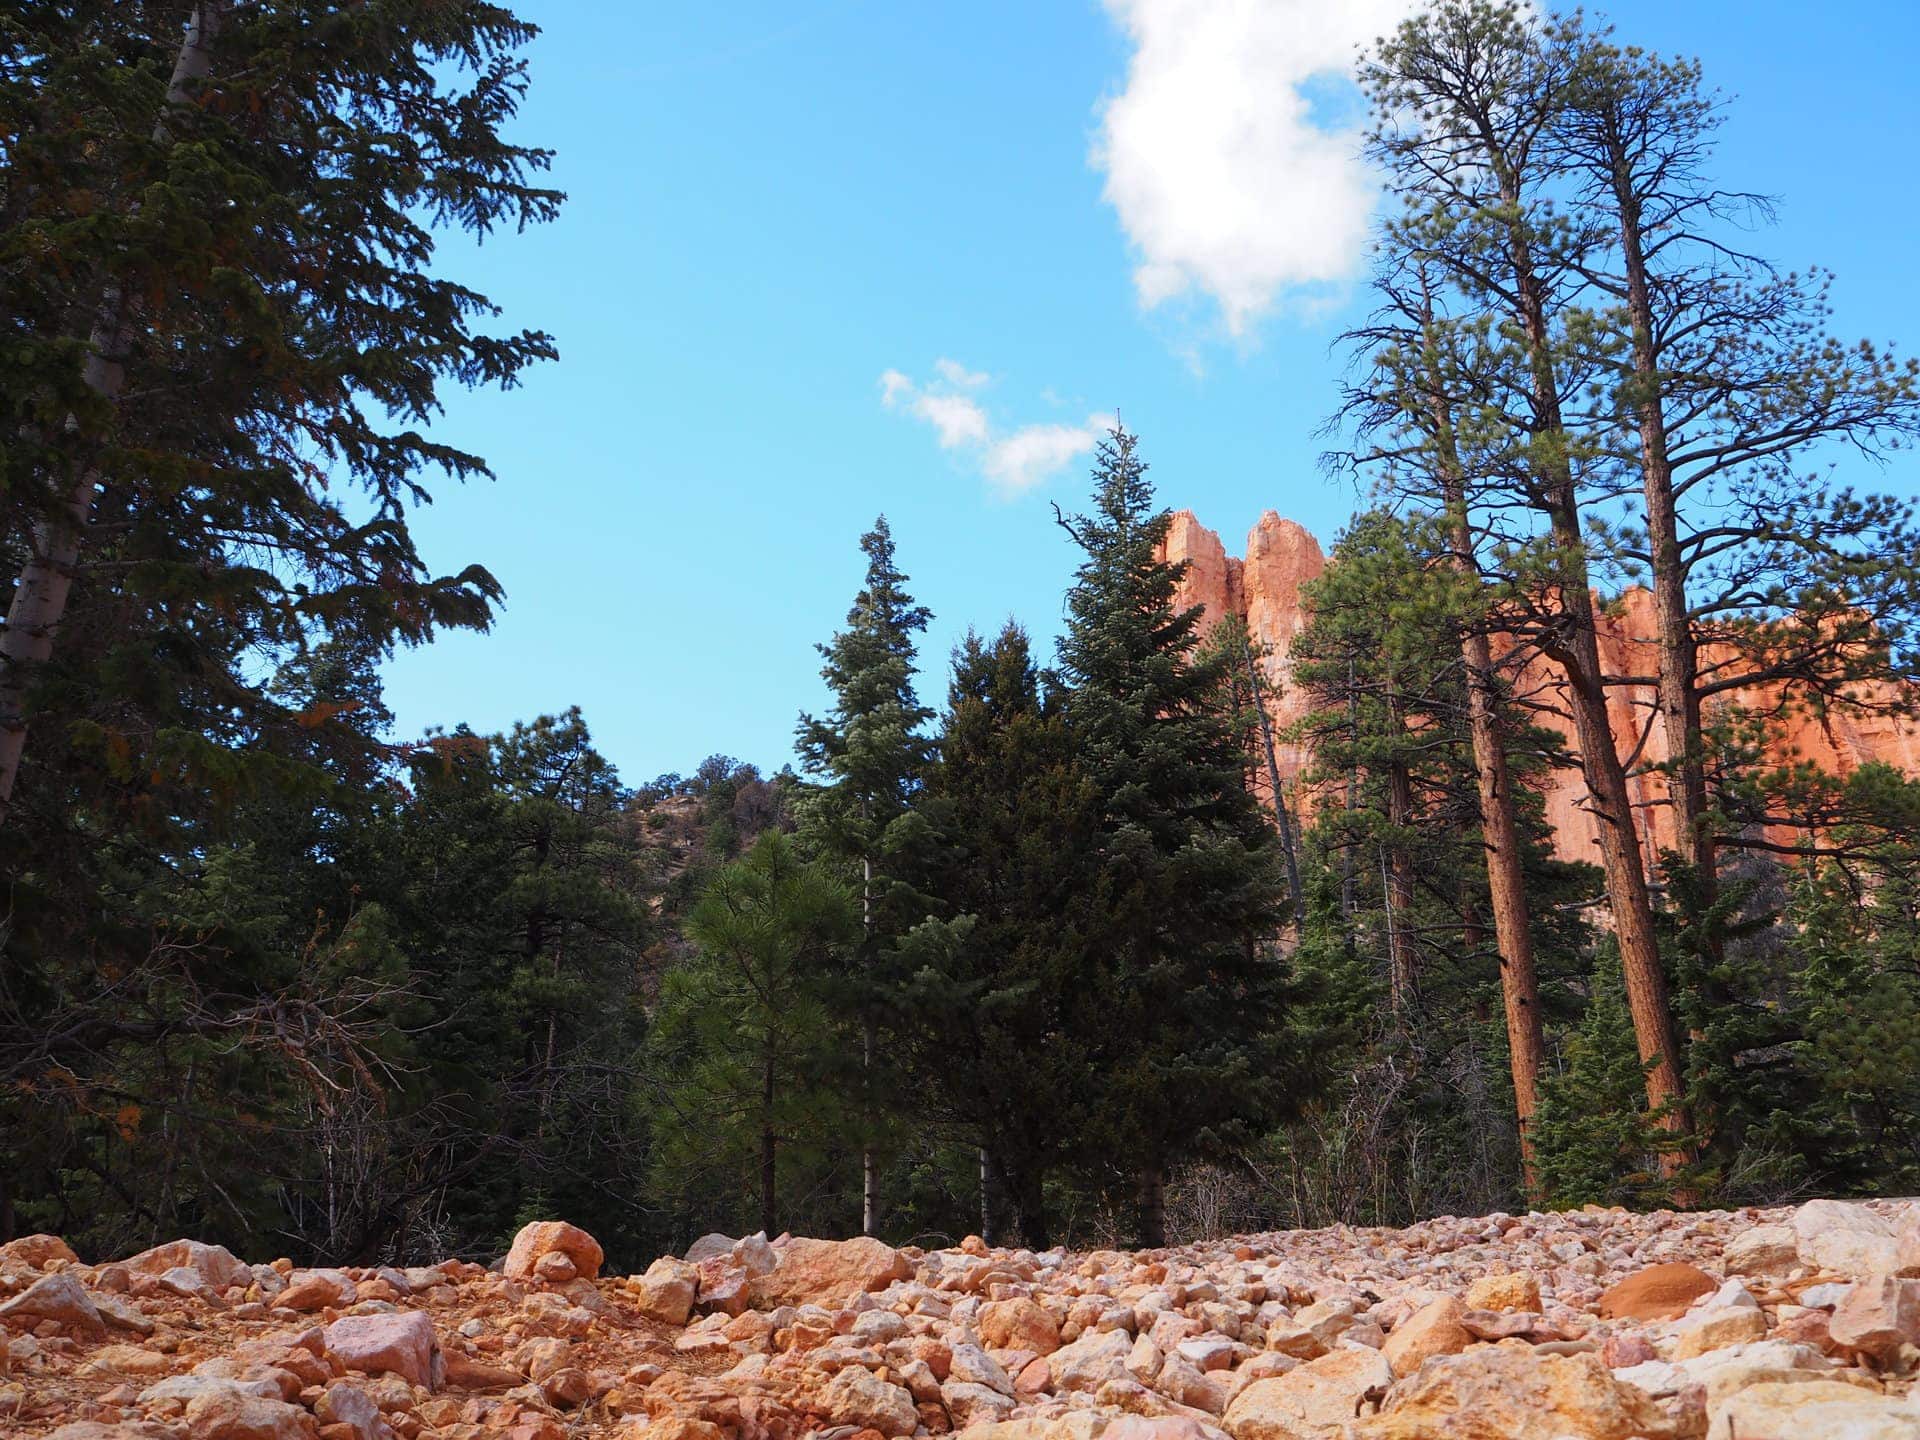
This hike really has a lot to offer. You are surrounded by a forest of spruce, fir, and bristlecone trees. There are also groves of aspen trees dispersed along the trail. You are hiking under the hoodoos so there are plenty of red rock views as well.
Running out of steam
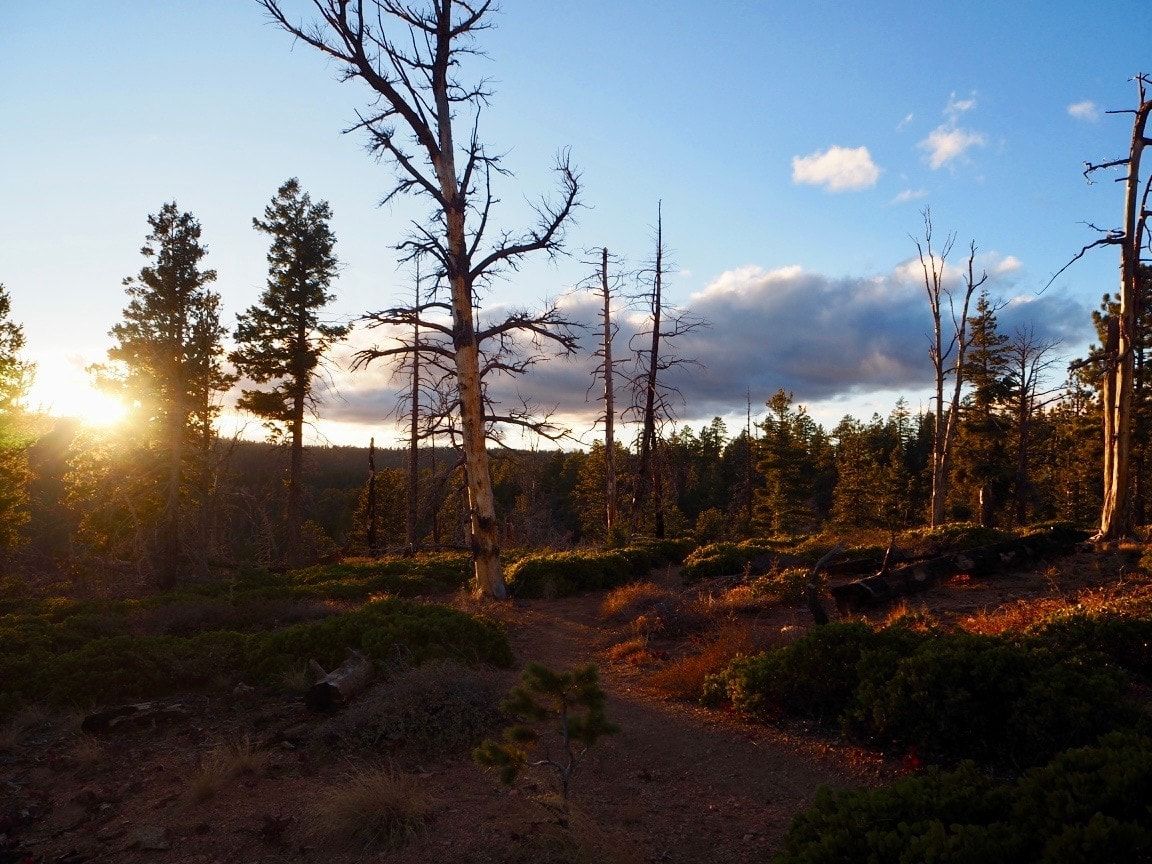
I’m not even going to sugarcoat it, the last couple of miles were quite difficult for me and I got pretty grumpy! Around mile 5 we started to climb out and it continually got more difficult with the incline. This compounded for me mentally and physically I was running out of steam. We had 3.5 more miles to go and it seemed like an eternity at times. It was also getting to be late afternoon and in November, after the time change, so it wouldn’t be long before it started getting dark. Before I got too grumpy, we started joking that I was moving at a sloth's pace and that my video footage needed a caption that it WAS NOT slow motion, but my actual speed. 😉
Was all the effort worth it?
Absolutely! I’m not saying I’d do it over and over, but I’m really happy I did it once and I would probably do it again. I’m also glad we did it in the fall and not in the heat of summer. There is quite a bit of shade so that would help tremendously, but I know the heat would be another huge factor for me. I’d absolutely recommend this hike to those who are not beginners. It’s worth the effort, but it is pretty difficult and you need to be prepared for that.
Hiking poles
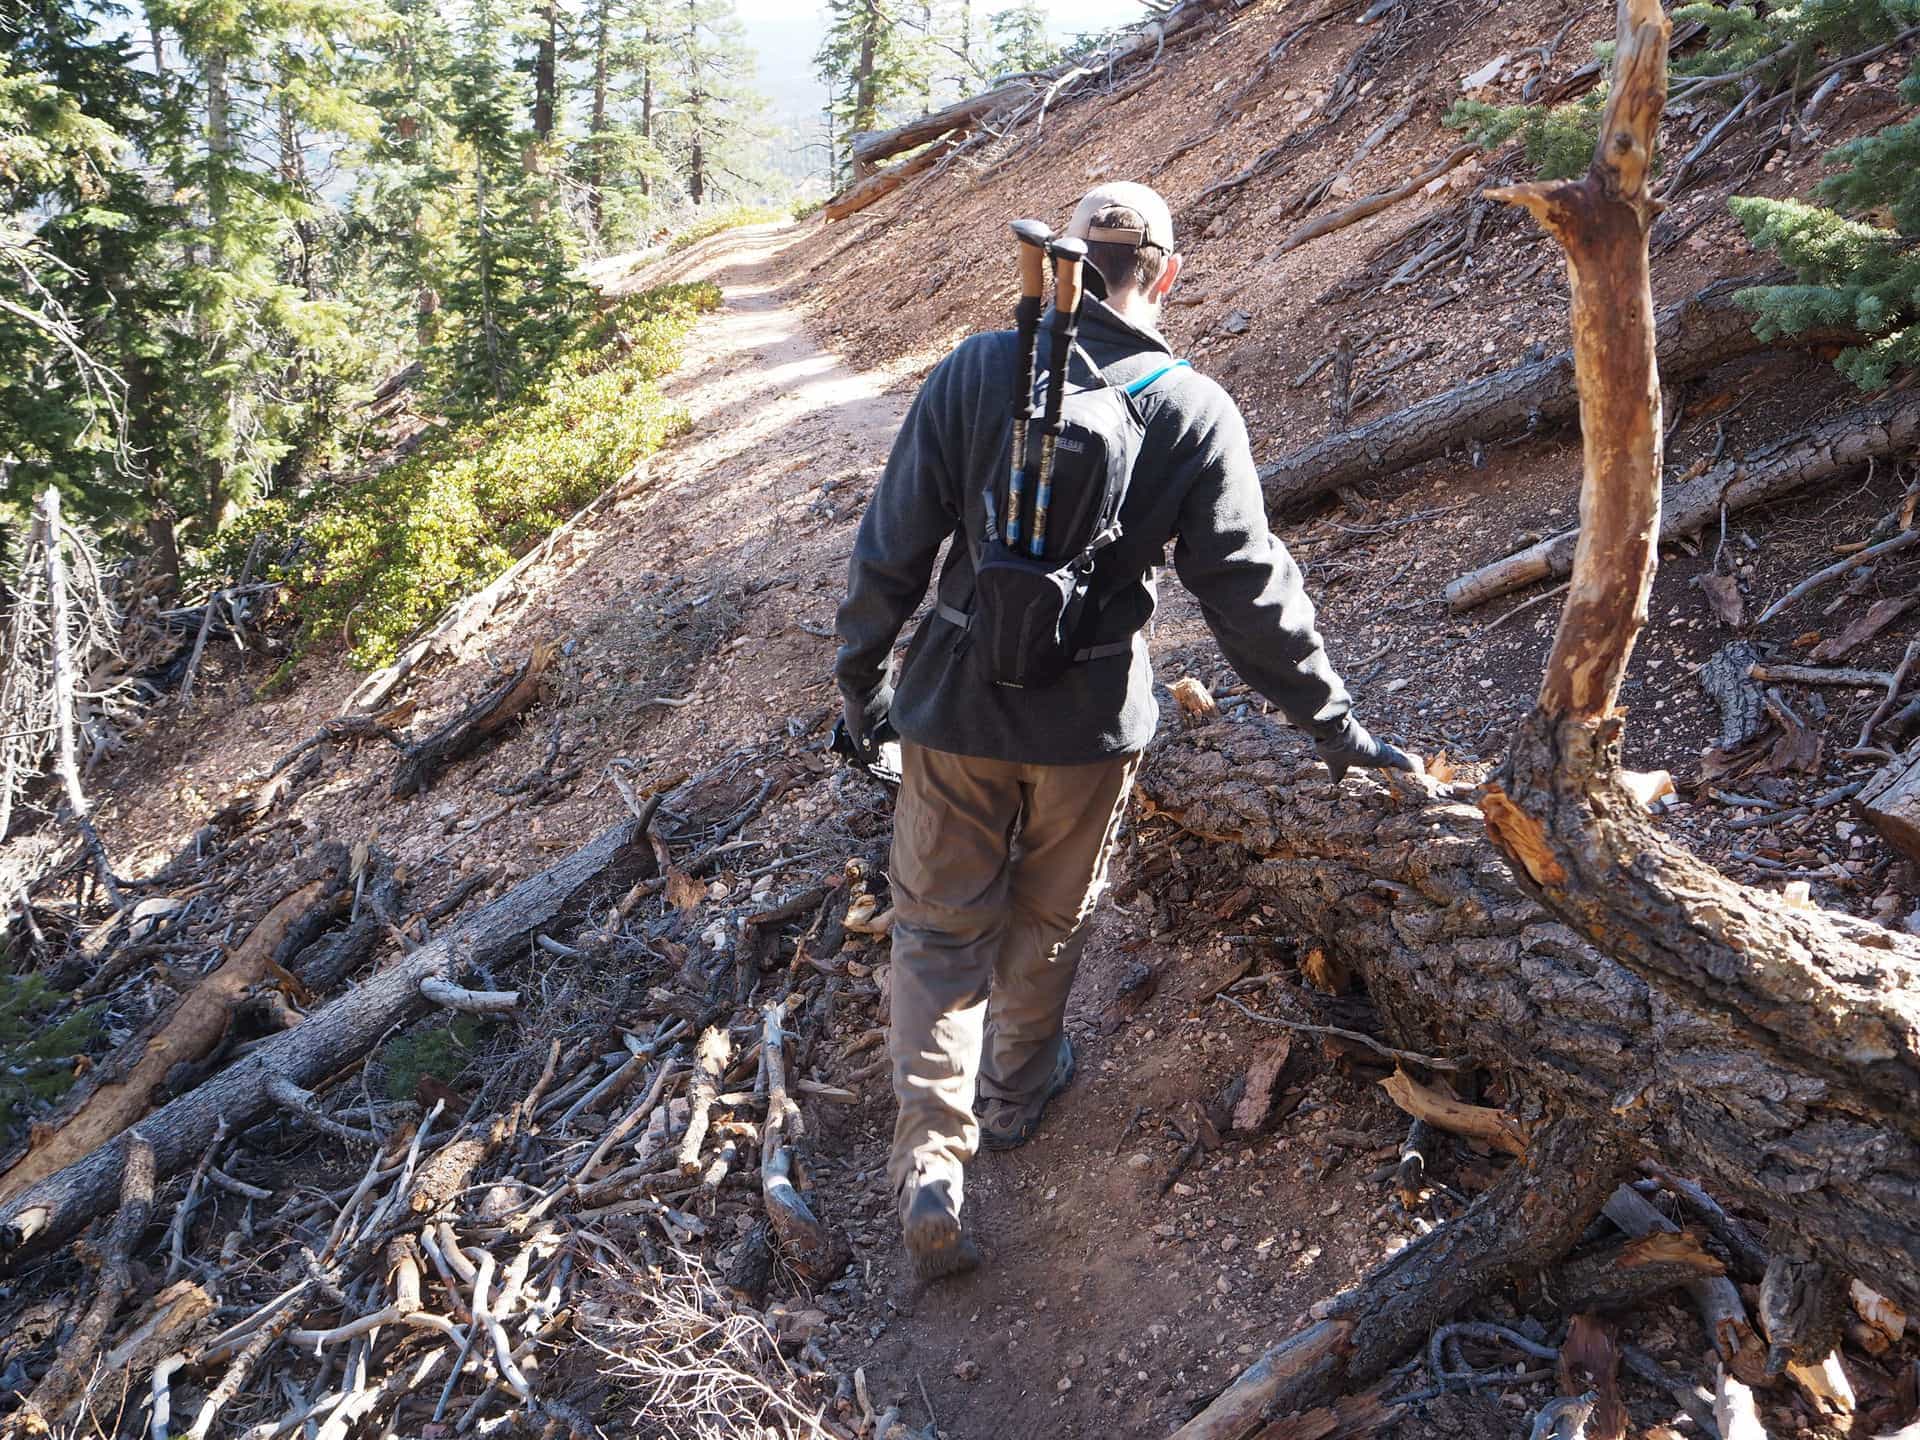
You’ll notice that we do sometimes use hiking poles. I was using them on this particular day because the elevation gain out was a challenge for me. Hiking poles help in various ways. With a steep ascend, my endurance was greatly multiplied since I was using my arms and core instead of mainly my legs. Using the poles also helps maintain a rhythm, this was helpful since I wasn’t looking forward to the exit and knew it would be difficult for me. My mind was taking over and the rhythm helped me to find a good pace. This had a big impact on the enjoyment of the hike for me, just don’t ask Keith about my attitude at the time 😉
Keith typically uses the poles to help keep the stress off his knees while descending. Hiking poles can also be used when crossing water on rocks or logs to maintain balance.
We’ve shared the Cascade Mountain Tech 100% Carbon Fiber Quick Lock Trekking Poles with Cork Grip & Carry Case for about a year and that has worked well for us since we typically use them at different times within the hike. Since we are planning some longer hikes and I will be doing a little backpacking soon, I did end up getting my own poles so now we each have our own.
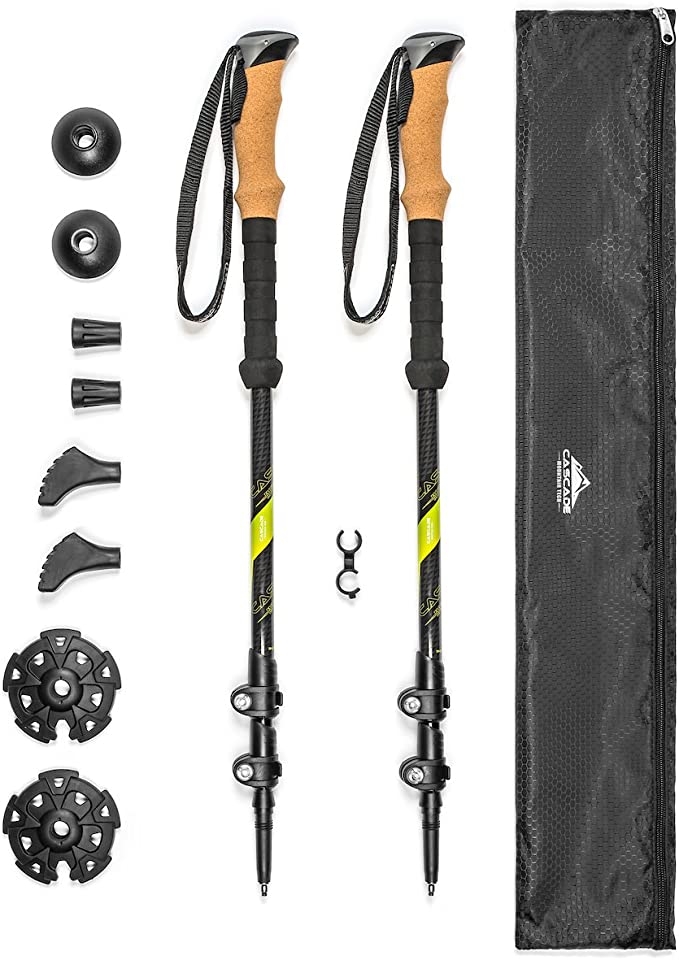
Cascade Mountain Tech Trekking Poles - Carbon Fiber
- HIGH-QUALITY STRONG VALUE.
- LIGHTWEIGHT & COMPACT POLES - 7. 8 oz.
- QUICK-LOCK & EXTENDABLE.
- SUPREME COMFORT - CORK GRIPS
- BONUS TIP KIT


