

Gravel Race Prep Series: Bike Setup and Tire Choice
- Written by Keith Huster
- 11 min read
- Last updated 3 years ago
Proper bike setup and tire choice can greatly increase your comfort and confidence during a gravel race. An incorrectly set up bike can ruin your day. Here are my tips for setting up your bike to ensure you enjoy the ride.
⦿ Part 1: Physical Endurance
⦿ Part 2: Mental Fortitude
⦿ Part 3: Bike Setup and Tire Choice (this post)
⦿ Part 4: Nutrition and Hydration
⦿ Part 5: Rider Kit / Clothing Choice
⦿ Part 6: Final Preparations
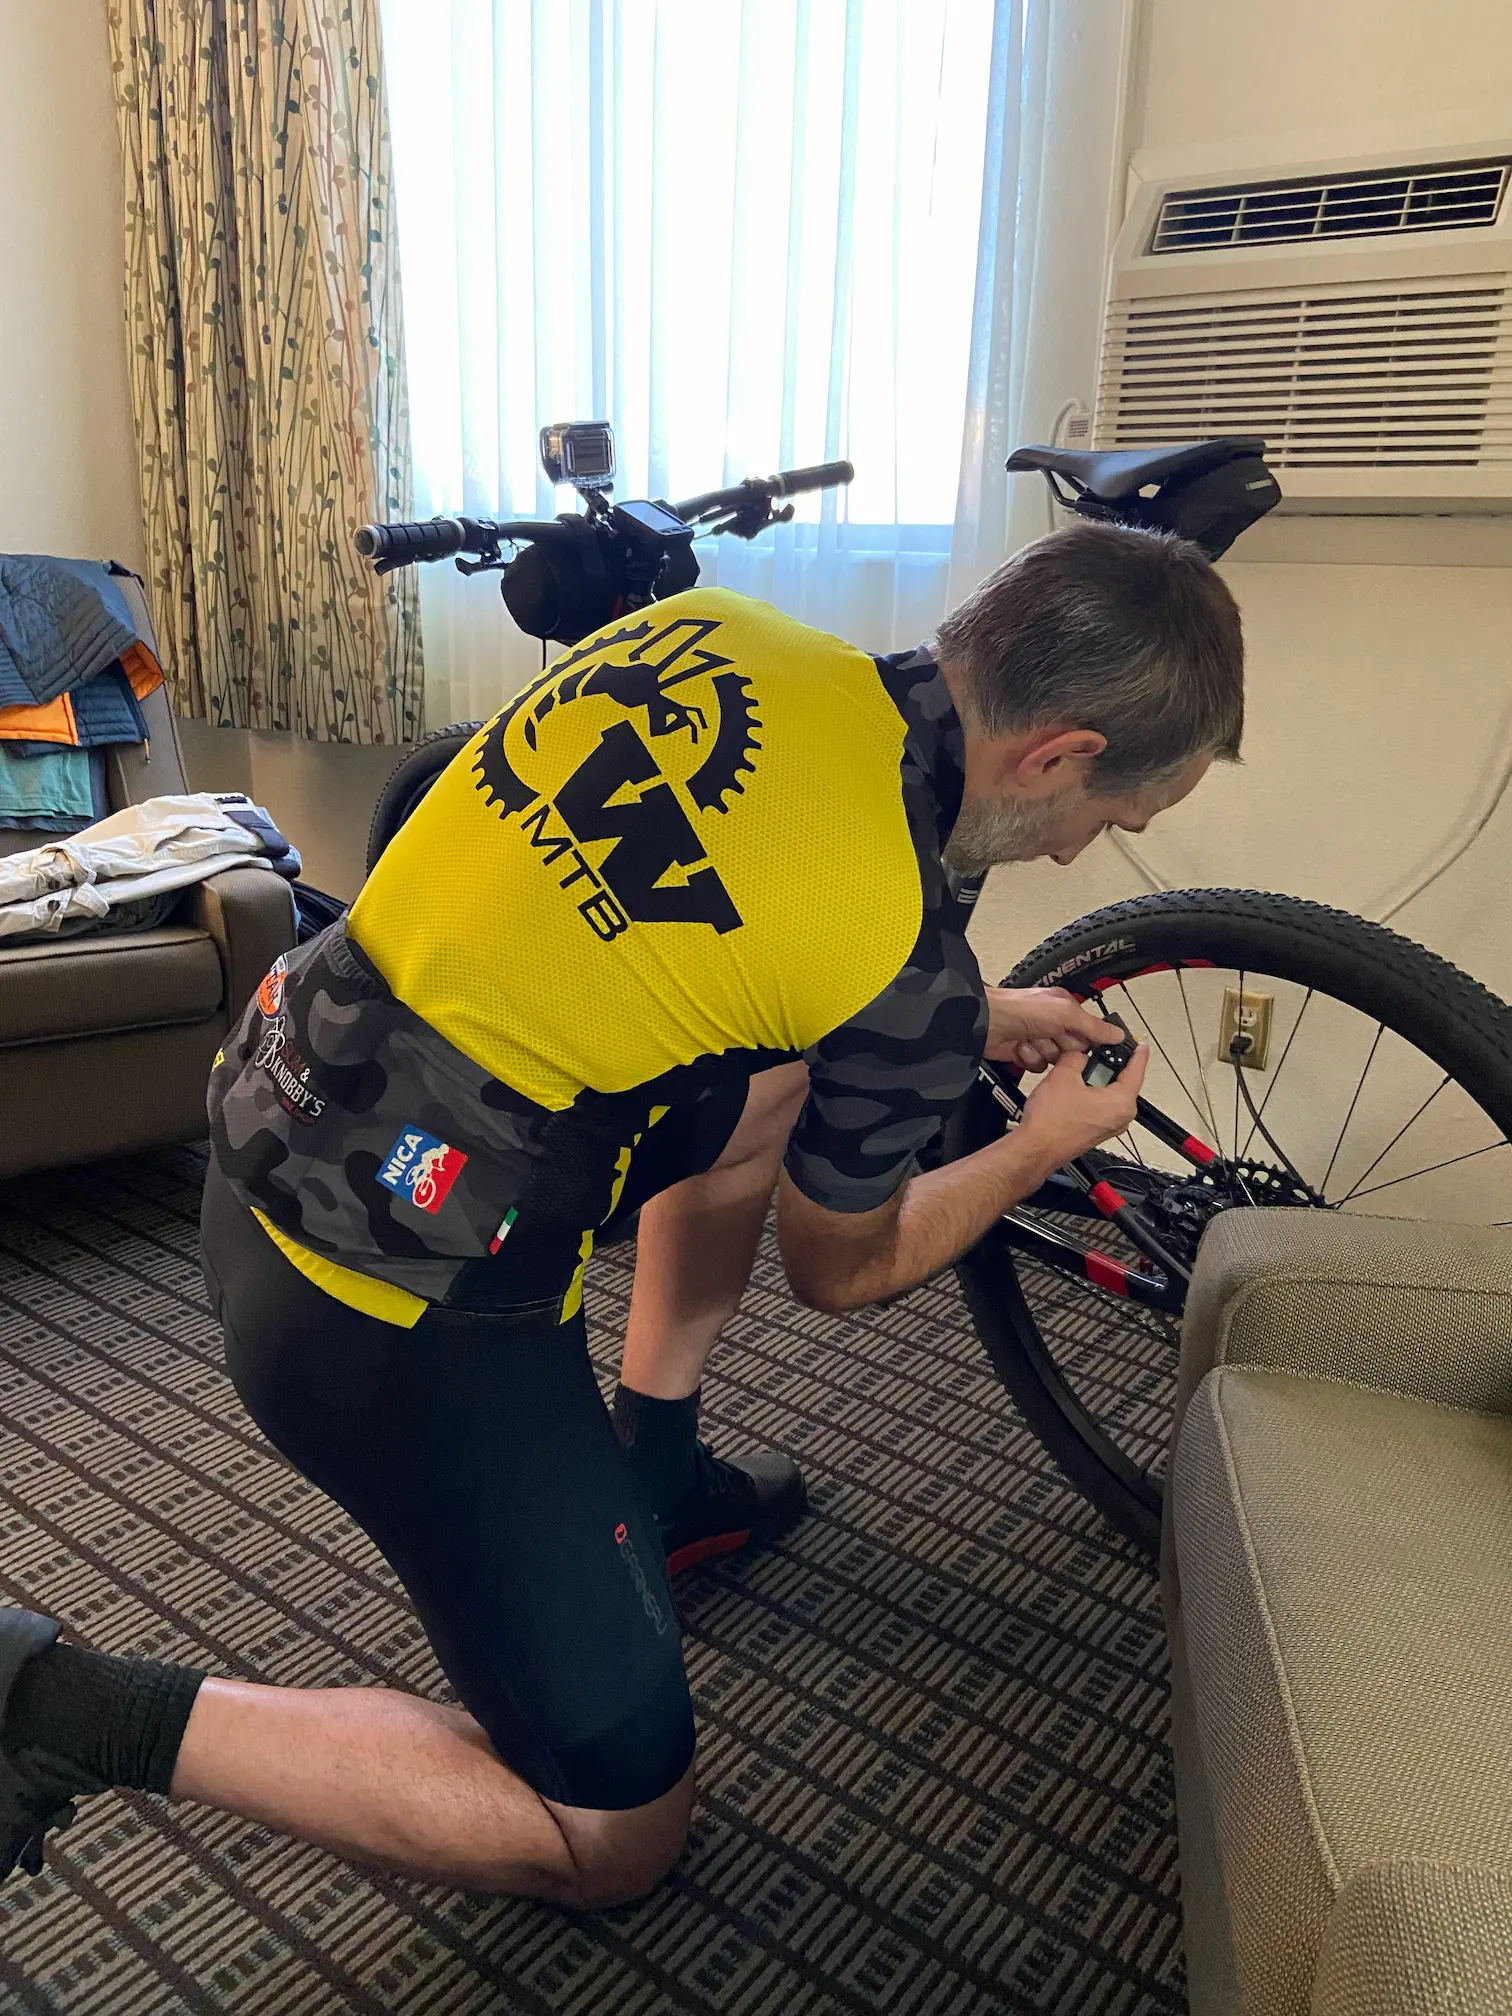
Learn how to work on your bike 🔧
Before we talk about bike setup, there is an important topic that we need to discuss. I have said this before and will say it again... gravel races are long... really long! You should be prepared for basic mechanical issues that you may encounter during a full day of riding. I'm not saying that you need to become a professional bike mechanic. However, there are some basic bike maintenance skills that you should be able to tackle yourself.
Basic mid-race maintenance skills
- Know how to detect, locate, and tighten loose bolts: Is your shifting suddenly not working properly? Did you hear an unusual rattle while riding? Does something not feel right about your position on the bike? If so, there is a good chance that a loose bolt is to blame. When tightening bolts, it is recommended to use a torque wrench where possible.
- Know how to detect a slow tire leak: Does it feel like you are putting in more effort and getting fewer results? Are other riders starting to pull away from you unexpectedly? It's possible that you have a slow leak in a tire and the added drag is slowing you down. This can be difficult to detect on the various course conditions of a gravel race. Also, when checking tire pressures, I recommend using a quality digital gauge such as the Topeak SmartGauge D2 so that you get accurate and consistent measurements.
- Know how to plug a tubeless tire: If you are running tubeless tires (and you should be) then it is a necessity to know how to plug a puncture. Tubeless sealant, such as Stan's NoTubes Tire Sealant will automatically plug those pesky tiny punctures that you will encounter during a gravel race. However, there is a good chance that you may need to manually plug a larger hole mid-race using a tool such as the Ryder Cycling Slug Plug Tubeless Tire Repair Kit.
- Know how to change a tire tube: Are you still running tubes in your tires? If you are, then you better be prepared to swap out a tube mid-race. Gravel races are brutal on tires and tubes. If you are still running tubes then I would highly recommend that you consider switching to tubeless or at least adding a tube-compatible tire insert such as Tannus Armour Tire Inserts.
- Know how to reattach a dropped chain: Gravel race courses are rough and will often rattle your bike apart. Sometimes, so much so that you may drop a chain off your chainring. If this happens, you should be prepared to quickly and confidently reattach the chain to your chainring. You can also consider adding a chain guide, such as the Wolf Tooth Components GnarWolf Chain Guide, if your bike supports it.
Tire choice and tire pressure
When it comes to gravel racing setup, few topics garner more debate than tire choice and tire pressure. I myself went down the rabbit hole of the internet while trying to learn more about these topics. I spent countless hours researching manufacturers' tire options, tire compounds, TPI (threads per inch), rolling resistance charts, tire pressure guides, etc. I think you get the picture. 🤓
Tire choice
Tire choice is both a personal and practical decision. Some riders are loyal to specific tire brands because they have had good luck with them in the past. Other riders are willing to jump between manufacturers whenever the new hotness is unveiled. Whatever decision you make, I strongly recommend considering practicality as the number one consideration when choosing a gravel racing tire.
Specifically, I mean that you should factor in the surfaces that you expect to encounter during the race. The term "gravel" is used loosely in these races. It is rare that you will actually be riding on a nice smooth gravel road. More often than not, you will be riding a mix of gravel/dirt roads, singletrack (i.e. mountain bike trails), and some paved sections. These varying surfaces make it extremely difficult to pick the "perfect" tire. For me, I chose to run a set of Continental Race King 29" x 2.2" tires for the Salty Lizard 100 race. I chose to go with a larger volume tire because I knew that there would be long sections of deep sand throughout the day. This choice, and associated research, really paid off for me.
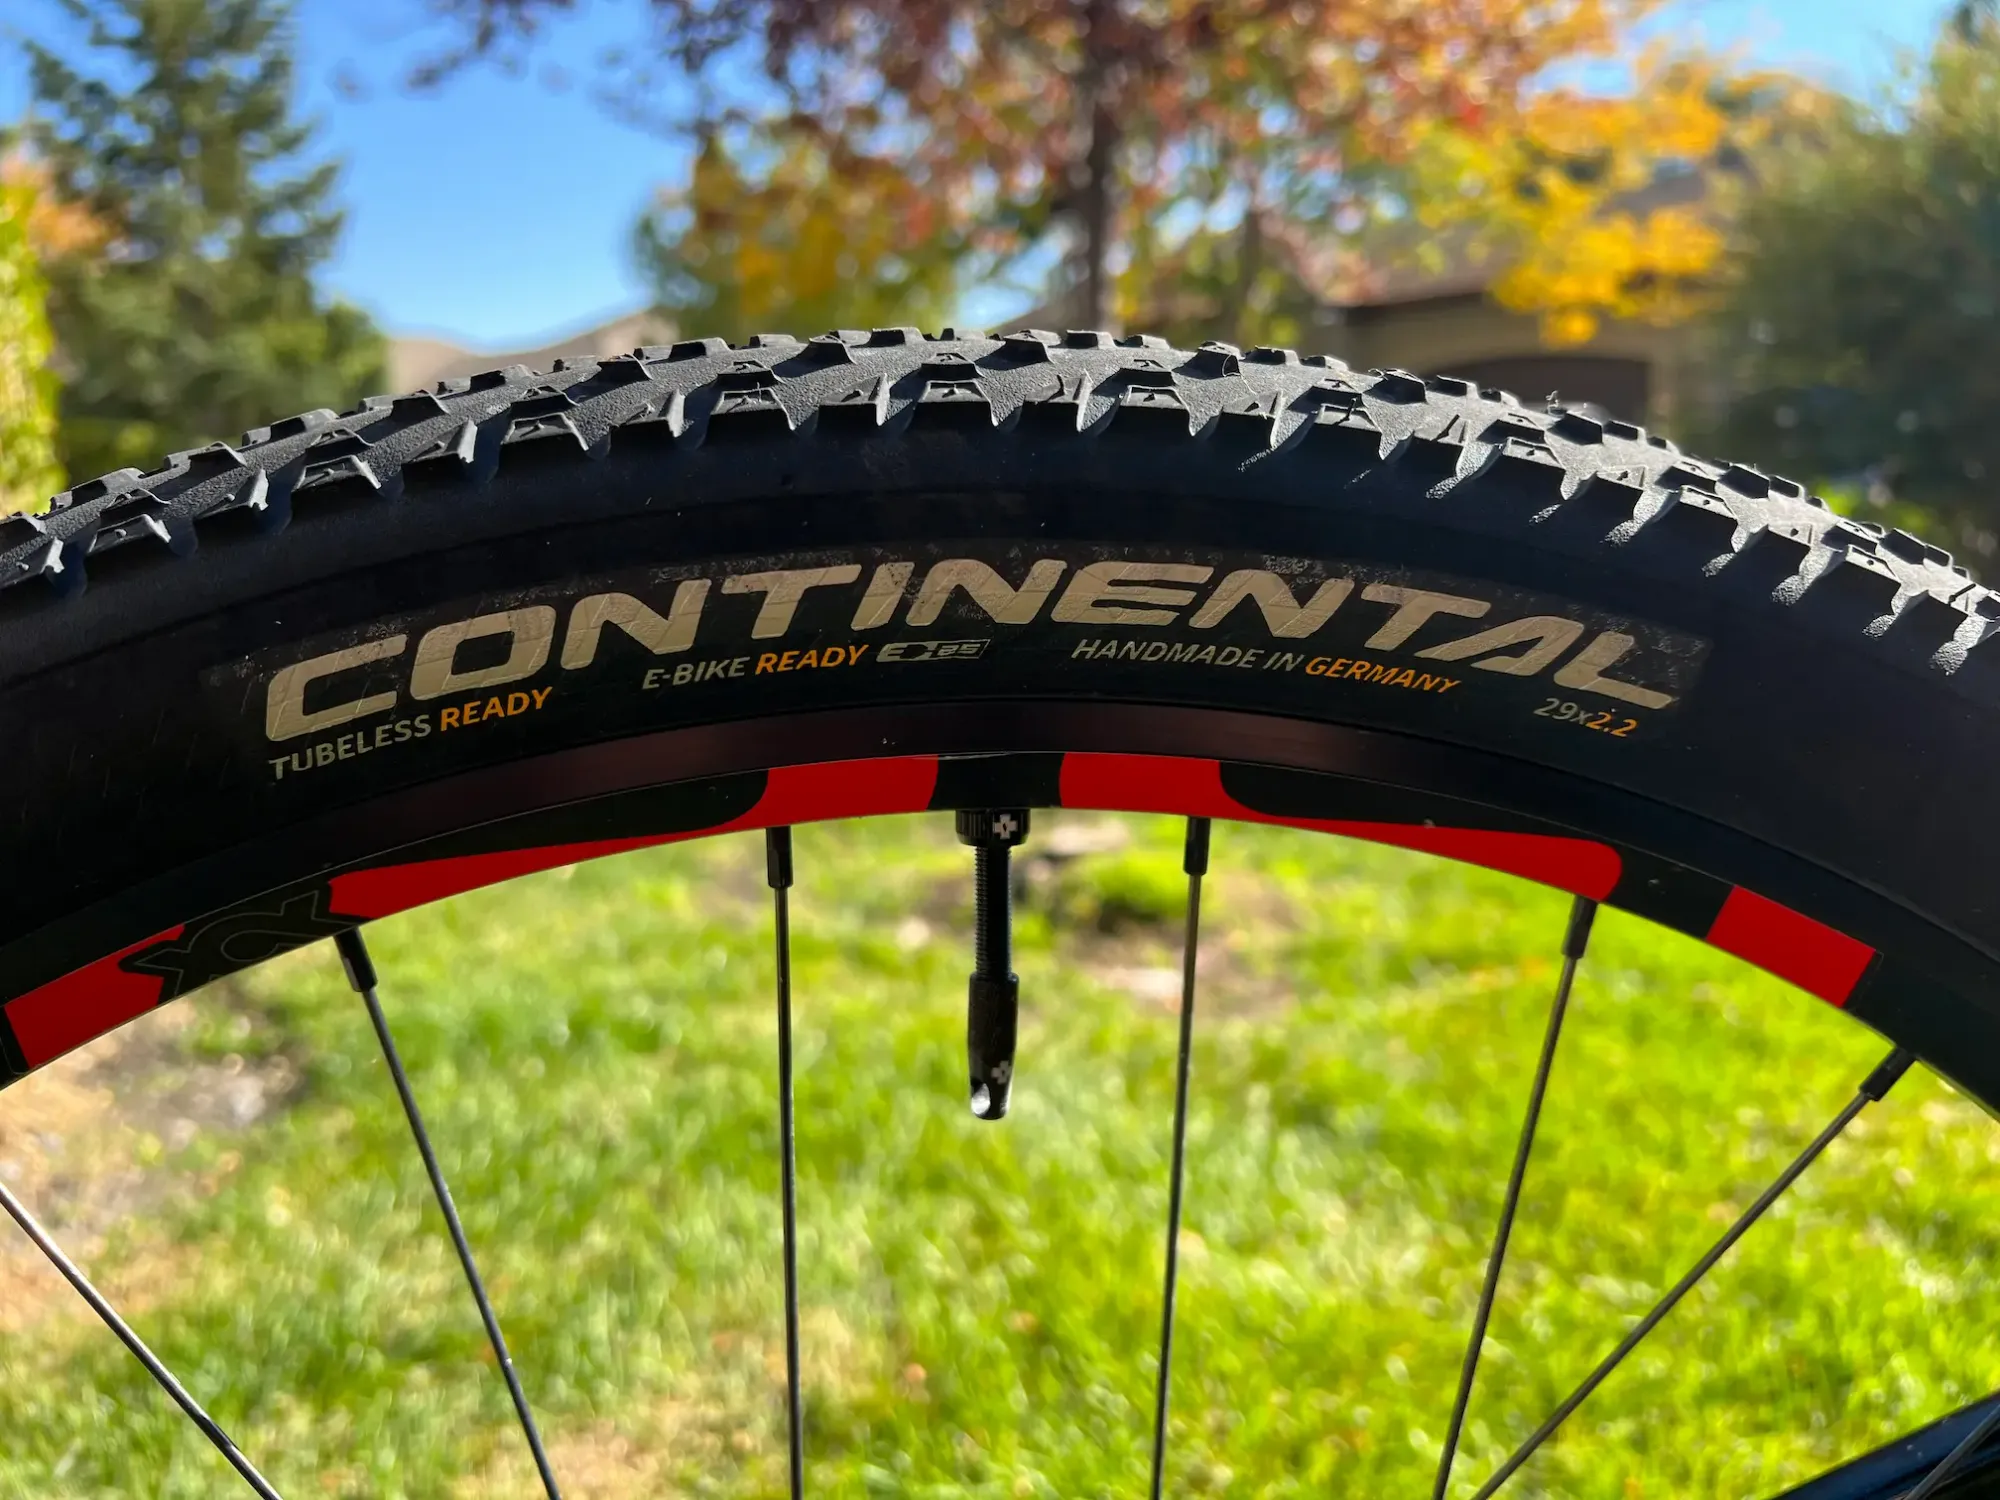

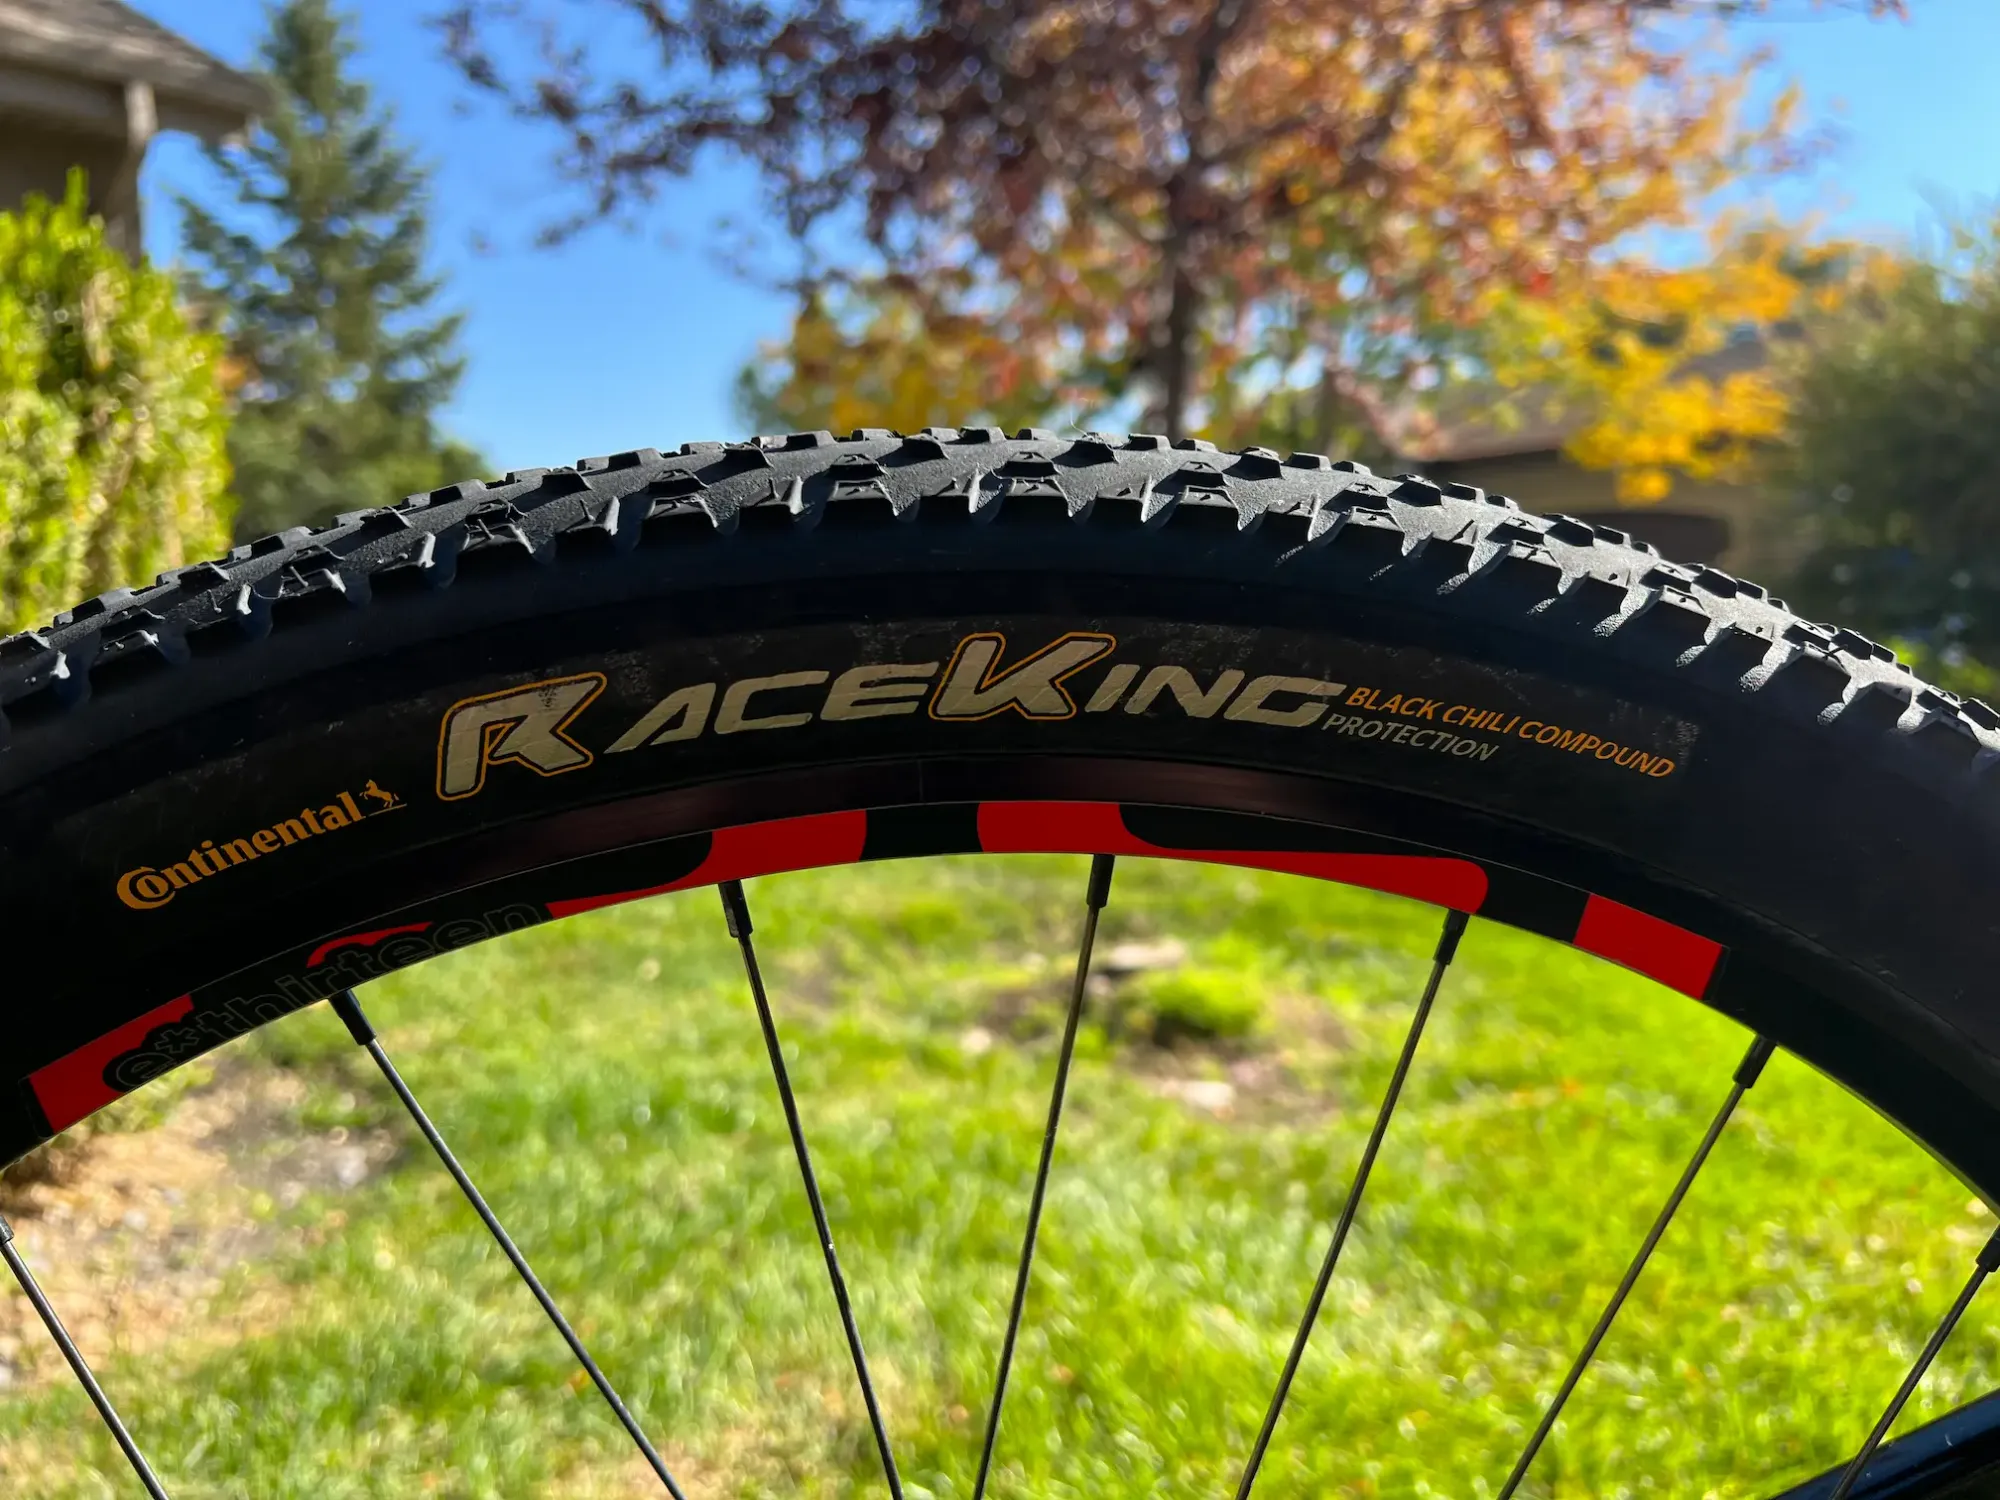
Gallery of Continental Race King 2.2" tires mounted on Keith's Intense Sniper T mountain bike.
Tire pressure
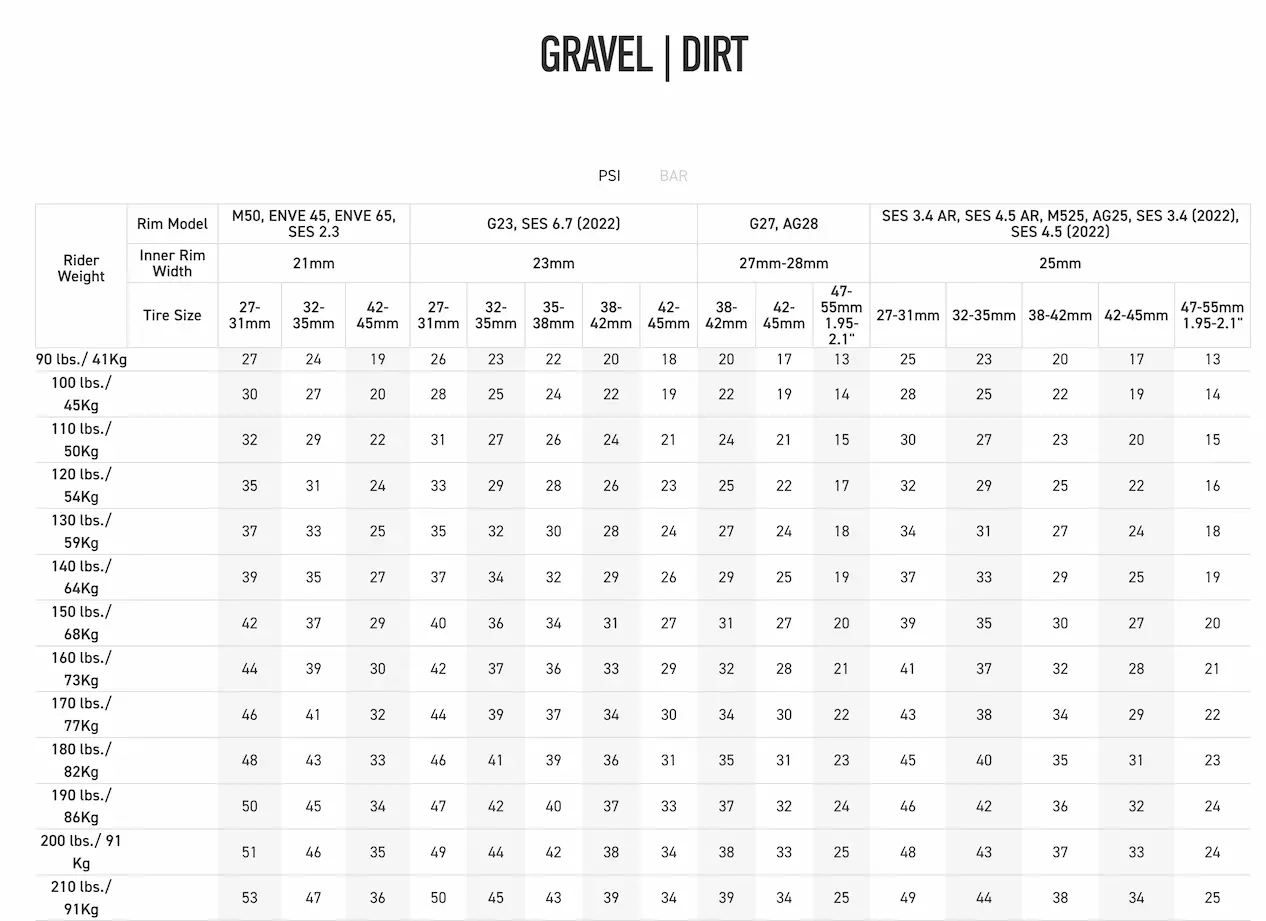
As for tire pressure... this was a topic that I spent way too much time on. Thankfully, I discovered an amazing tire pressure guide from Enve so that you don't have to go through the same pain. This guide has everything that you need to help you dial in the perfect tire pressure. I recommend that you use this guide to set a baseline for your tire pressures. Then, you can slowly adjust from there to find the perfect tire pressure for you and your specific ride.
Suspension setup (if applicable)
If you ride a fully rigid bike then you can skip this section... Ok, if you are still reading then that means that you have a front-suspension fork and possibly a rear-suspension shock as well. If you are riding a bike with suspension then you probably already know how to set and adjust the pressures for the type of riding that you do. Hopefully, you are using a proper bike suspension pump such as the Fox High-Pressure Shock Pump when adjusting your suspension.
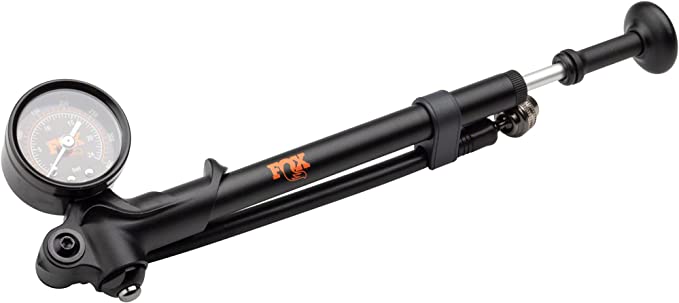
Fox High-Pressure Shock Pump
High-pressure shock pump that is used to accurately set your fork and rear shock pressures.
My recommendation for gravel races is to consider firming up your suspension a little. You most likely won't need a plush or supple suspension like you would if you were riding downhill mountain biking trails. Too soft of a suspension can lead to wasted energy at each pedal stroke since some of your efforts will translate into a bobbing suspension rather than forward propulsion. Also, use your suspension lockouts if your bike has them. Lockouts may be on the suspension itself or accessed via remote controls on the handlebars. Wherever they are, use them when you are riding the smoother sections of the course.
Storage options for food and water
Being able to carry enough food and water is critical to completing a gravel race. Most gravel races will have aid stations throughout the course but they may be spread across vast distances. If you run out of food or water then you are pretty much guaranteed to bonk and ruin your race.
Optimal food carry system
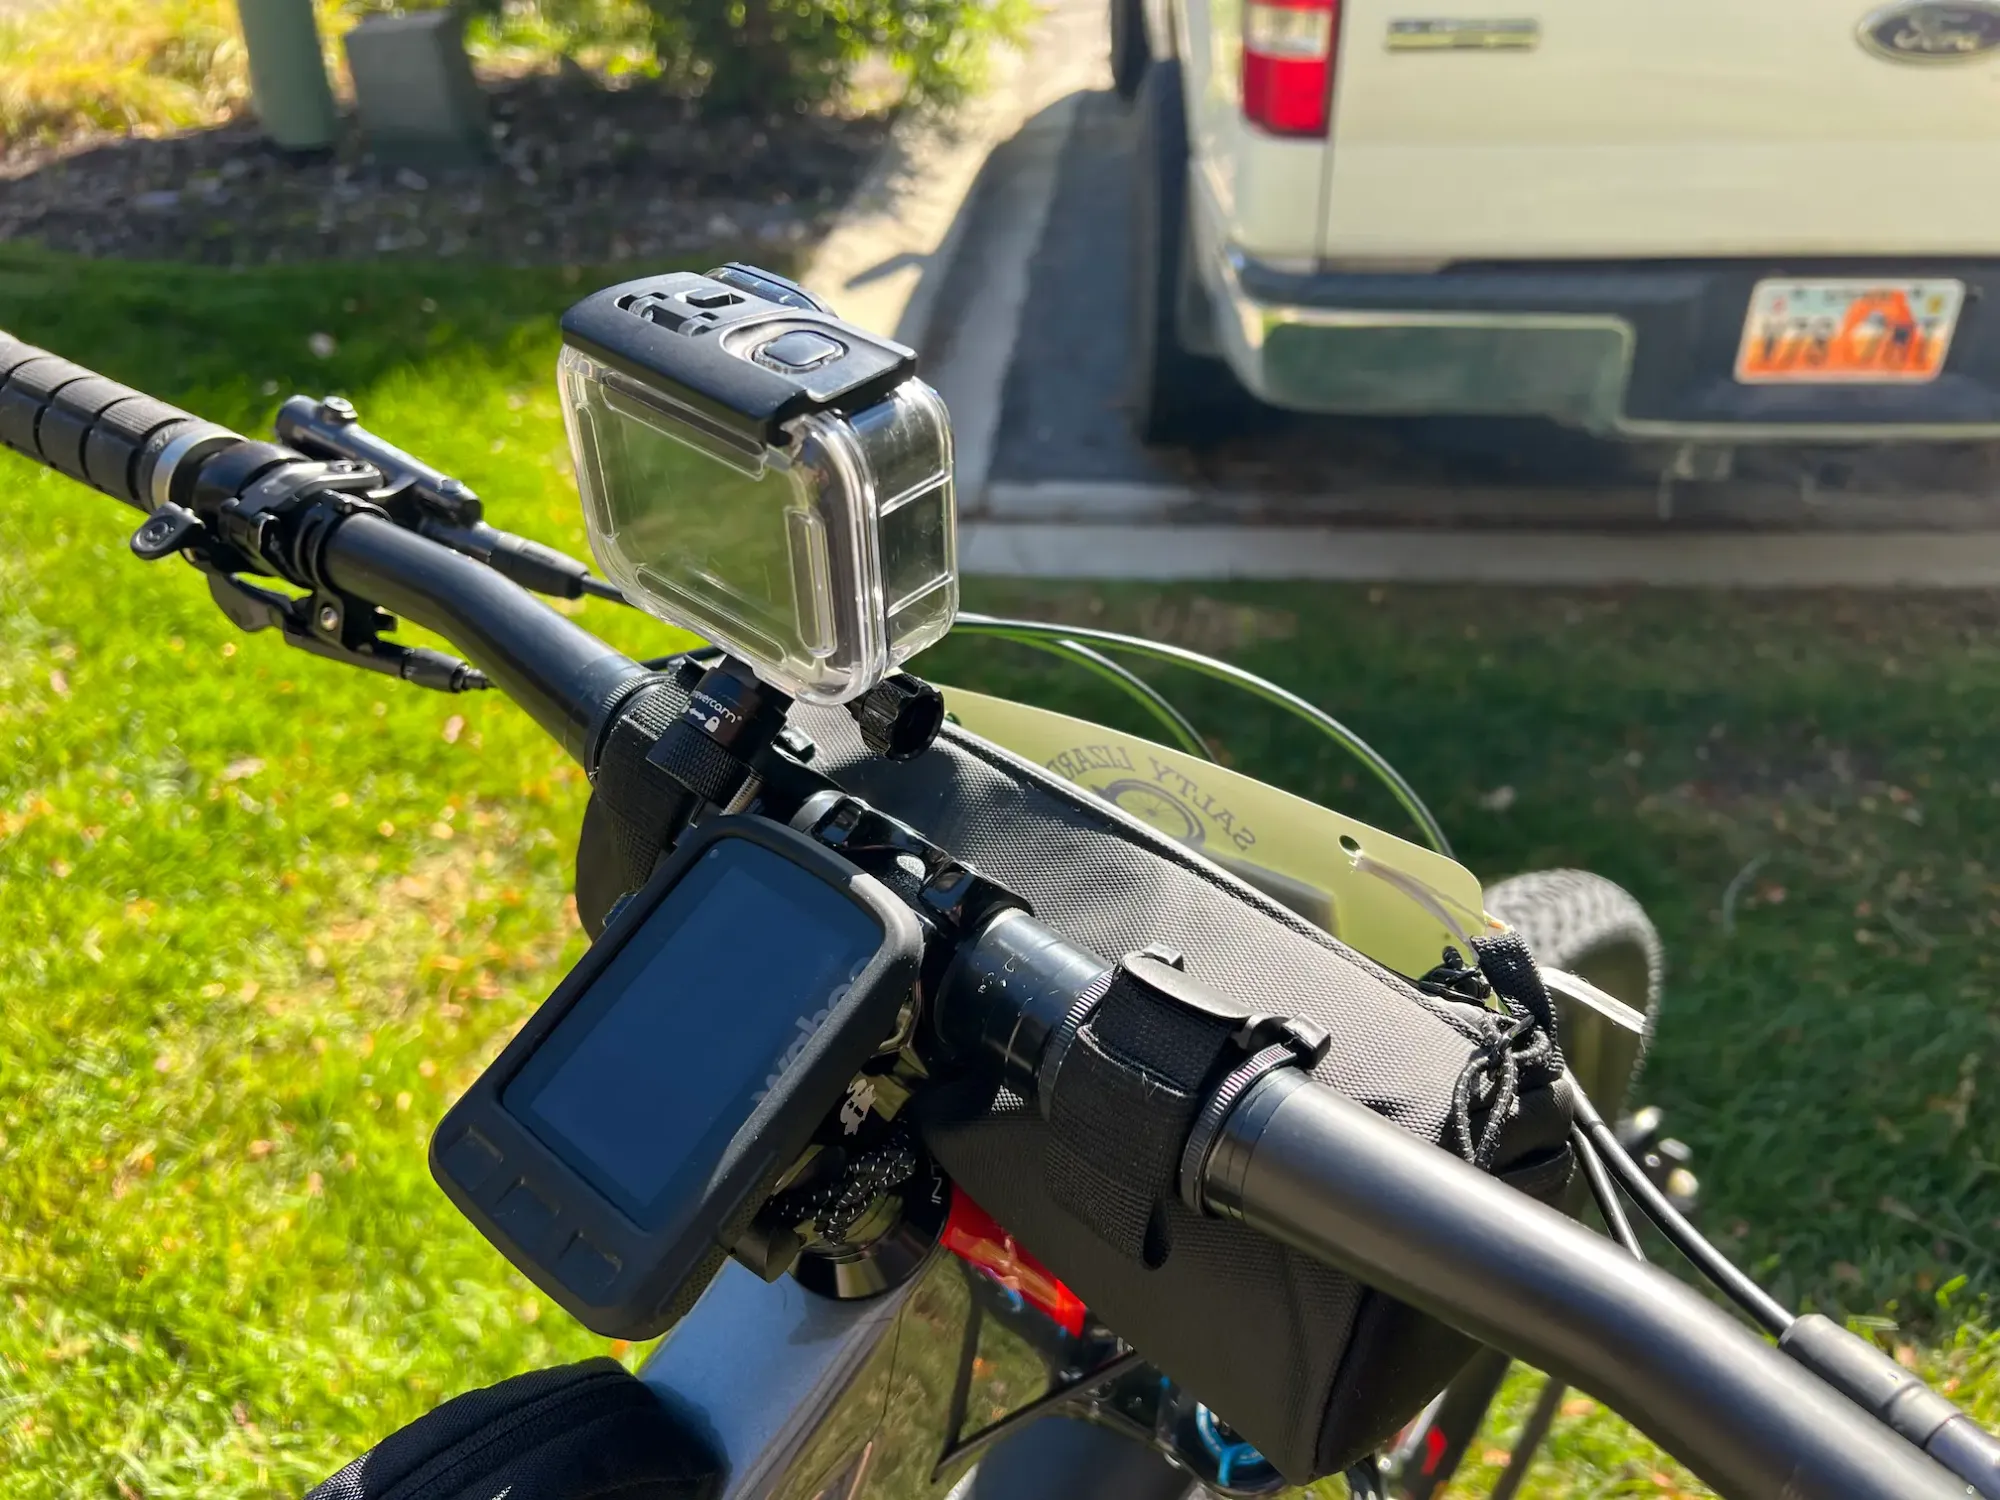
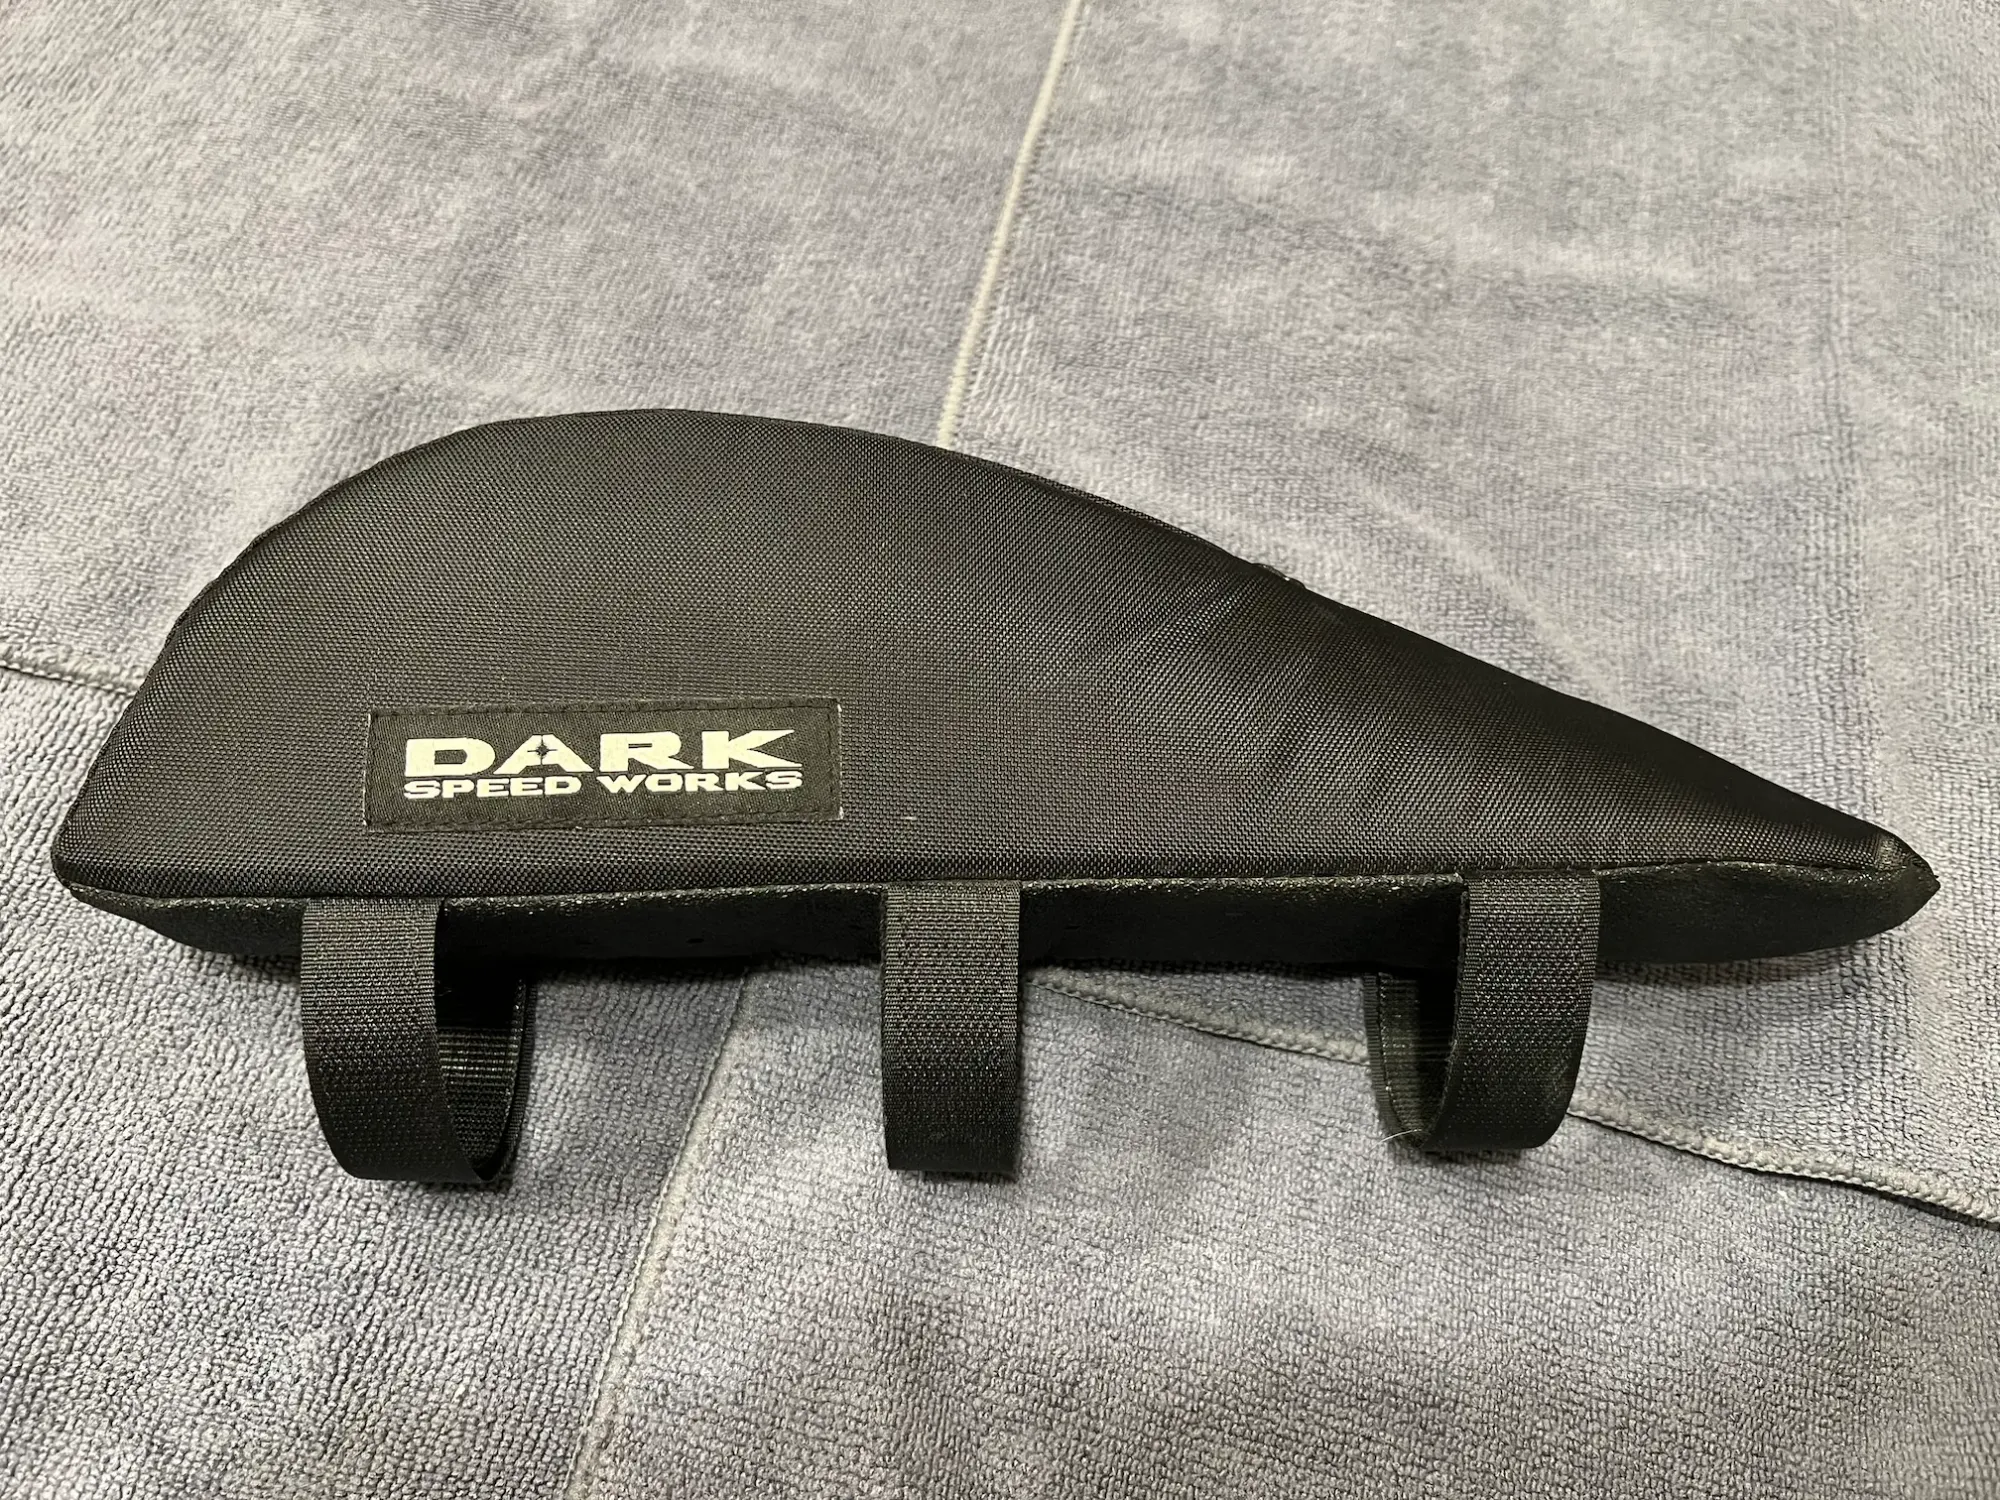
Bicycle storage bags have come a long way over the years. You now have lots of options (maybe too many) for attaching storage bags to your bike. For me, I found that a combination of a top-tube bag and a handlebar bag made for an optimal food-carrying system.
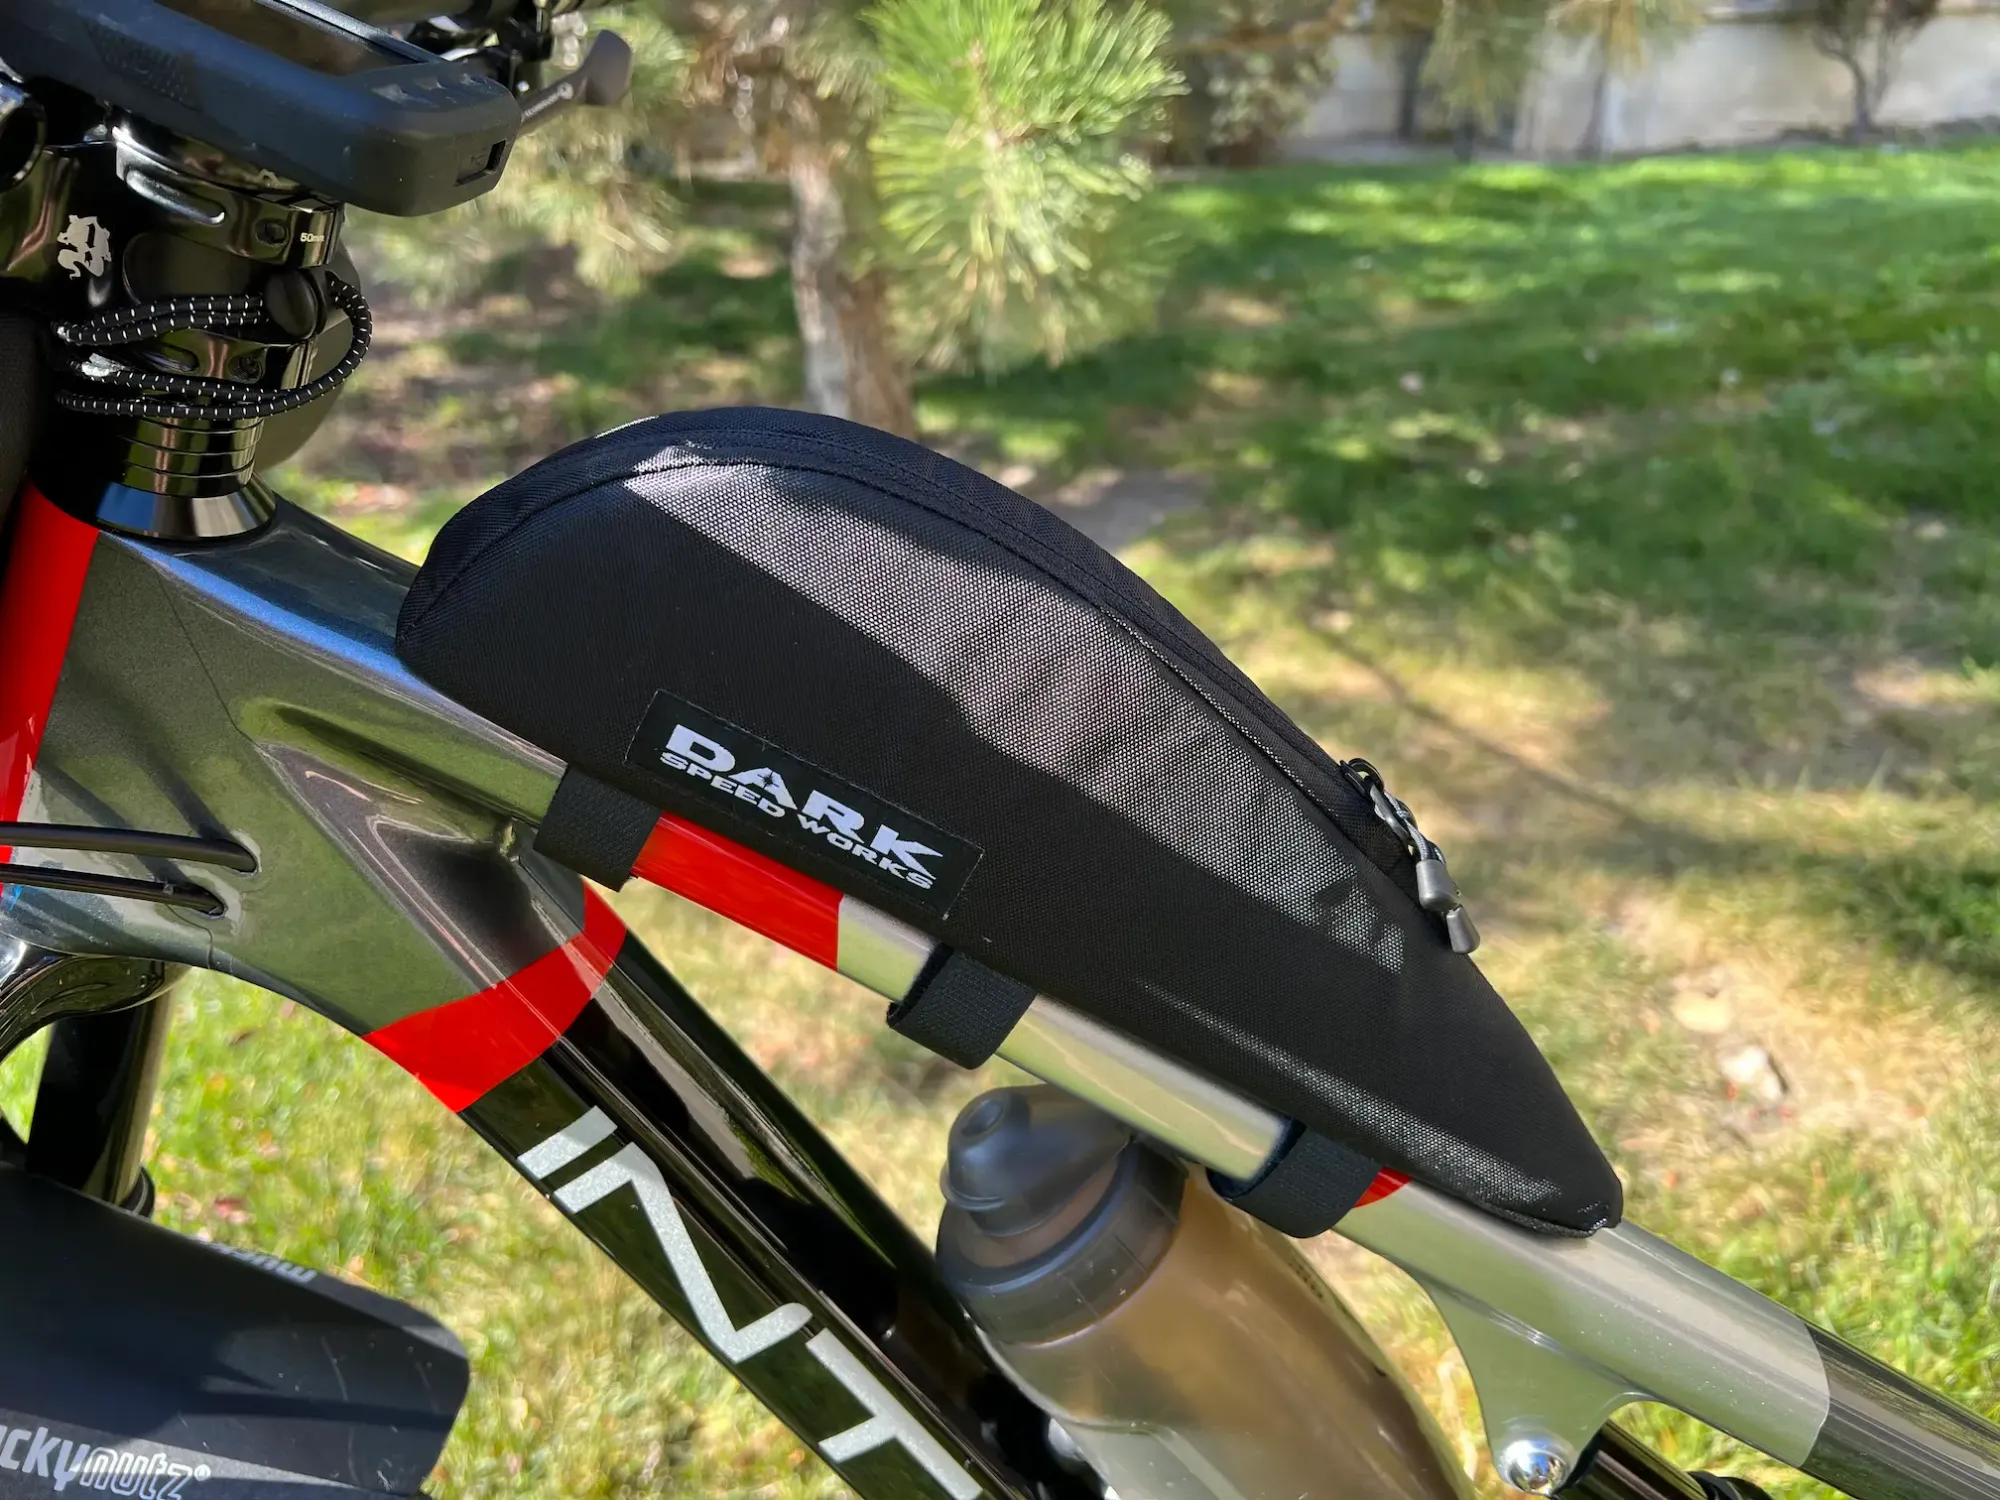
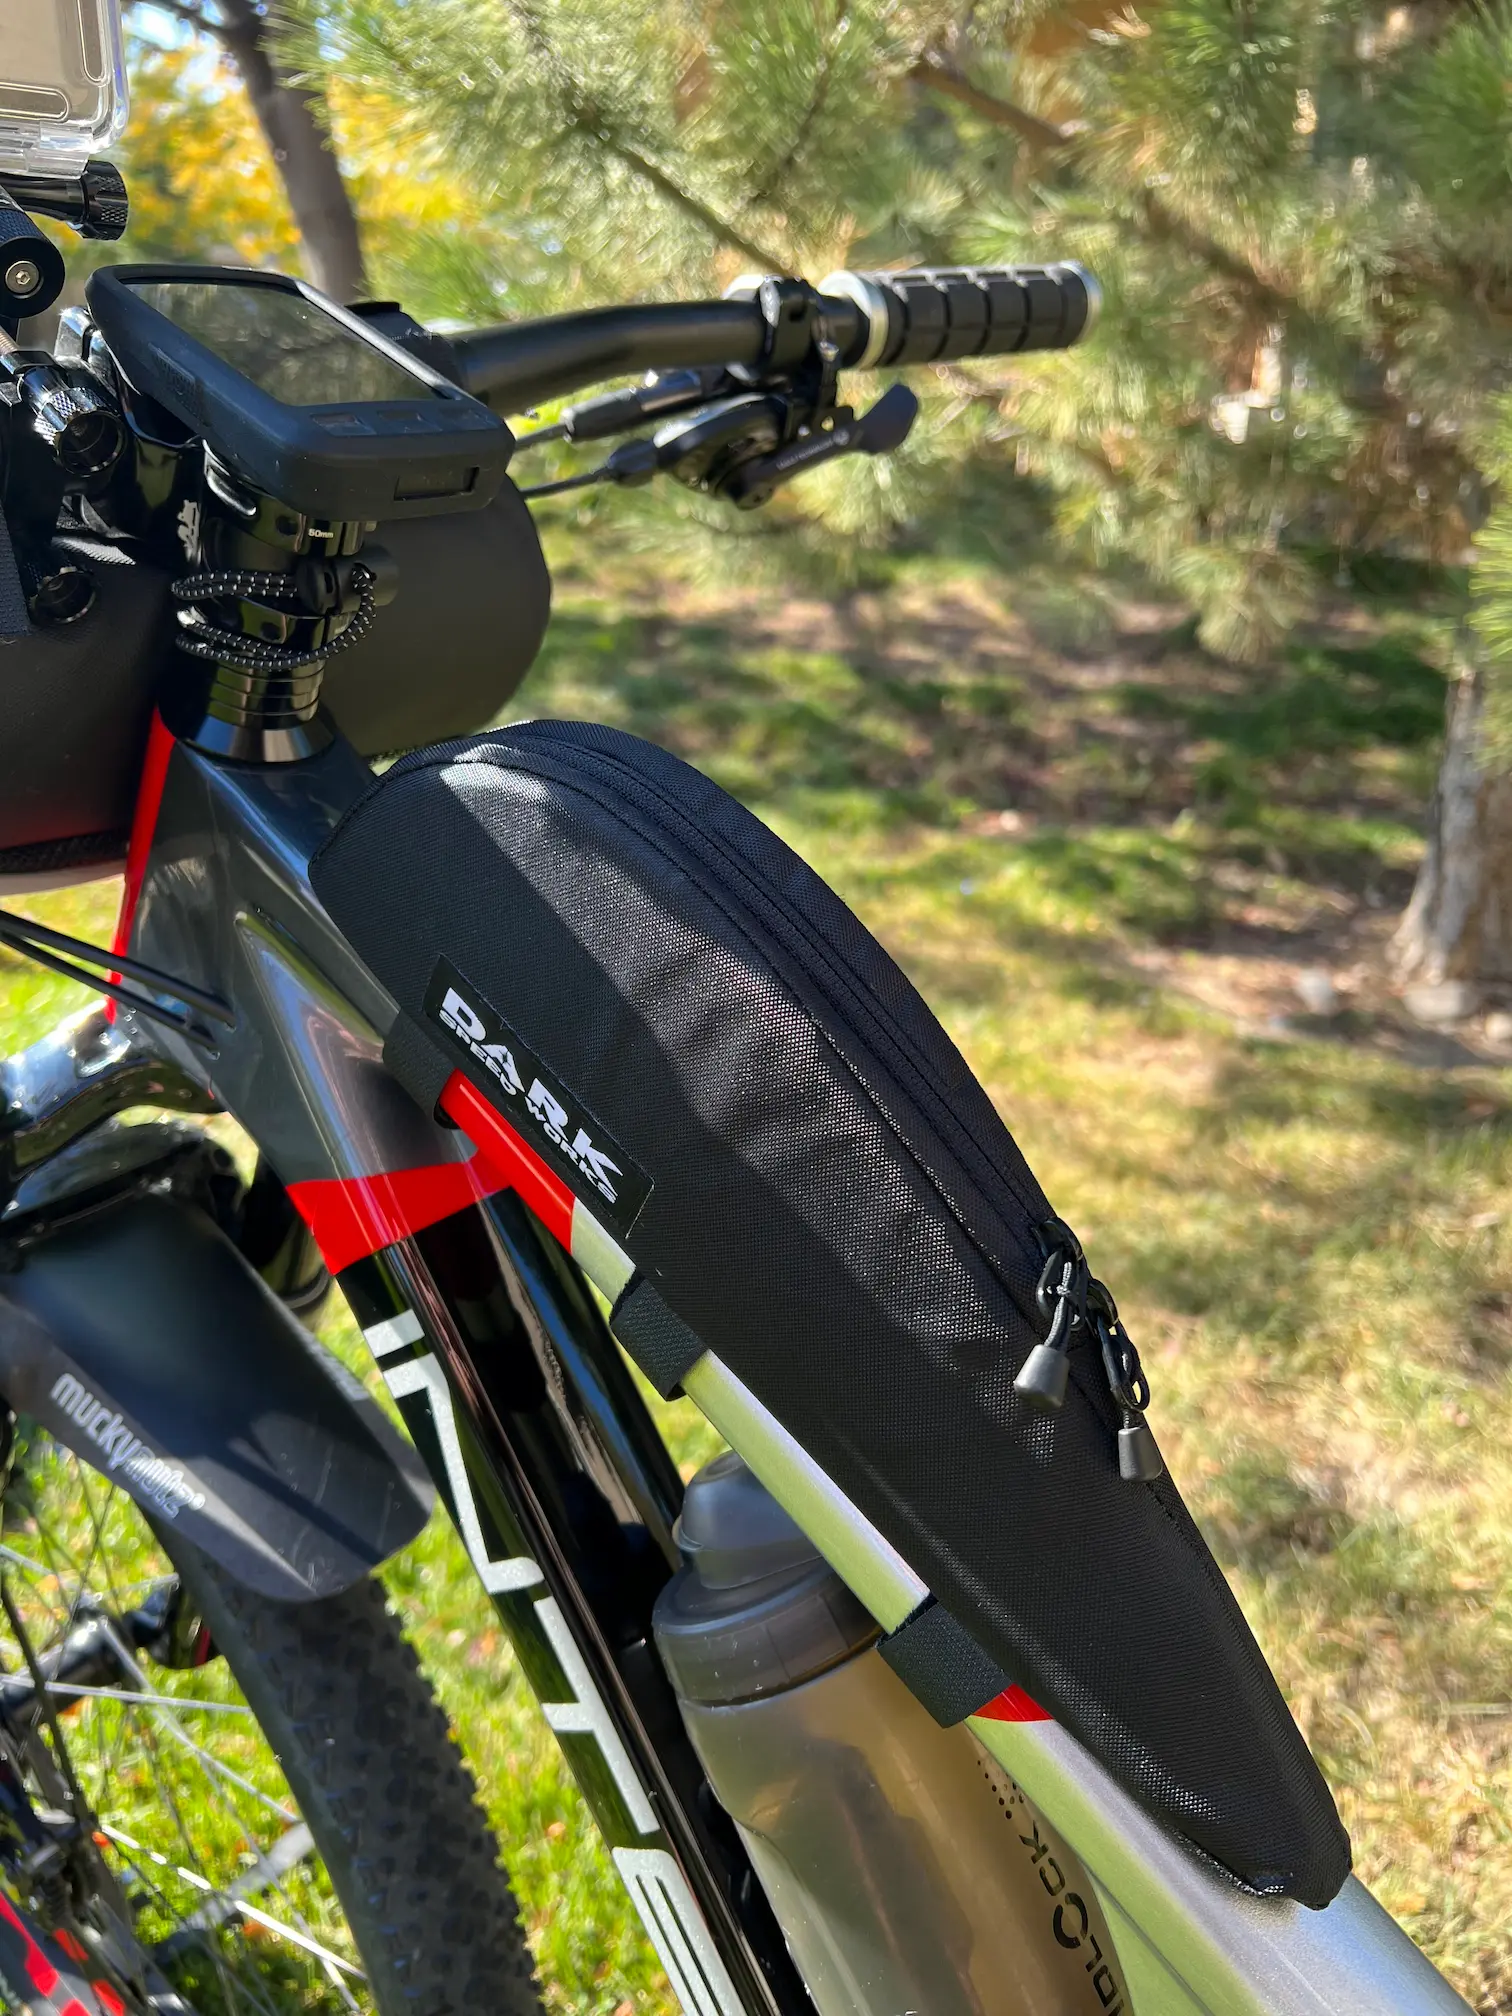
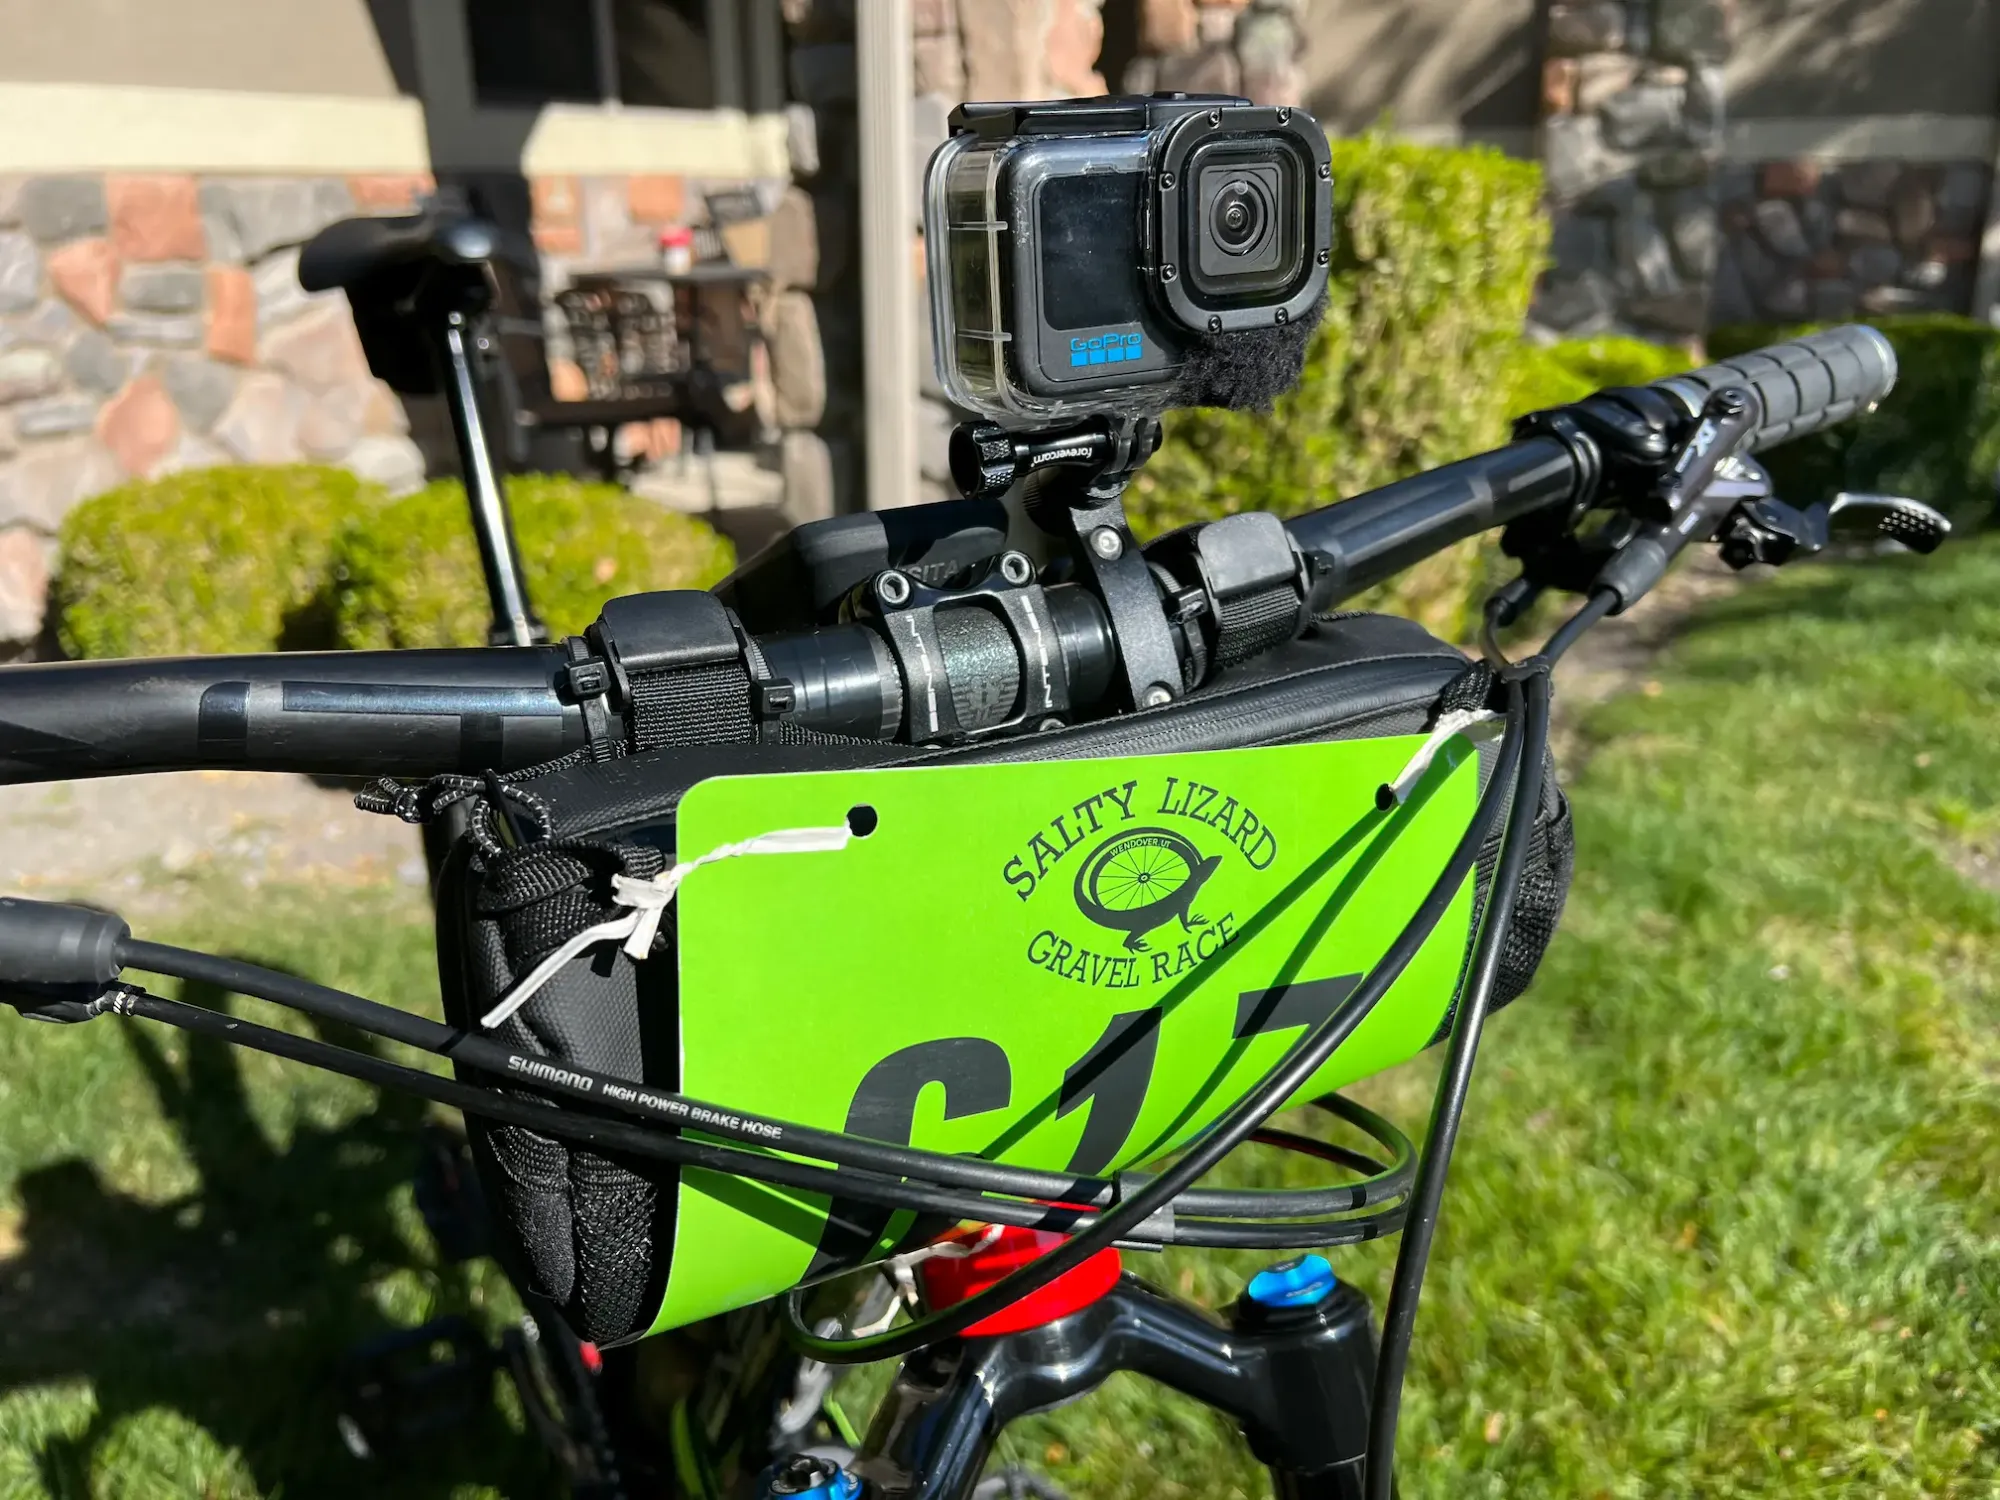
Gallery of food storage bags attached to Keith's mountain bike.
I stuffed my Dark Speed Works Speedpack 693 top-tube bag full of portioned, ready-to-eat meal bars and beef jerky chunks. I basically only kept food in my top-tube bag so that I didn't accidentally drop any tools while trying to eat mid-race. I kept all of my additional food such as extra meal bars, energy gels, etc. in my Lumiere & Co. Bike handlebar bag. I then used my time at the aid stations to refill my top-tube bag whenever I was starting to get low on ready-to-eat food.
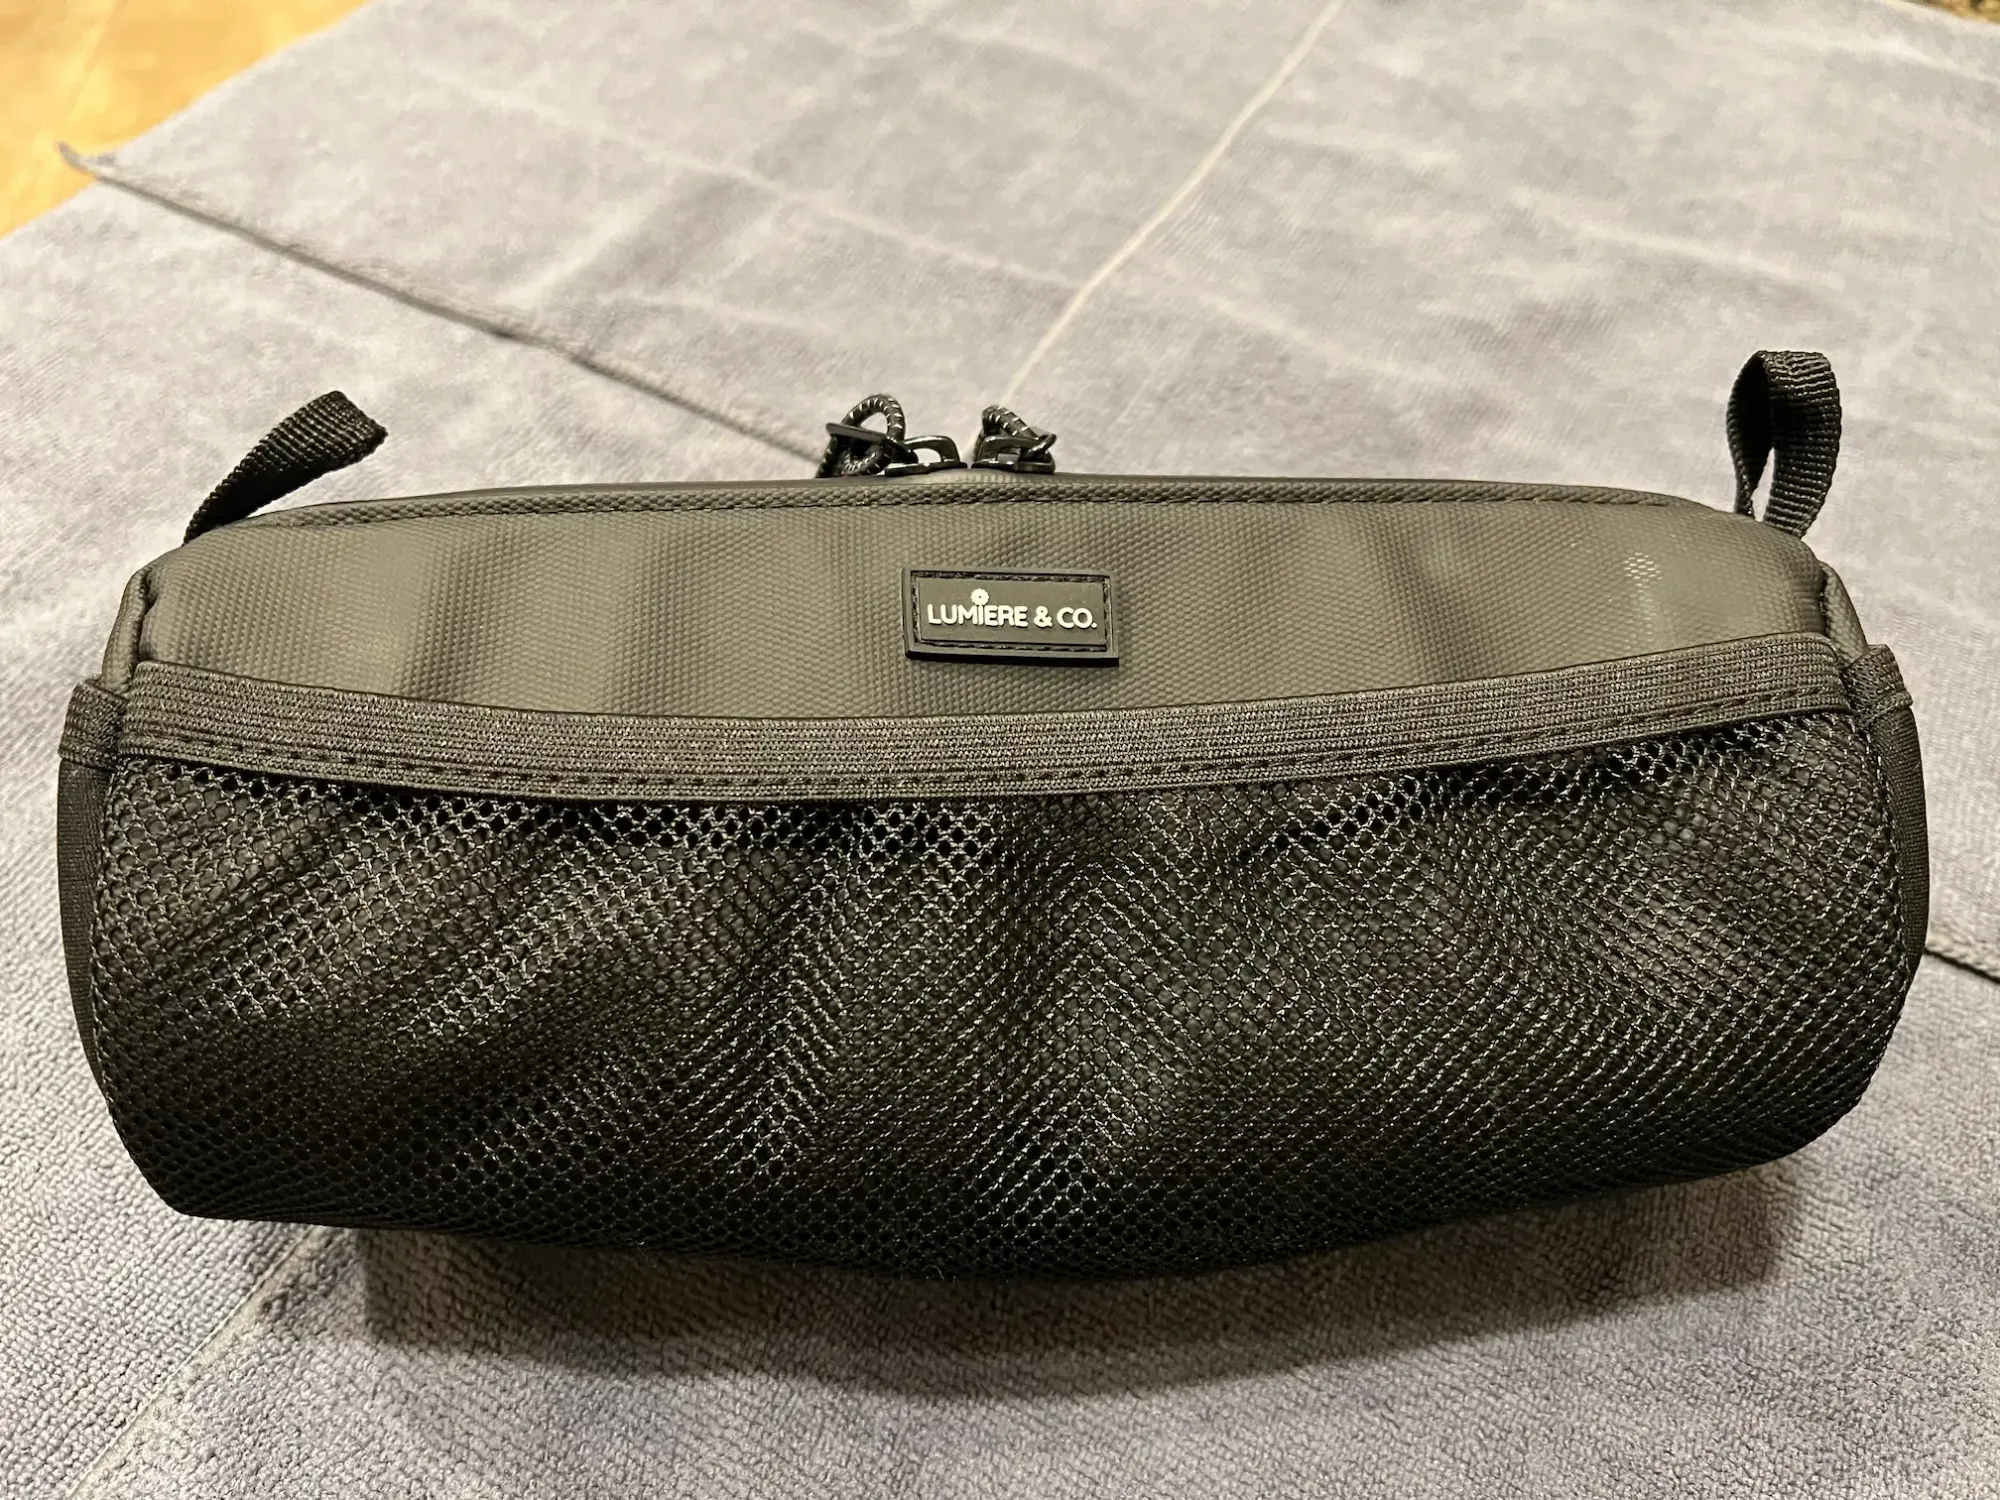
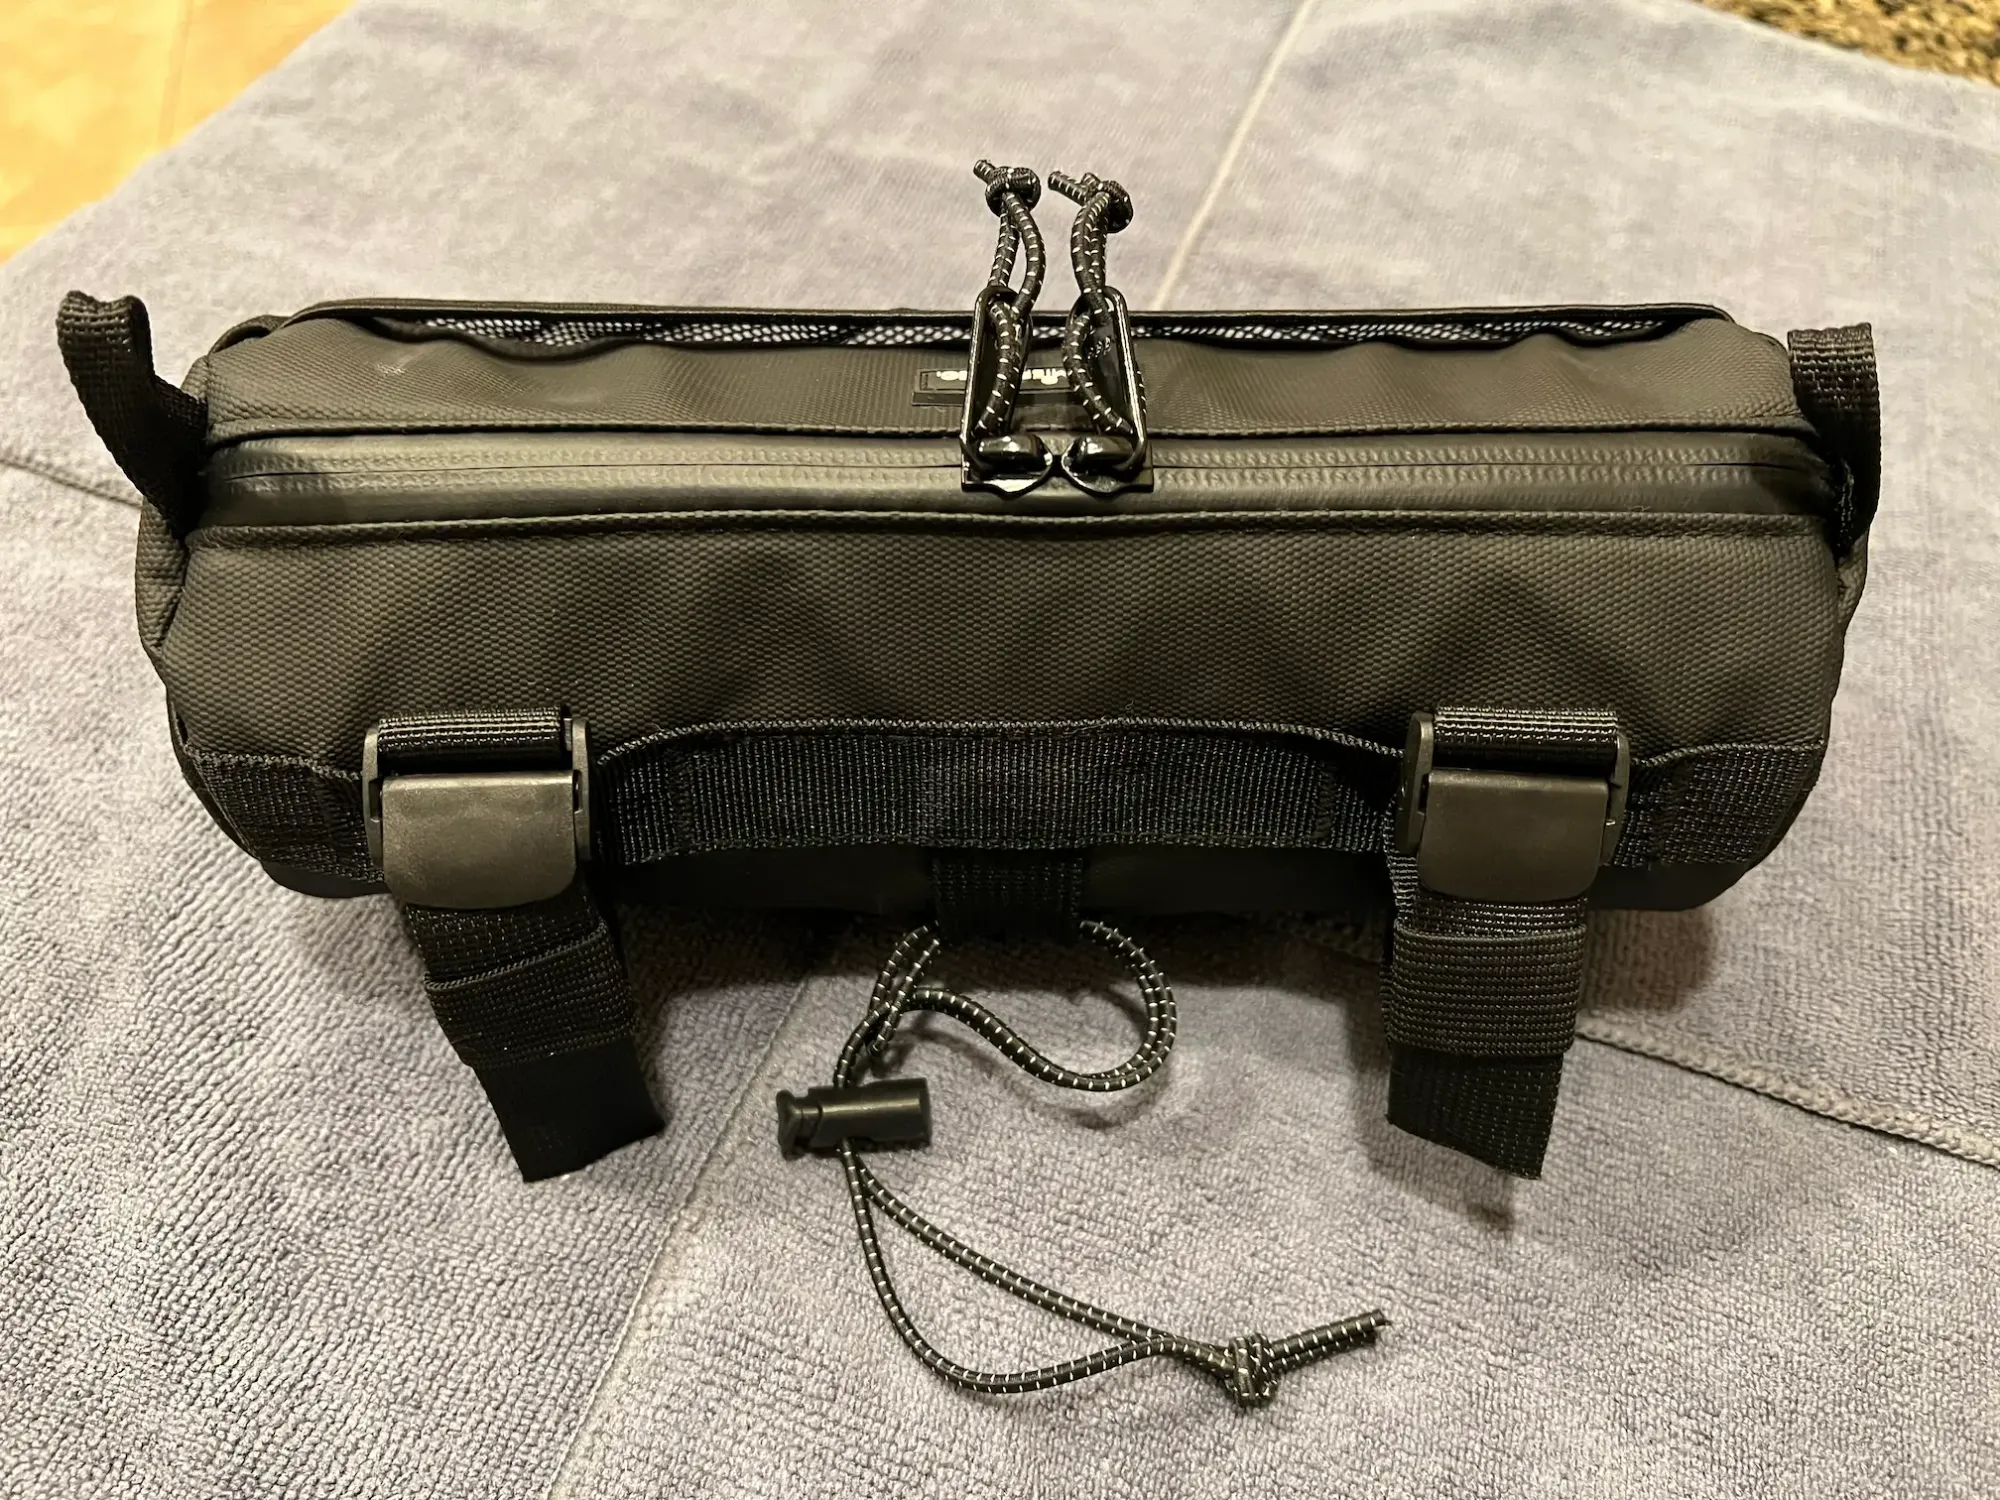
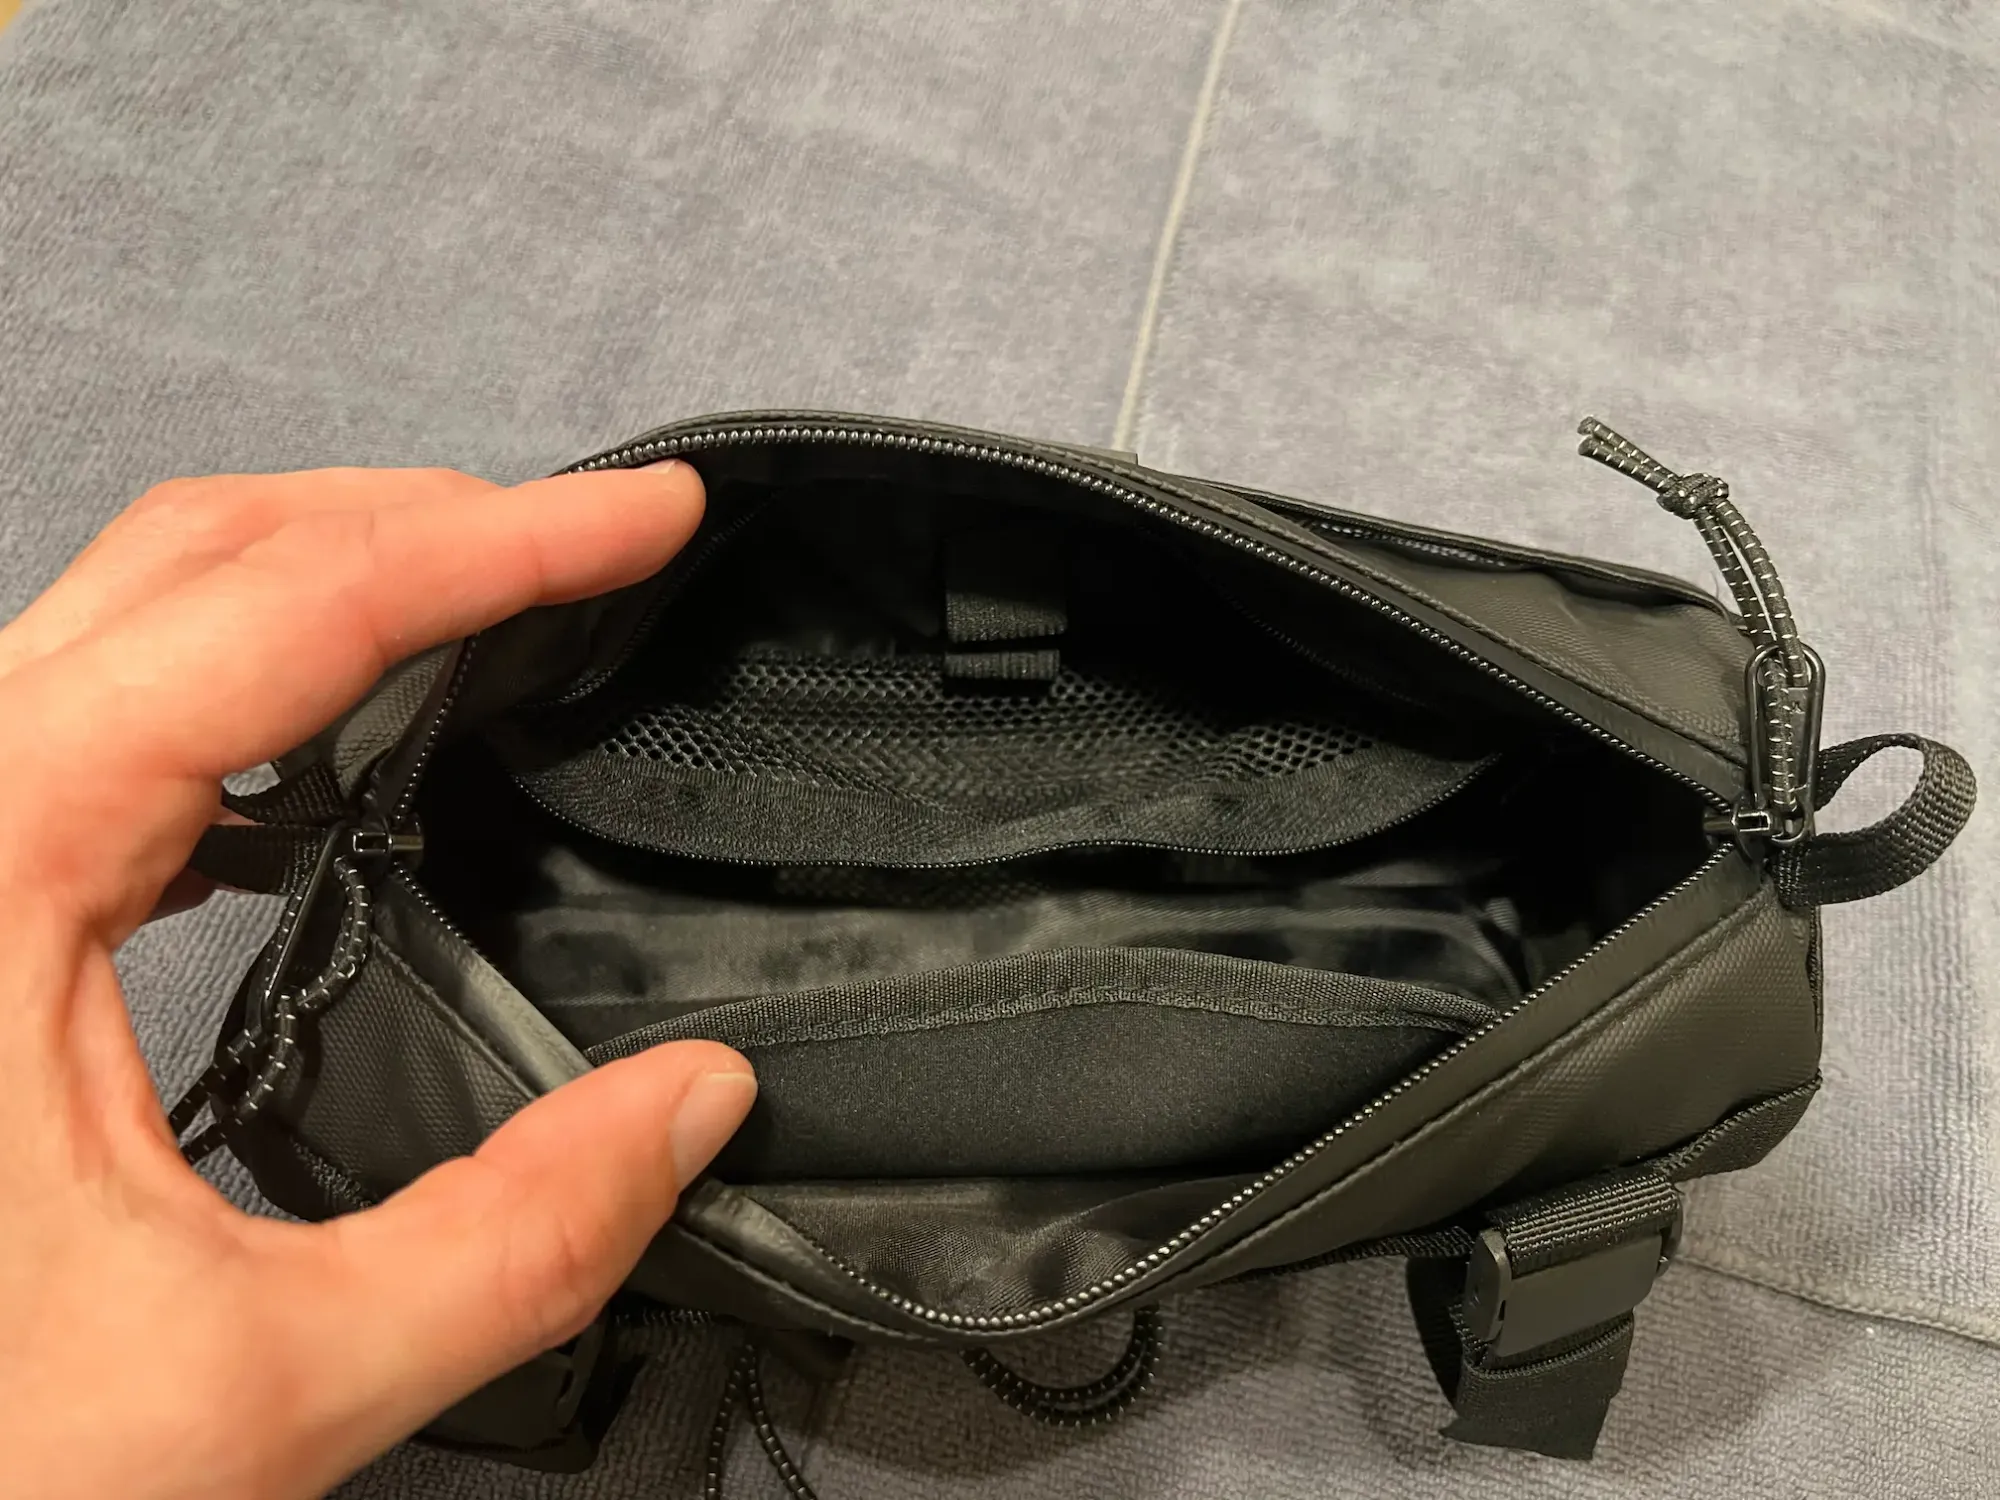

Gallery of Keith's top-tube and handlebar bags that he used for food carry during a gravel race.
Optimal water carry system
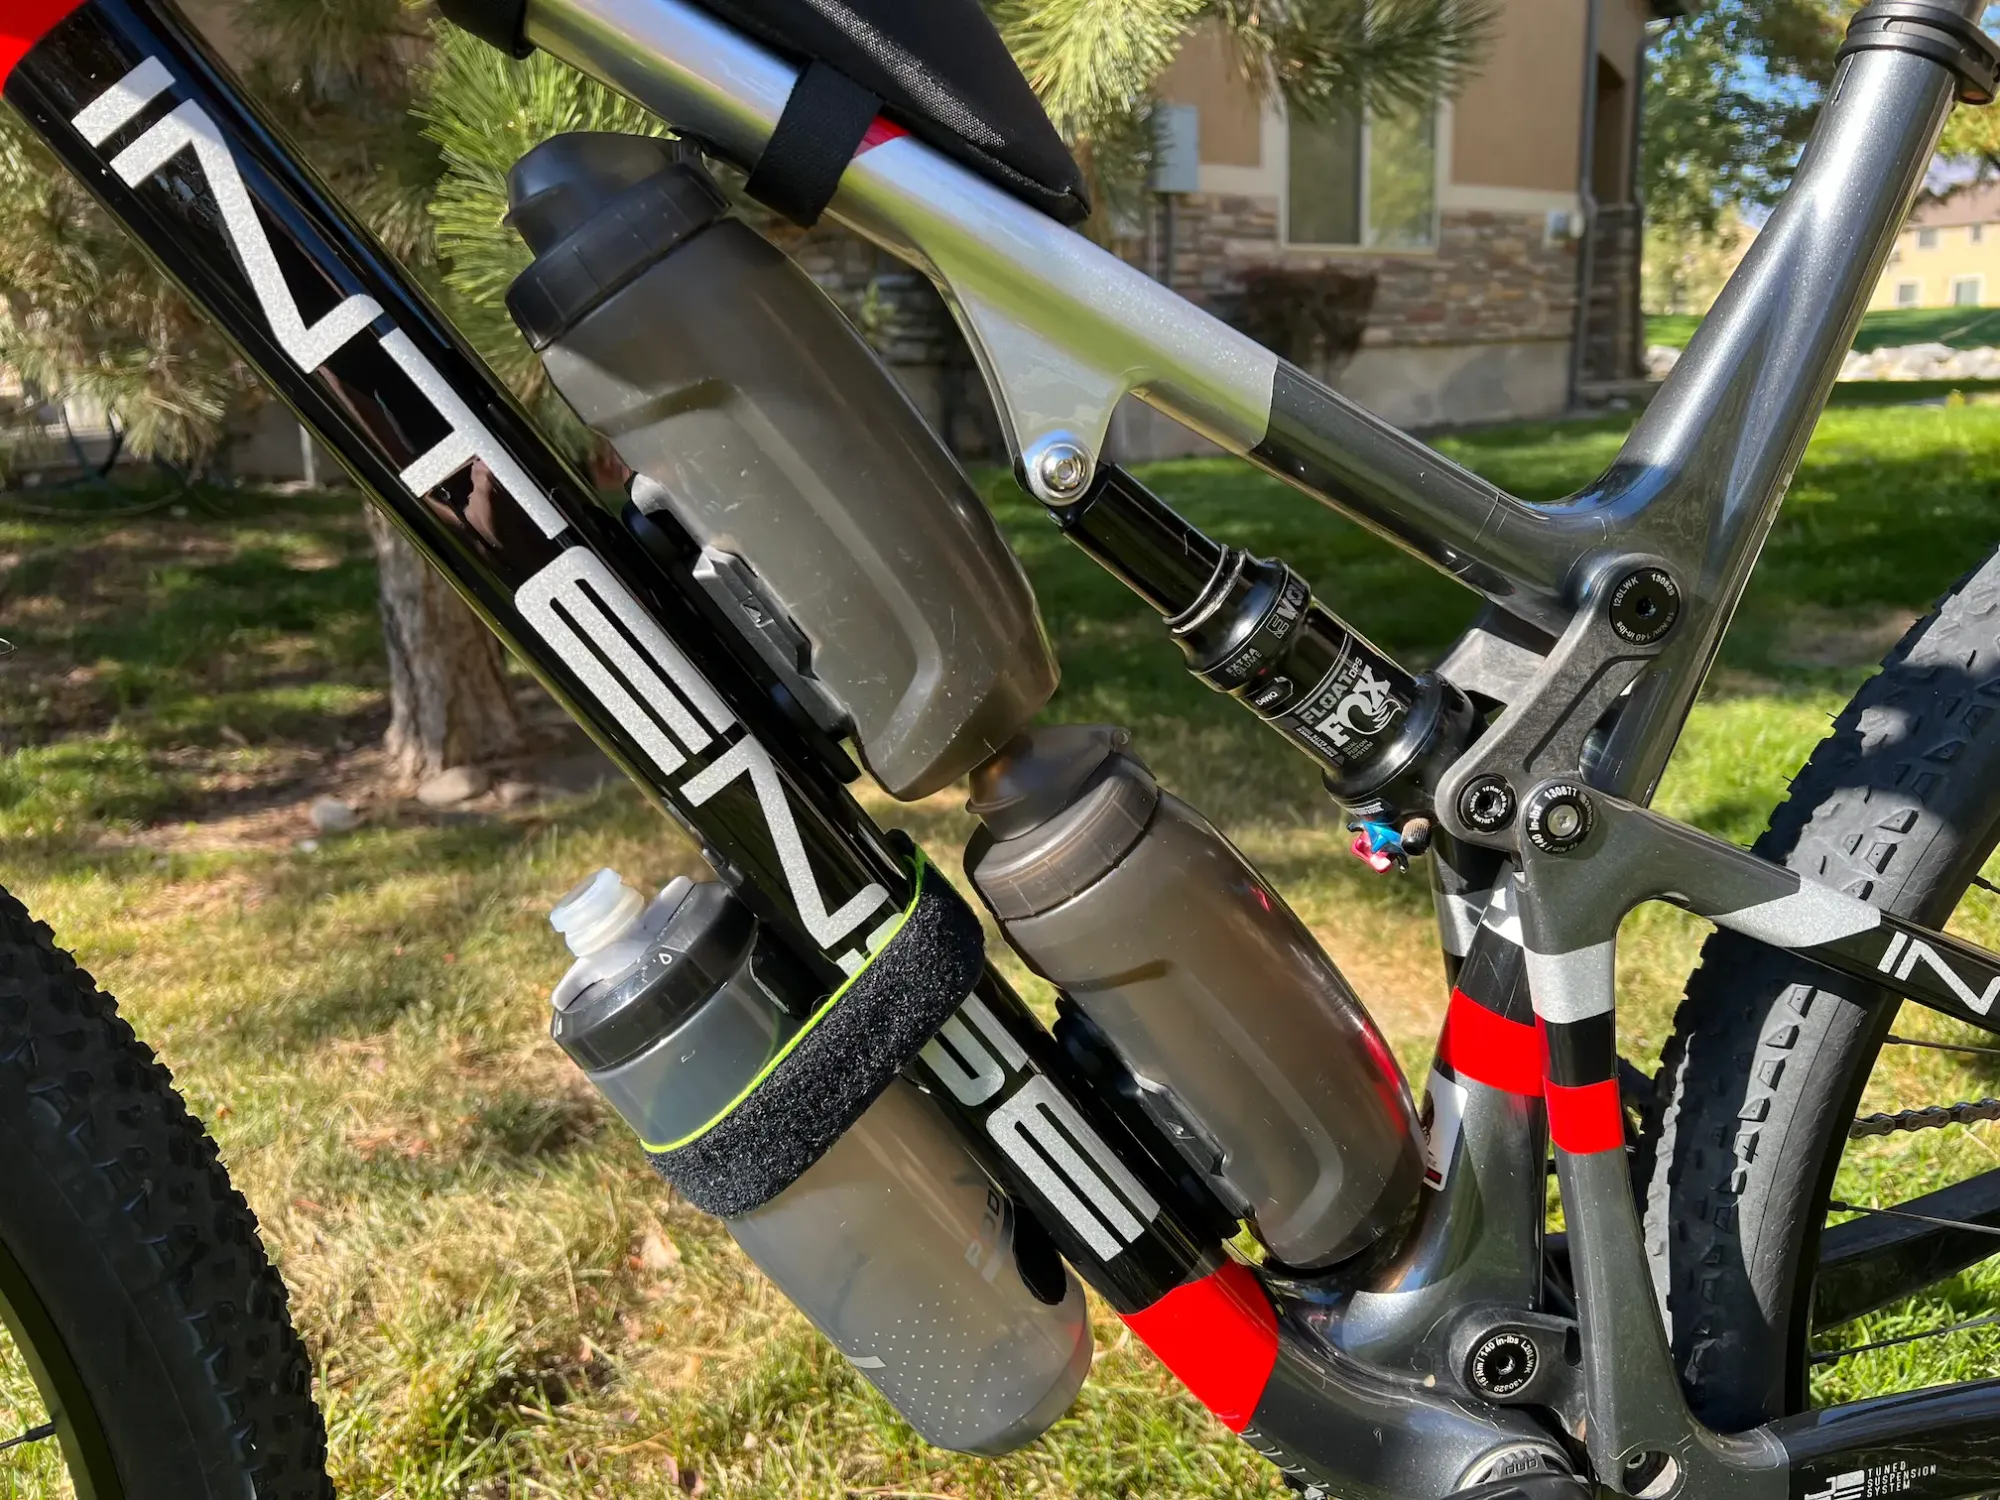
There are two main ways to carry water during a bike race: a backpack with a bladder (e.g. Camelbak) or water bottles attached to your bike. There are many pros and cons to both of these choices. For me, I try to keep as much weight off my back as possible. Carrying the weight of a few liters of water may not bother you on a one or two-hour ride. However, how do you think your back will feel after 8, 10, or even more hours of riding?
For the Salty Lizard 100 gravel race, I choose to carry all of my water in water bottles attached to my bike frame. I am fortunate to have a full-suspension mountain bike that is capable of carrying two Fidlock Twist 590 water bottles (with a little customization to the bottle brackets 👷). I also found a way to strap a third, Camelback Podium 21oz emergency bottle, to my frame using a Granite Rockband MTB Frame Strap. I knew that this would be more than enough water to get me between the aid stations throughout the course. In hindsight, I probably could have gone without the third bottle but knowing it was there gave me the added confidence to push myself even when my two main bottles were nearing empty.
Personally, I would only consider carrying a backpack with a water bladder if the design of the race course requires more water than you can carry on your bike frame. I have considered purchasing a USWE backpack since these bags are very minimal and shouldn't put too much strain on my back. If you do decide to race with a backpack, I would recommend that you use it on most, if not all of your training rides. This will help train your body to become accustomed to the added weight of the backpack. This will also help you to discover any pressure points or chafing that may occur when wearing a backpack for many hours. Finding these issues prior to the race will save you a lot of pain come race day.
Storage options for tools and spares
You should be carrying enough tools and spares to get you through typical mechanical issues such as those that I discussed earlier in this article. You should not be reliant on other riders or the race support staff to take care of you. There, I said it, you need to be responsible for yourself during a gravel race. I don't mean to sound harsh but I want to be direct and clear about this point. It is irresponsible of you to assume that others will help you fix a flat, repair a broken chain, or tighten a loose bolt for you.
Ok, now that I have that point out of the way, it is important to consider how you will carry those tools and spares. They should be within easy reach at all times. You won't want to be fumbling through a large backpack/bag full of tools, food, clothing, and other odds and ends when you are broke down in the middle of the race. You should have a dedicated storage system for your emergency repair and tool kit.
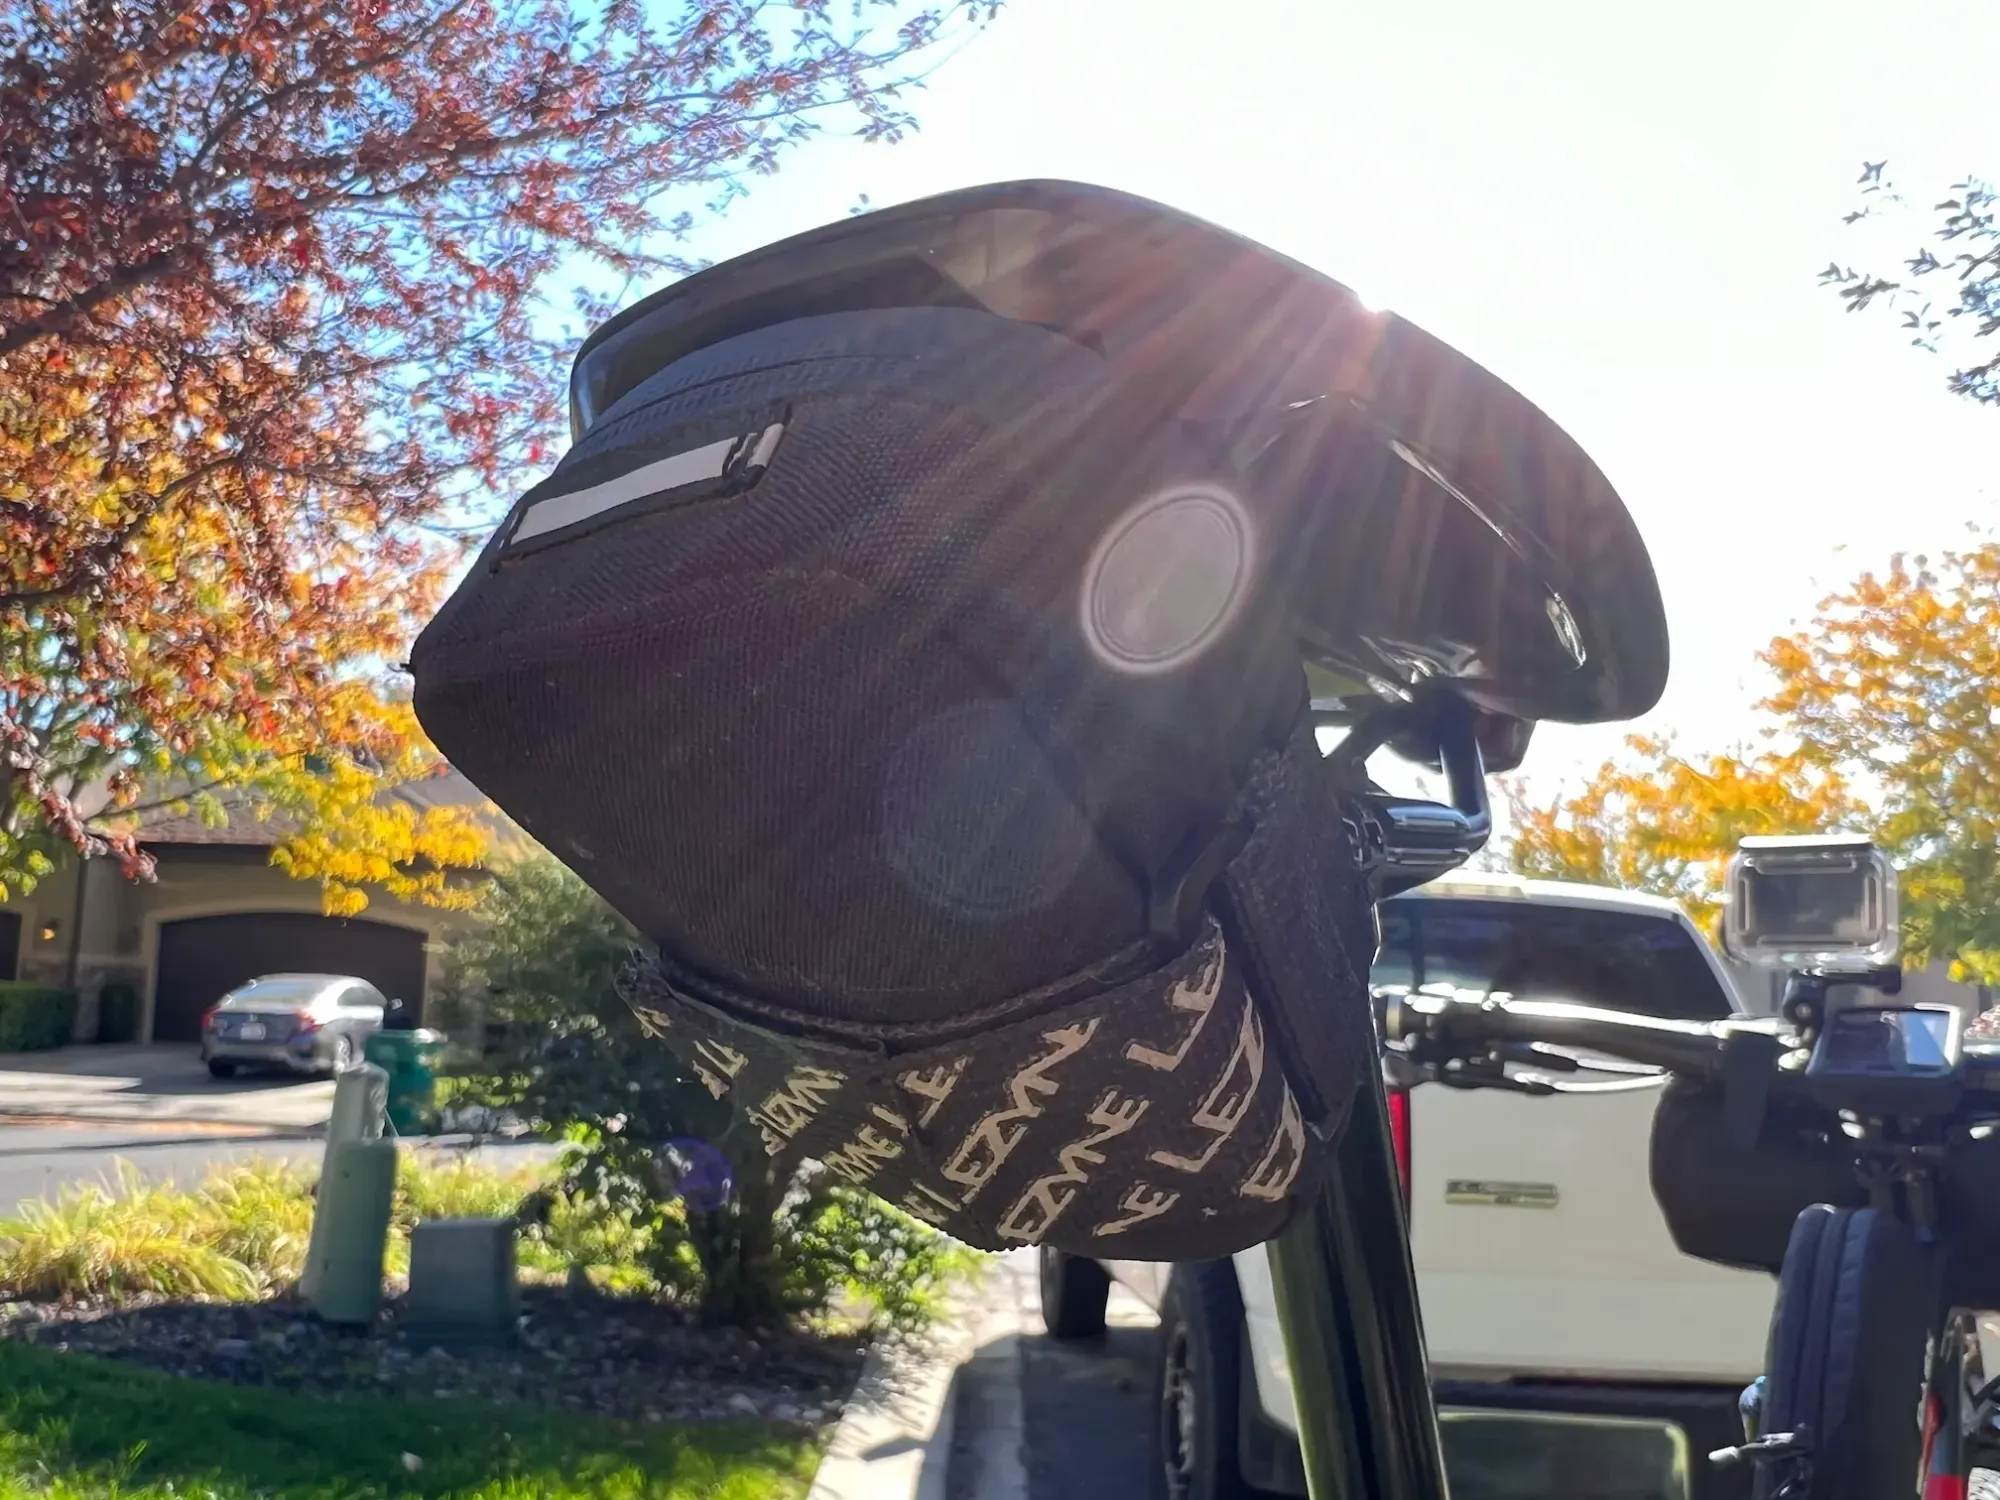
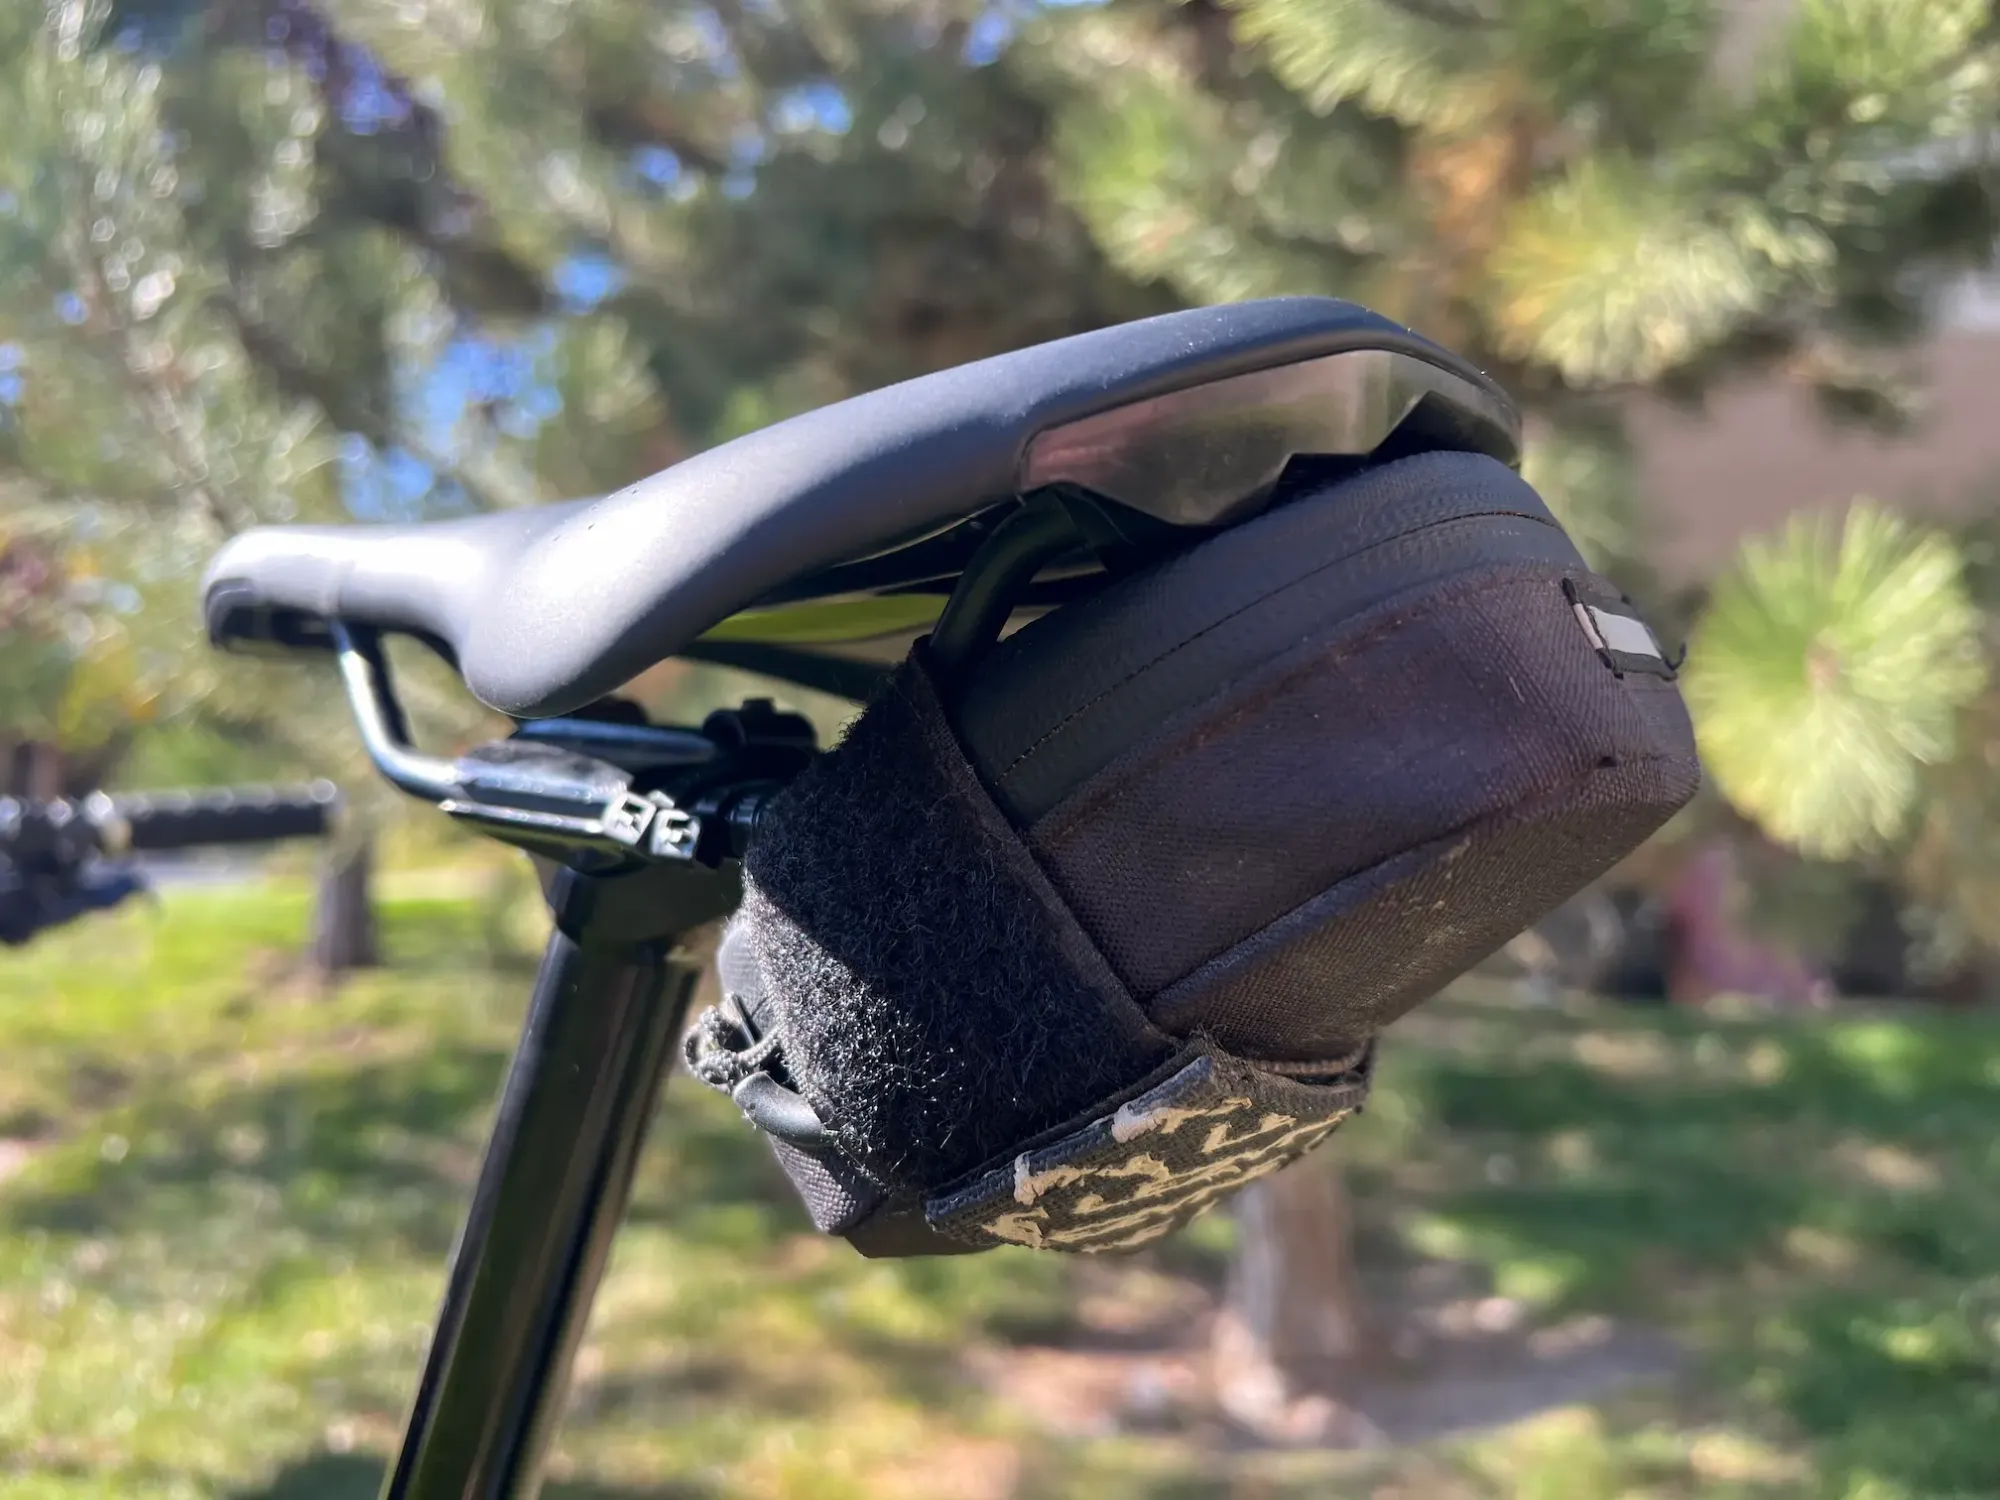
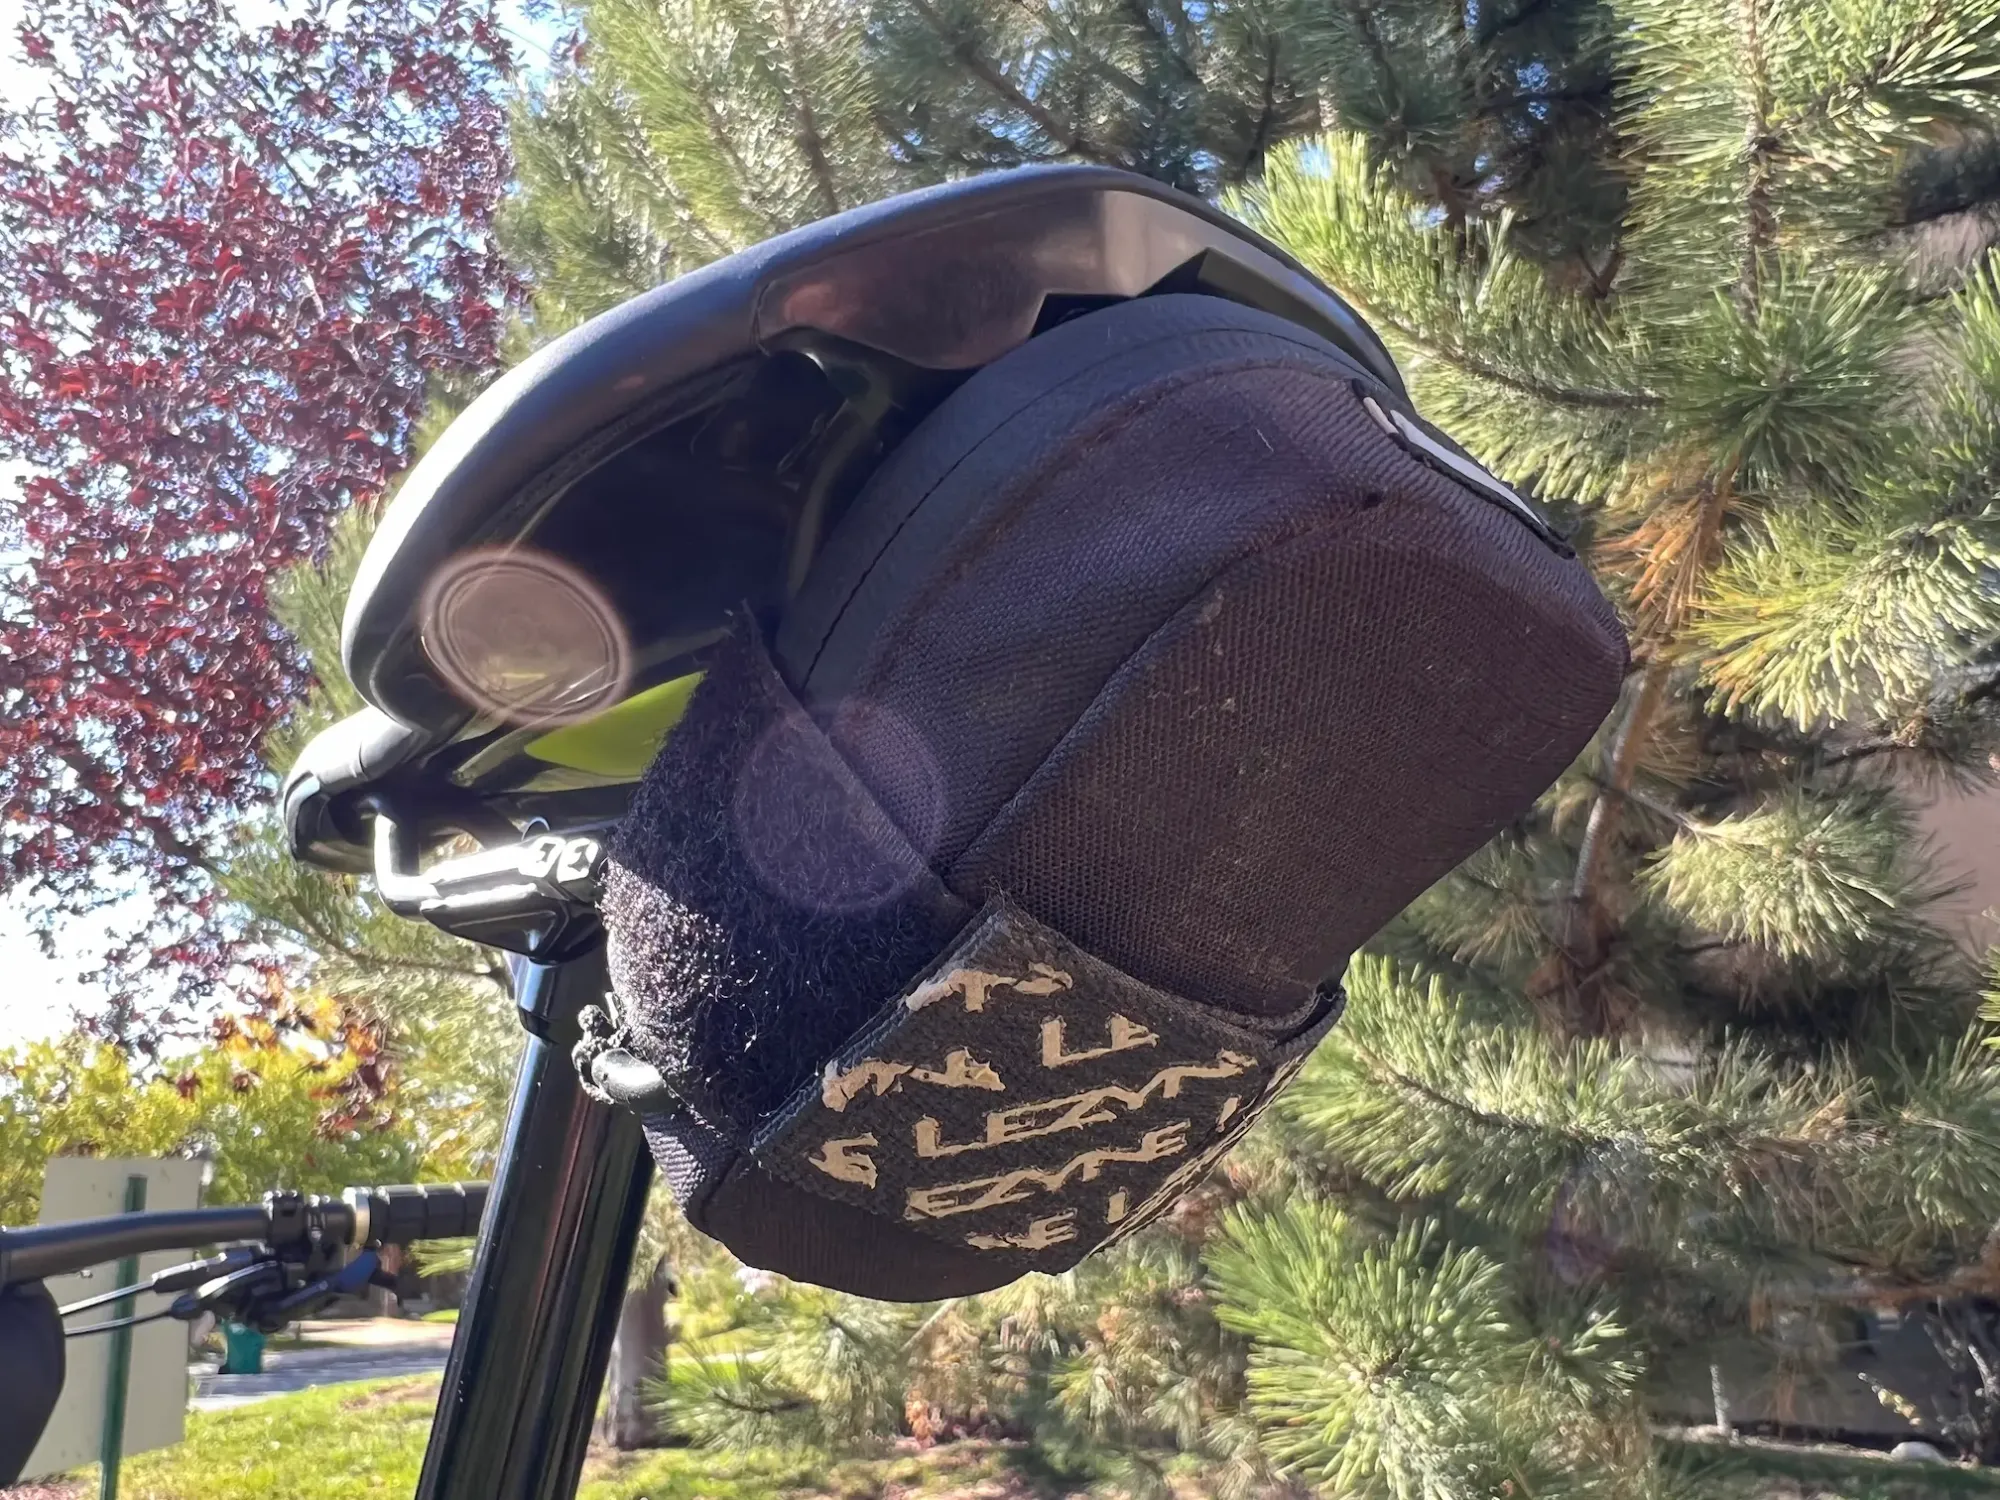
Gallery of Keith's saddle bag that holds all of his spares and emergency kit.
There are some really cool integrated tool storage kits such as the OneUp Components EDC, Wolf Tooth Components EnCase System, etc. I personally don't use one of these tool systems because they are kind of expensive and some require modifications to your bike in order to install them. For me, I rely on a trusty saddle bag. Specifically, I use the Lezyne Road Caddy on my bike. This is a relatively small and compact saddle bag that only attaches to the saddle rails. It does not require attachment to the seat post thus it is dropper post compatible. 😀 This small saddle bag holds all of my emergency tools except for my tubeless plug kit. I keep that bit of kit in my top tube bag so that I can access it as quickly as possible in the event of a puncture.
Perform a final check and shakedown ride
Ok, so now you know how to work on your bike and how to set up your bike prior to a gravel race. Now, before you go racing off (🤣), you should really take some time to familiarize yourself with all of your bags, tools, etc. You can do this by riding a few training rides with the exact bike setup that you plan to use for the race. This will help you to discover and correct any potential issues, such as knee rub on your top tube bag, difficult-to-access items, etc., prior to the race.
Once you have dialed in your bike setup, and as the race nears, you will want to perform a final bike check and shakedown ride. First, you should check the torque of every bolt and exercise every moving component on your bike. Be sure to use a torque wrench where applicable to ensure that you aren't over-tightening bolts. This is especially crucial for delicate carbon parts. Be sure to cycle your suspension (if applicable) to check for any stiction or other potential issues. Also, be sure to spin your front and rear wheels. This will allow you to check for bad wheel bearings as well as brake rotor rub. Either of these wheel issues can cost you precious watts out on the race course.
Get out there and go for it!
There you have it. I have walked you through how to set up a bike for a gravel race. I covered what I consider the most important aspects of bike setup but I am sure that there are many other topics within this subject that I could have added.
Are there other considerations that you think should be included? Do you have any recommendations to share with other first-time racers? Let us know your thoughts in the comments section below. 👇 💬